Leica IIIf First Look
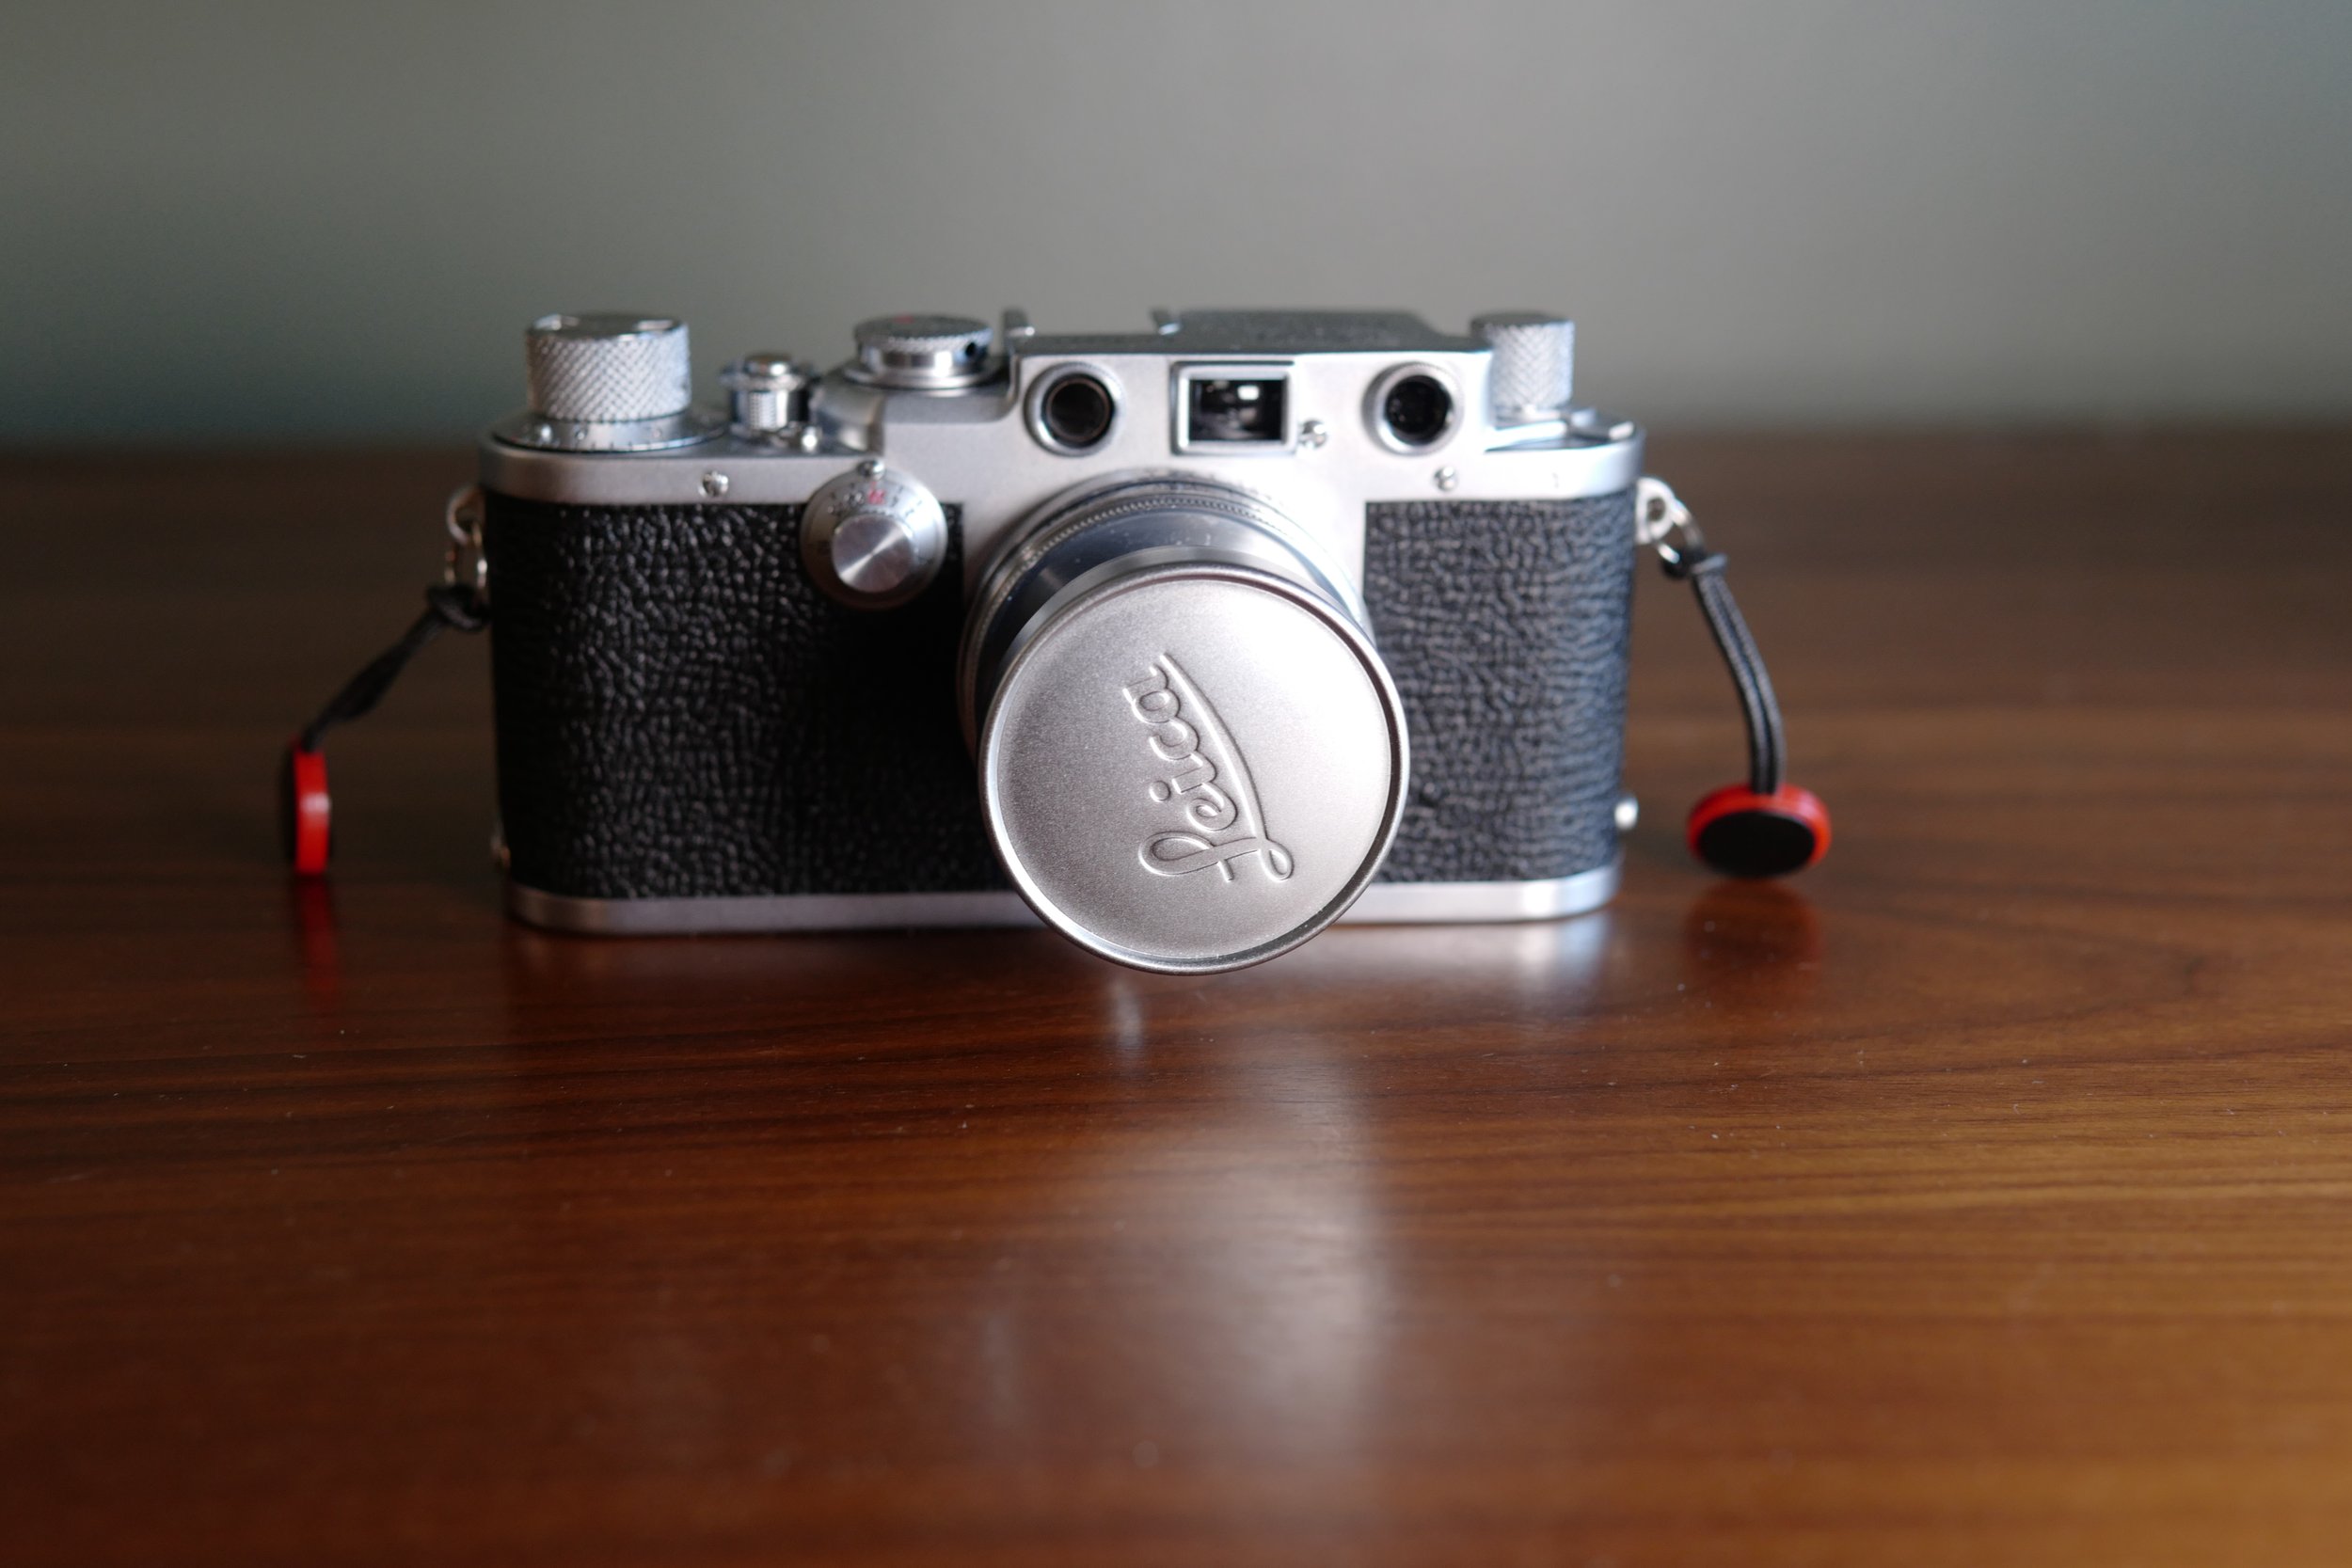
The new CLA’d Leica IIIf with Summicron f2.0 5cm lens.
Near the beginning of lockdown I came across an ad on Facebook marketplace for what I thought at the time was a nice example of a Leica IIIf black dial with a Summicron 5cm f2 lens priced as a group for what the body was selling for on eBay at the time. Naturally, I jumped at the chance to own an underrated (is that even possible for a Leica) camera. Once I got it home, I realized that it needed a CLA so I did the normal research and set it off to Gus Lazzari over in North Carolina knowing that it would take a while to get back, but hoping for a quick turnaround nonetheless.
The quick turn around didn't happen, but that’s part of the deal you make when dealing with nearly 70 year-old things that need servicing so I wasn’t too surprised. In all honesty I wasn’t too sure what I would do with camera when it came back anyway. With the prices and lead times from developing film here in town I had moved on from shooting film during the pandemic. I knew the lens could be adapted to both my Leica CL and Leica SL so I felt getting the CLA was worth the wait and cost as the lens is what needed the most work. This lens is a Thorium coated example and still has some of the coating so I had high hopes for some dreamy pictures.
When I got the package back I thought of just putting the body up for sale on eBay but had my mind changed while trolling Facebook marketplace when I came across a copy of book called “New Leica Manual” by Willard D. Morgan & Henry M. Lester published in 1953 for cheap. This book is basically the most in-depth manual for a camera I have ever seen. Reading it made me want to try out the camera at least once or twice before I sold it on.

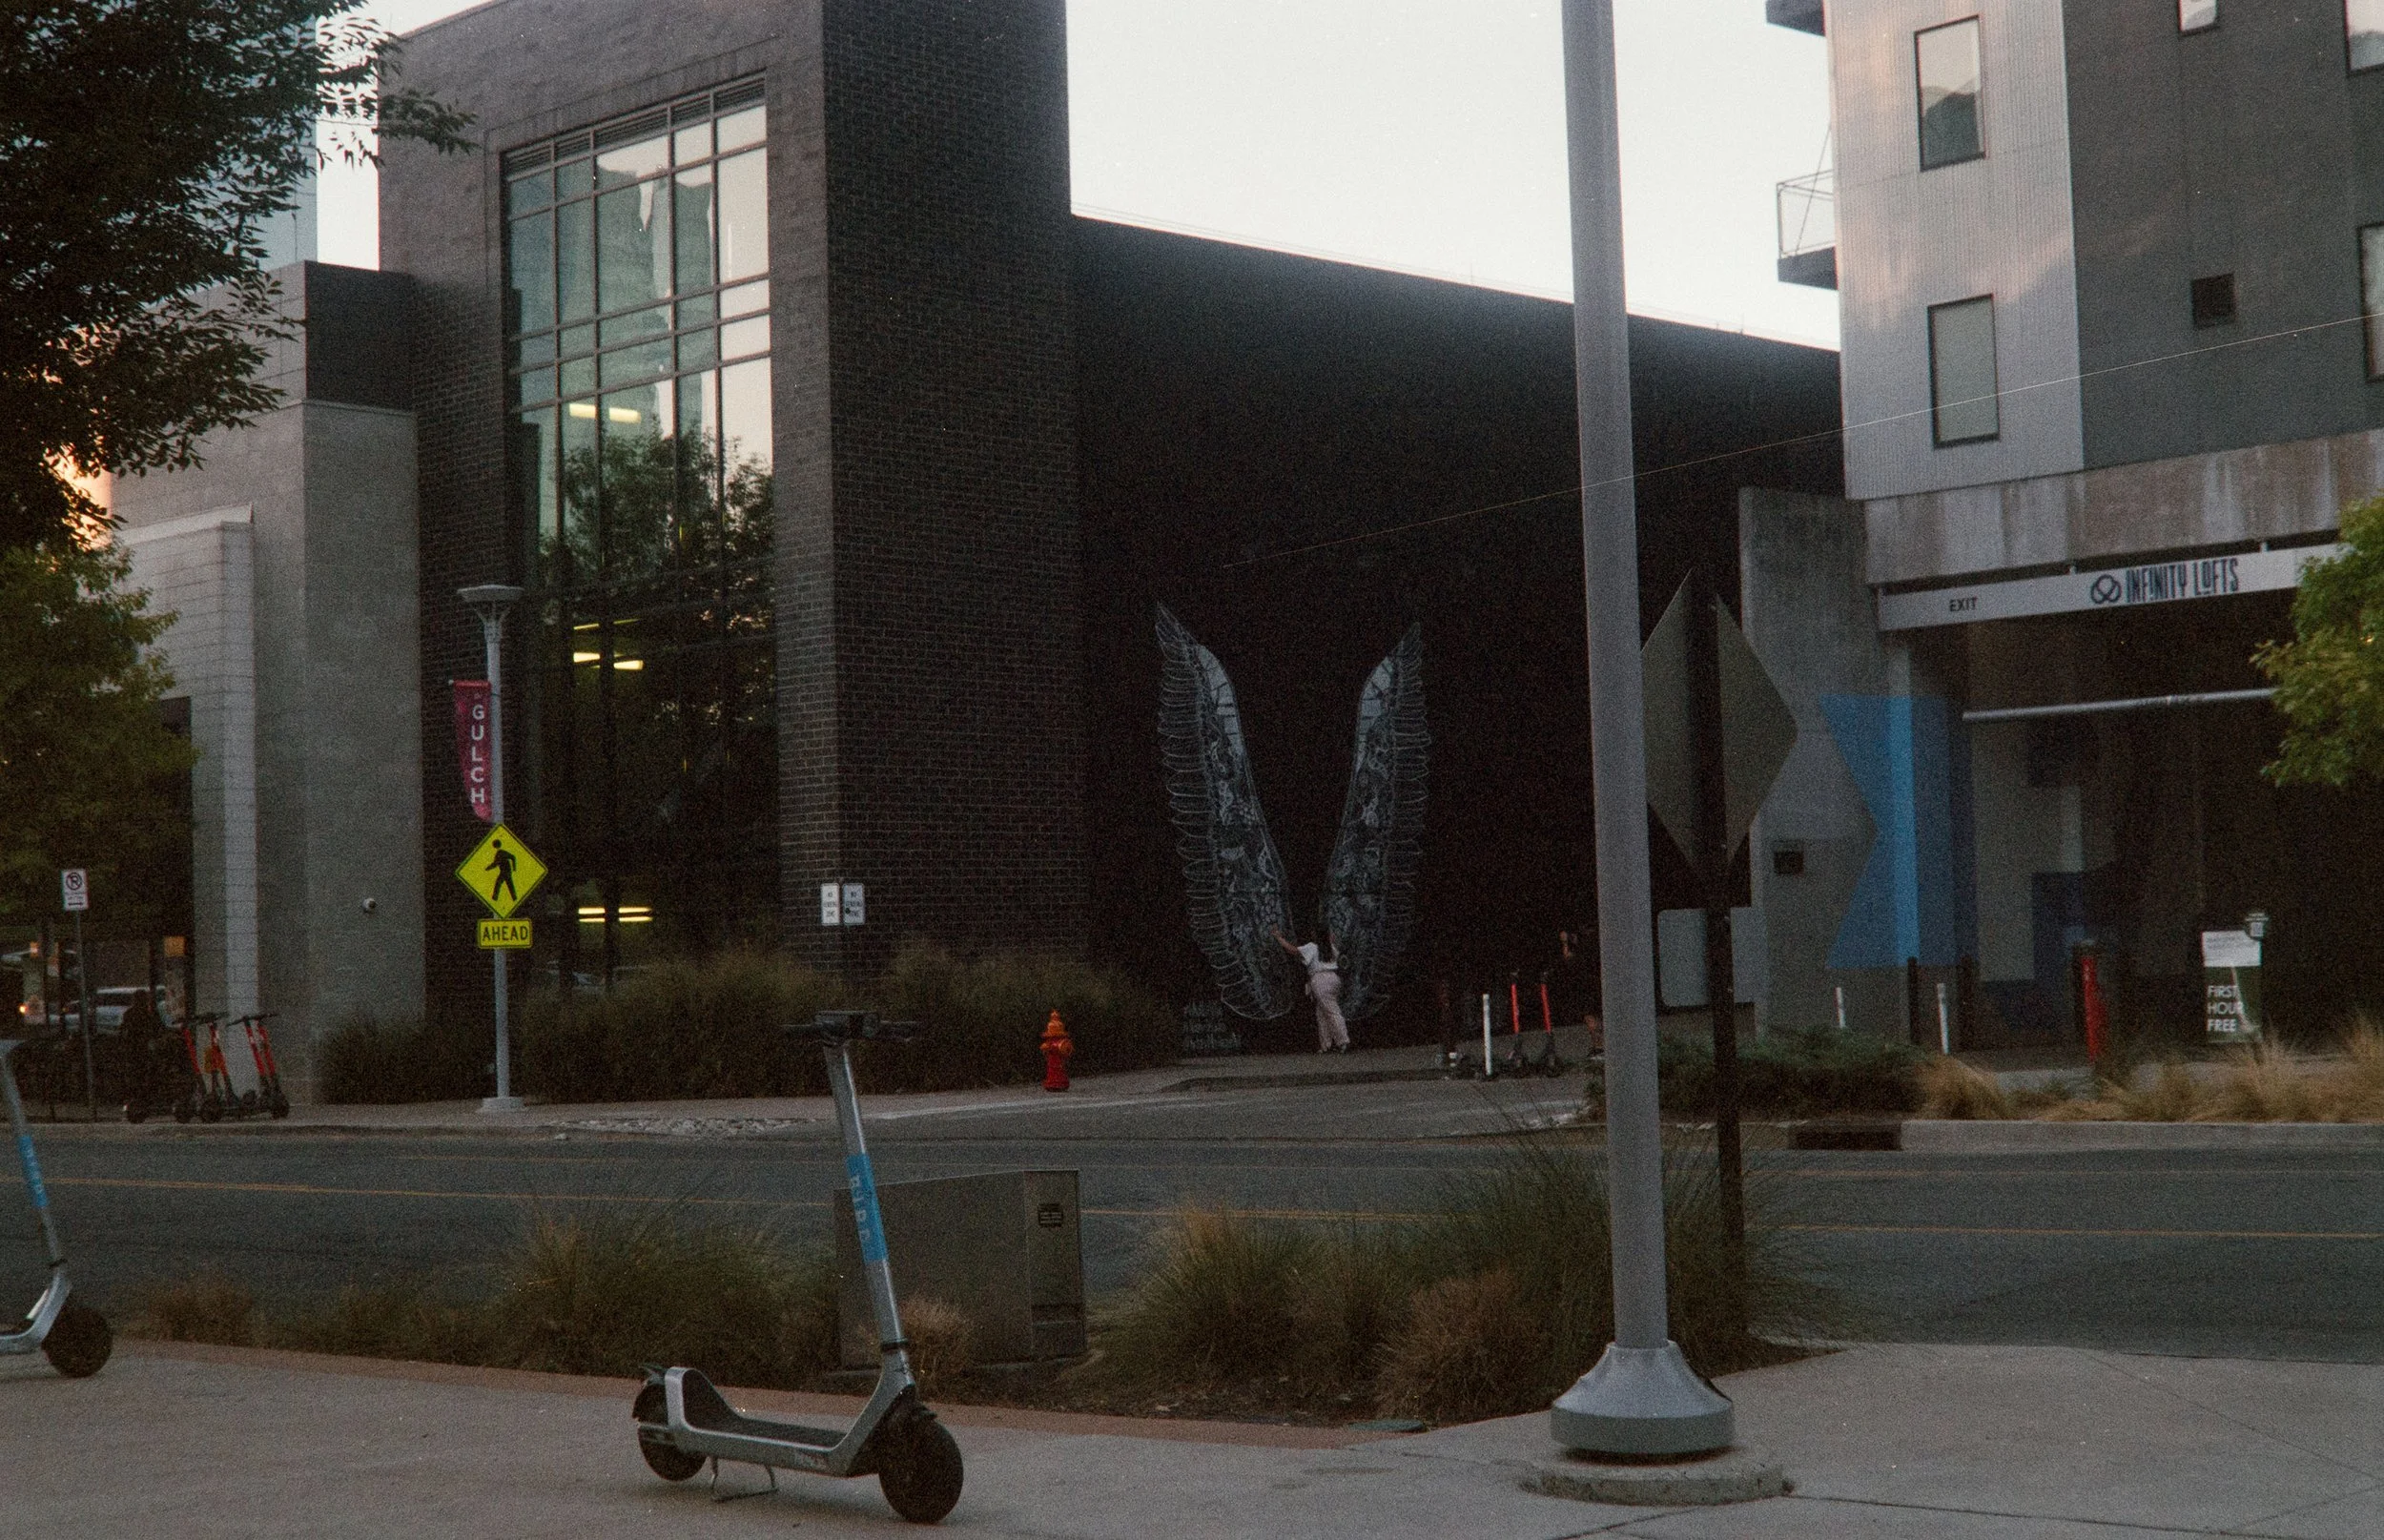
I knew I would need some sort of exposure meter so I researched those that mount in the accessory shoe mount and decided to get the TTartisan Light Meter in silver to match the camera. I got this one mainly because 1) it was available to purchase and 2) I like the simple nature of the dials and + or - LEDs used to indicate the exposure. Once I had the meter in-hand I loaded in a roll of long expired Kodak Gold 400 film and set off on a walk around the neighborhood.
At first I was worried that the split rangefinder/composing viewfinder arrangement would be difficult to use in practice. Much to my surprise I found the focusing and composing workflow to be easy and natural. It didn’t take more than five minutes for it be second nature. My basic approach was to use the meter to get a reading, set the speed, advanced the film, compose, focus, re-compose and then take the shot. I’m sure that a Nikon Z9 user could take over 1,000 pictures in the time it took me to take one, but speed is not the point of this camera system.
When researching the light meters the reviews for the TTartisan meter consistently stated that the readings were 1 stop under what would be found comparing to an app on a phone. And I can see how difficult getting an accurate reading could be with this meter as the f-stop/film speed dial is not indexed; meaning that it is not certain that a specific f-stop or film speed has been selected. In other words, it is not possible to exactly select f2 or exactly select ISO-100 with this meter. I’m sure most of the time the selection is really, really close, but you will never be able to exactly select a setting with the left dial. The lack of an index on the left dial stands out compared to the shutter speed selector dial which is indexed. I’m not saying the meter is unusable, you just have to know that it is not accurate and that it cannot be accurate due to the way it has been designed.
When I got the scans back from the developer they were grainy and soft, exactly what I expected. And, also, what I want from this kind of camera. One of these days I will put in some new film and when I do I am sure the scans will be crisper and look better overall. That being said, film cameras were not meant to make digital images and these negatives were no exception. On my MacBook Pro with a 32” Samsung 4k monitor the 22” x 14” (as reported by Photoshop) scans did look fuzzy and the grain was as big as a pin head and someone could be excused for thinking that the images just were not any good. But film images are meant to be printed, which is what I did. I have a Canon Pro-10 printer and once I turned it on, pleaded with it, begged it, threatened it, and ultimately bribed it I was able to print a few of the images. I made 4” x 6” prints on Canon Photo Paper Pro Platinum paper. The results were what you would expect - perfectly serviceable. The grain wasn’t noticeable, the sharpness was acceptable and all-in-all produced fine looking prints. I do believe that the prints were about 1/2 stop under exposed and I probably could have done some editing in Lightroom but that wasn’t what I wanted to do with my time. I wish there was a way to convey how the prints looked here, but that just isn’t possible - you have to see it for yourself.
If you’re interested hit me up on Twitter or Instagram and I will send you one of the prints. For now, I have included a gallery with the images. All I have done is resized the images down 50% and saved with the “8 - large” setting in Photoshop so the file size would be low enough to upload here. Until next time, thanks for reading.