Blog
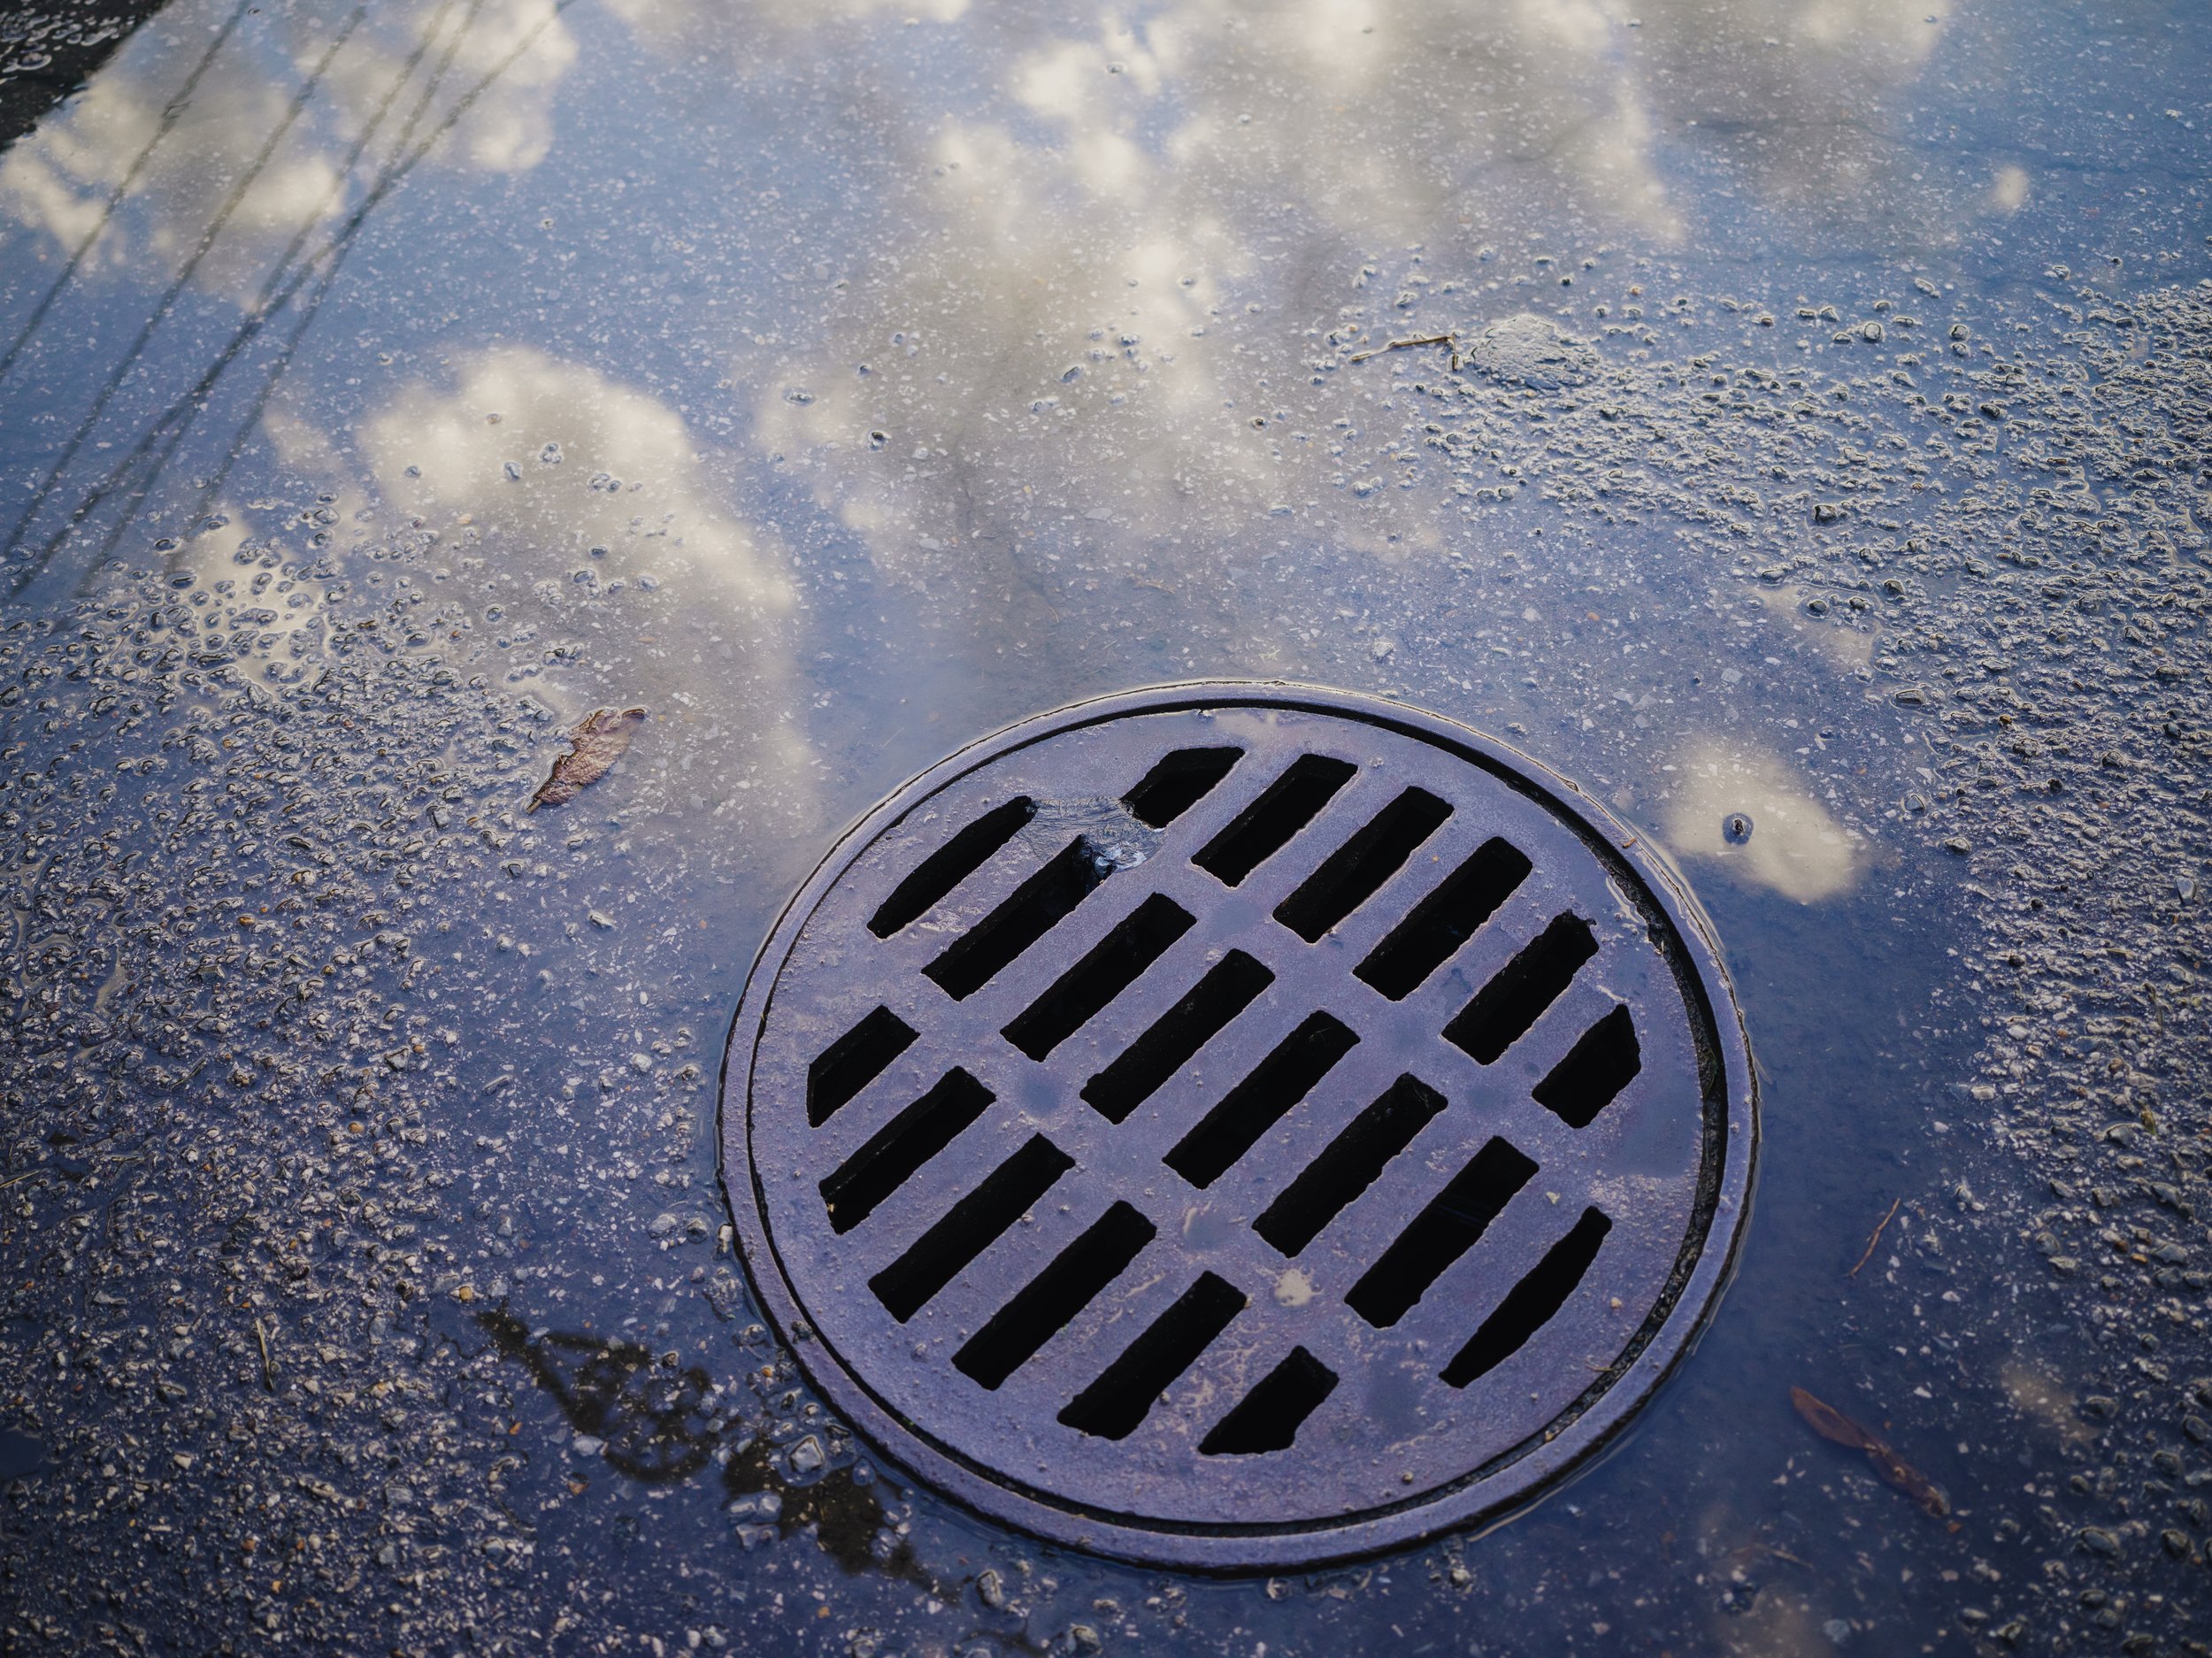
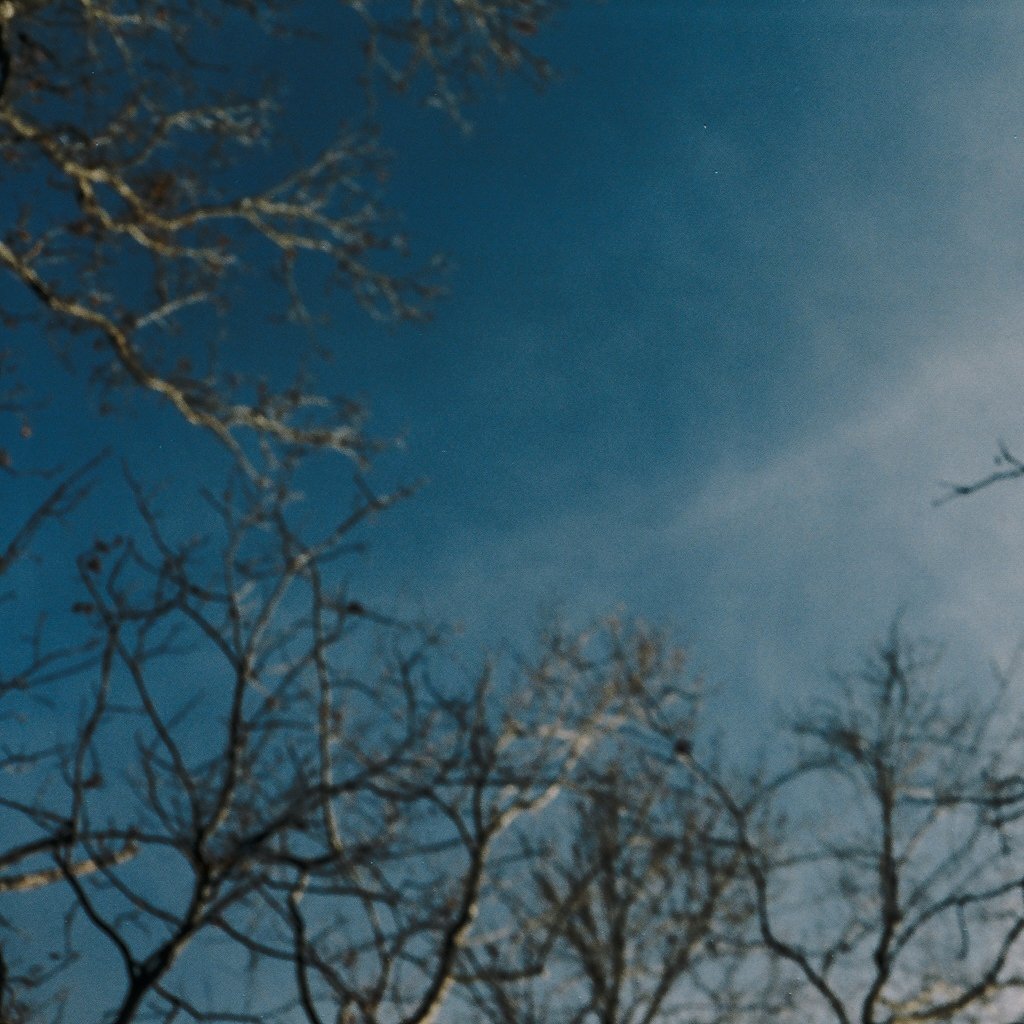
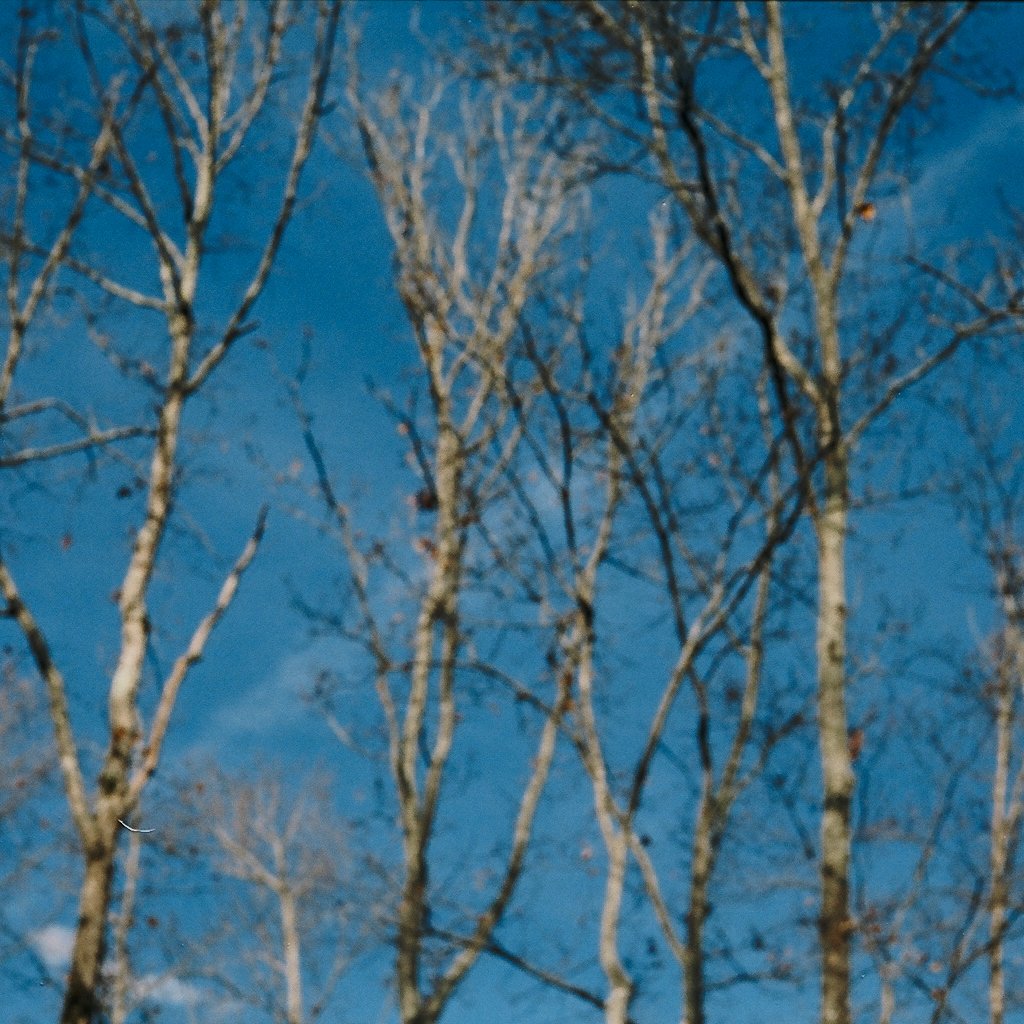
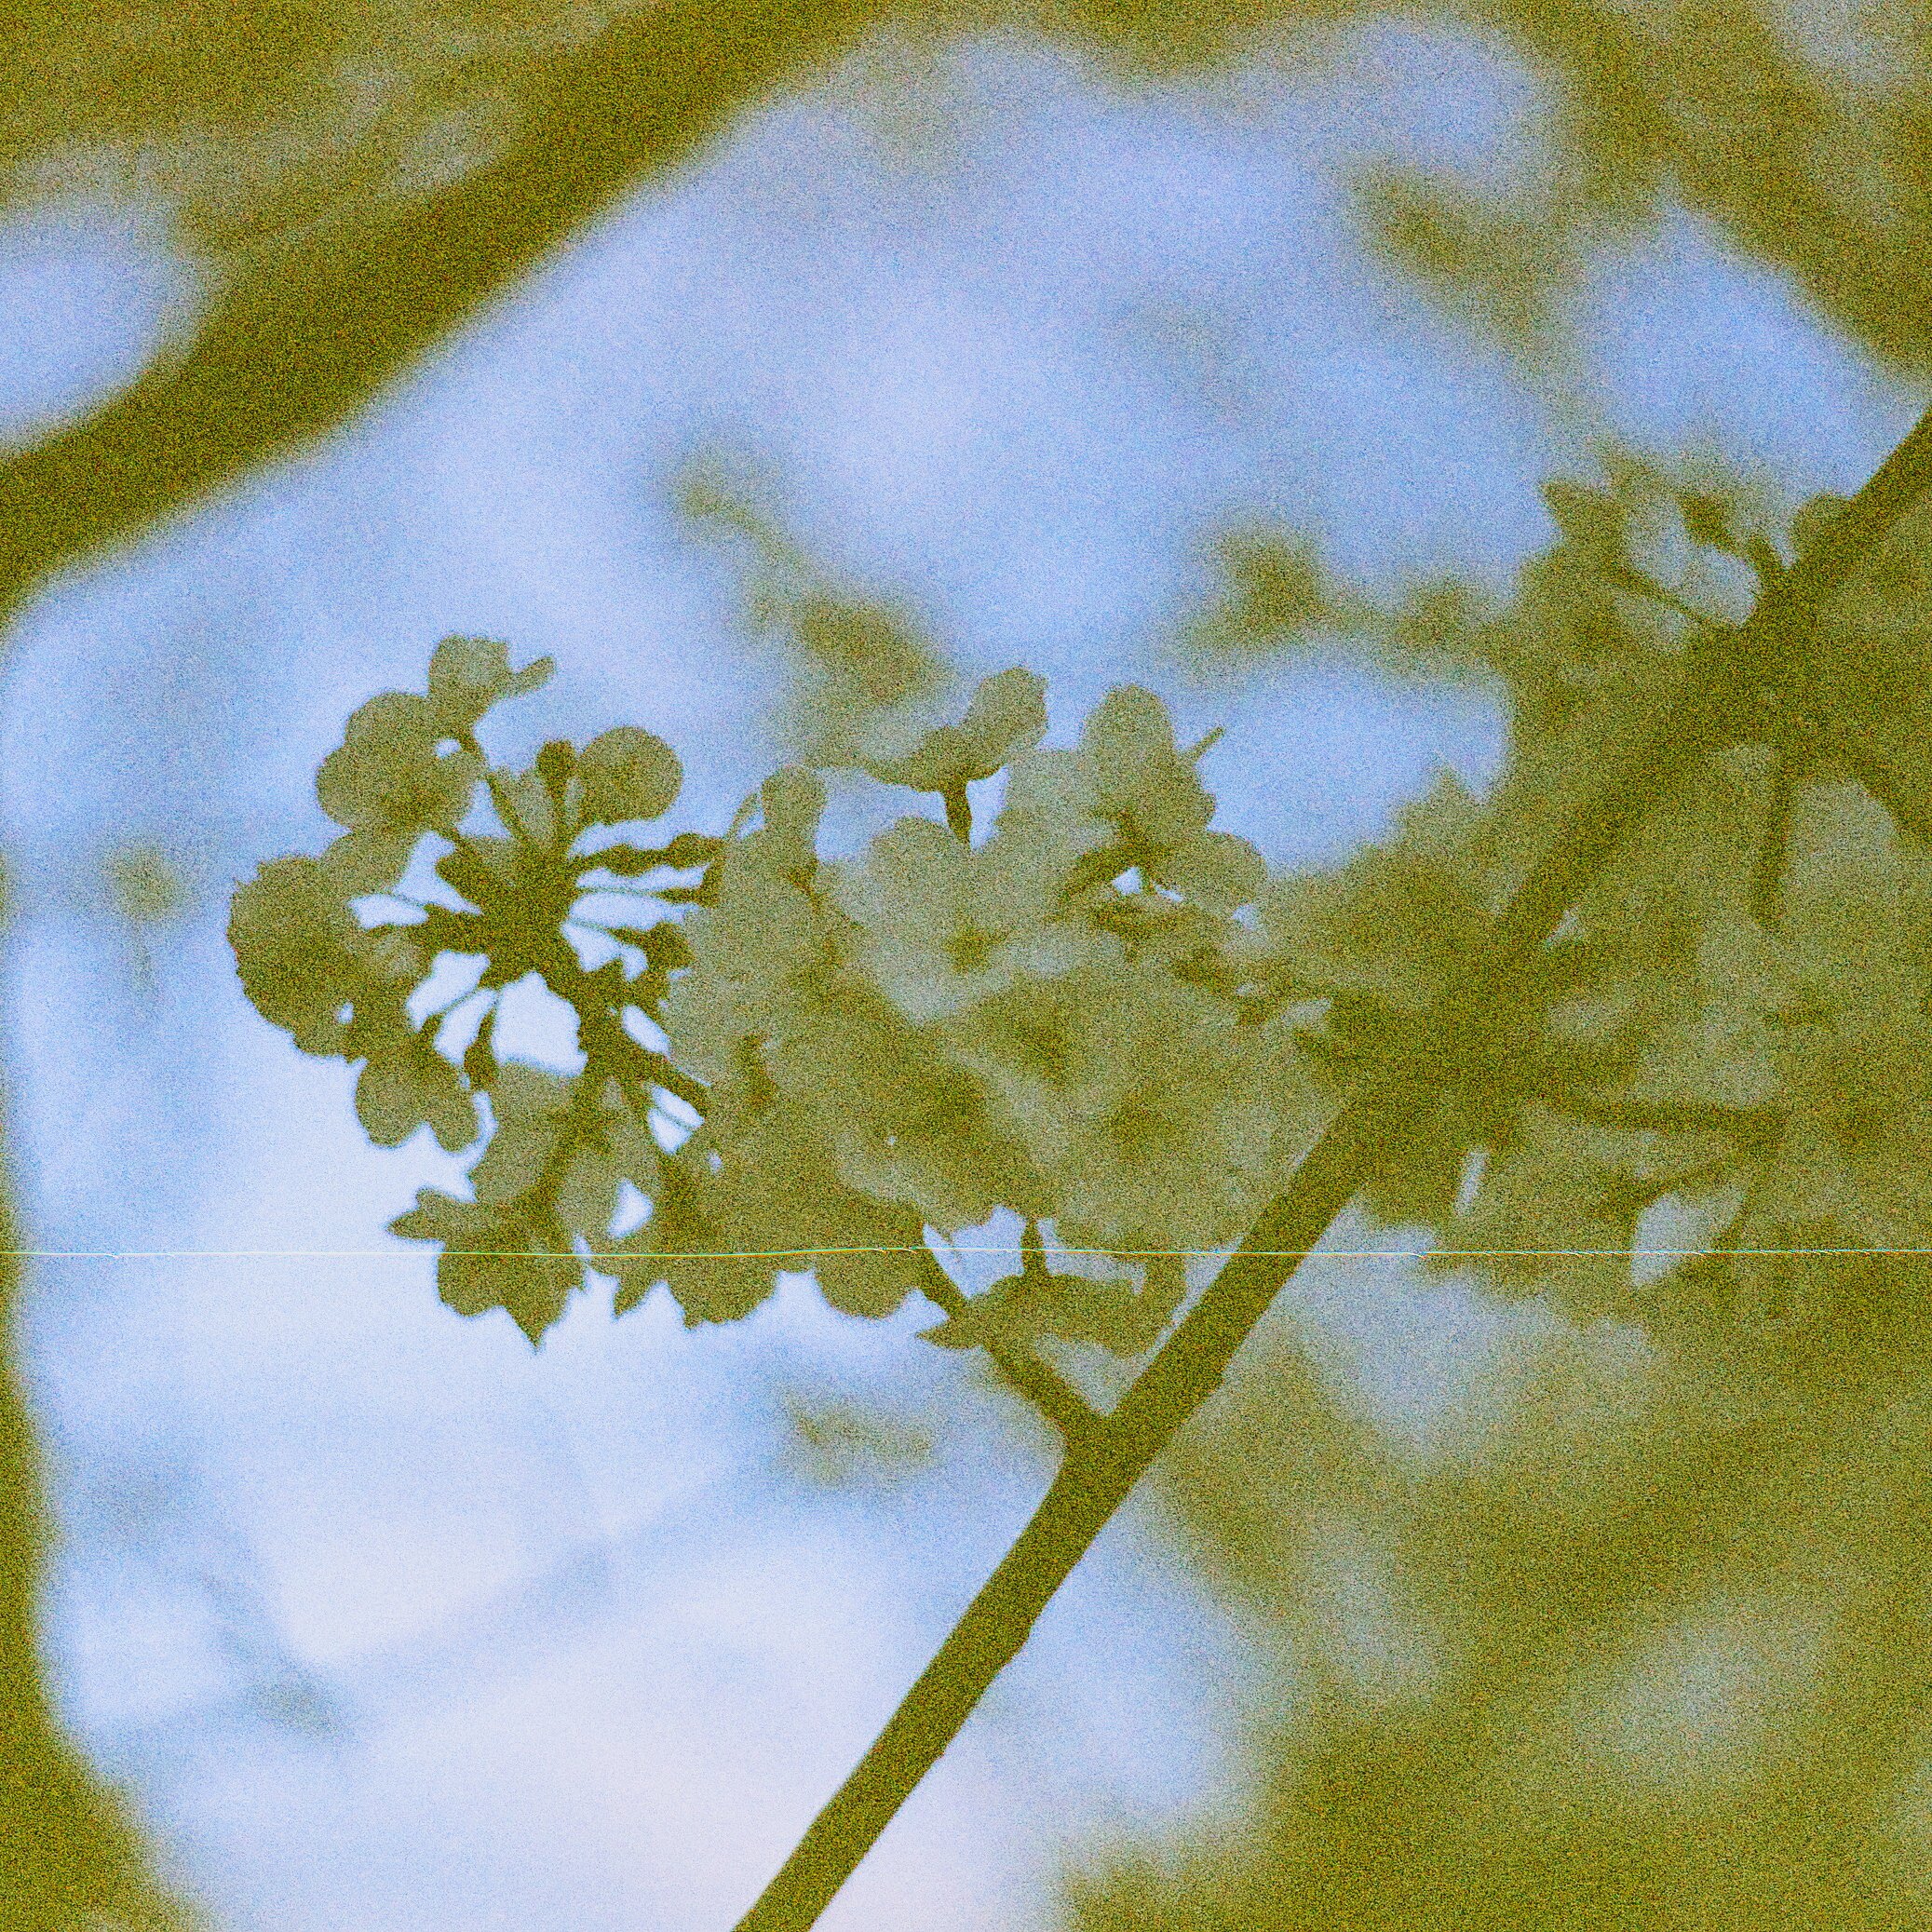
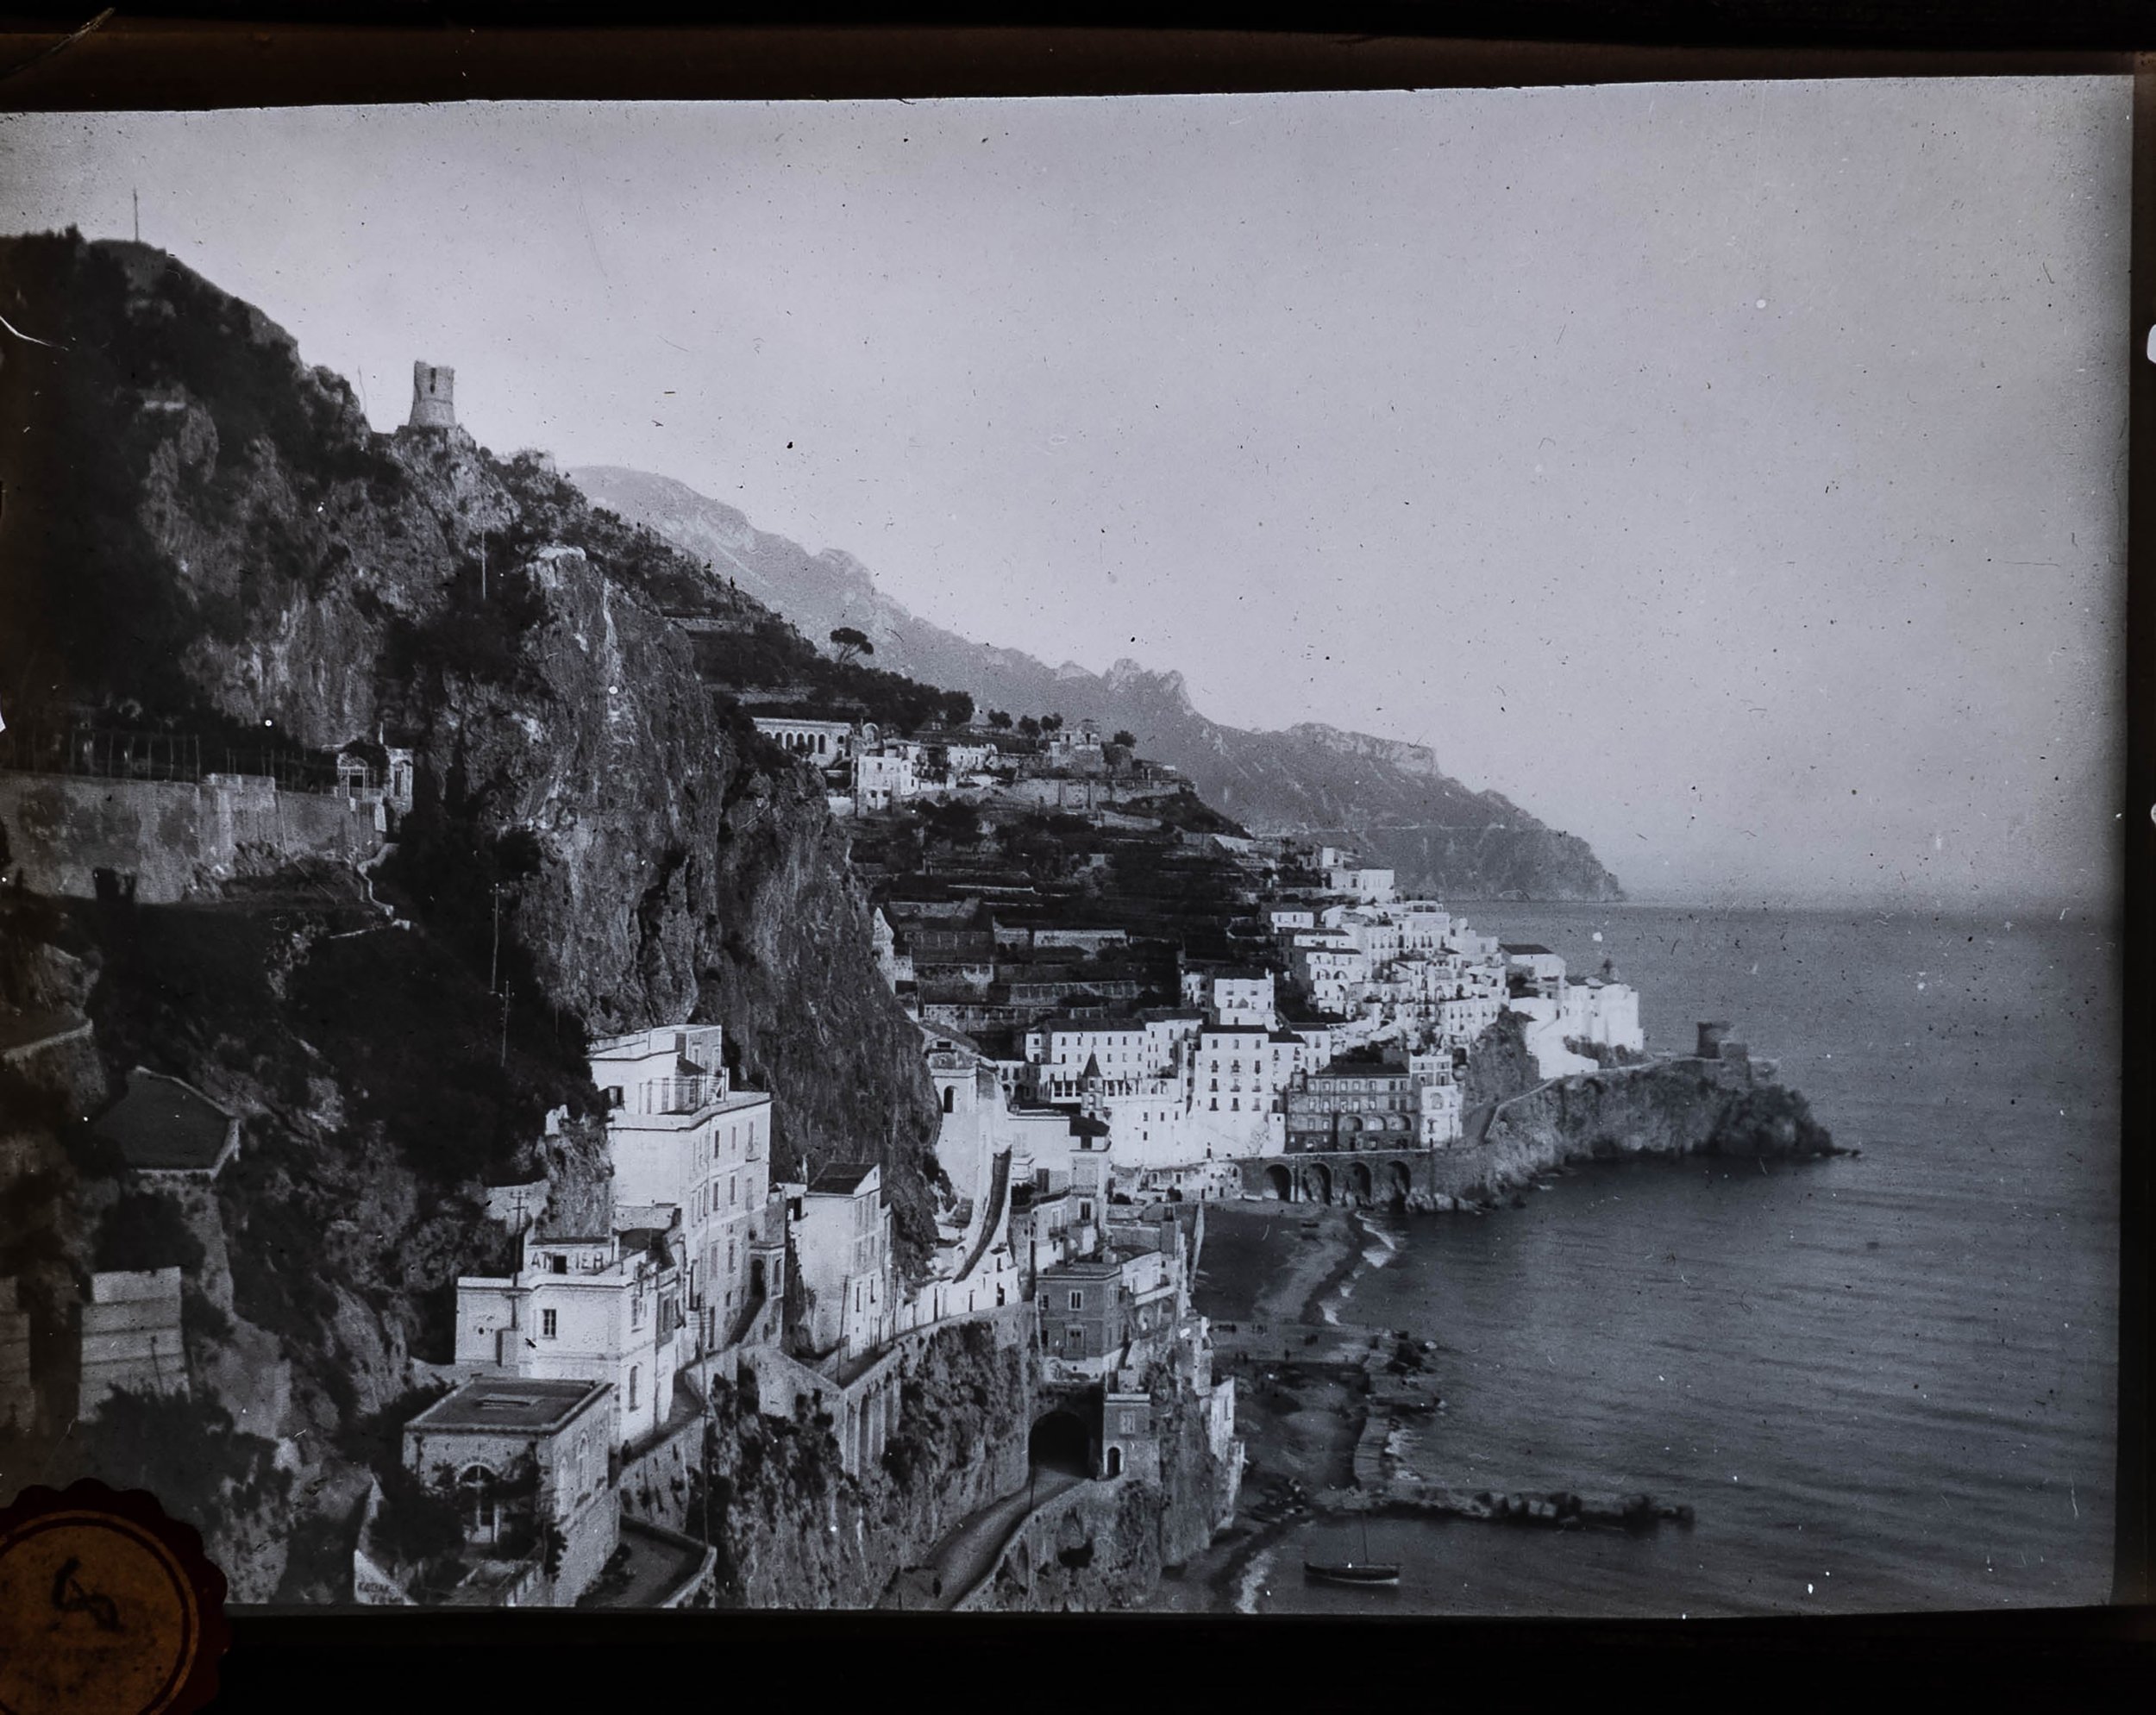
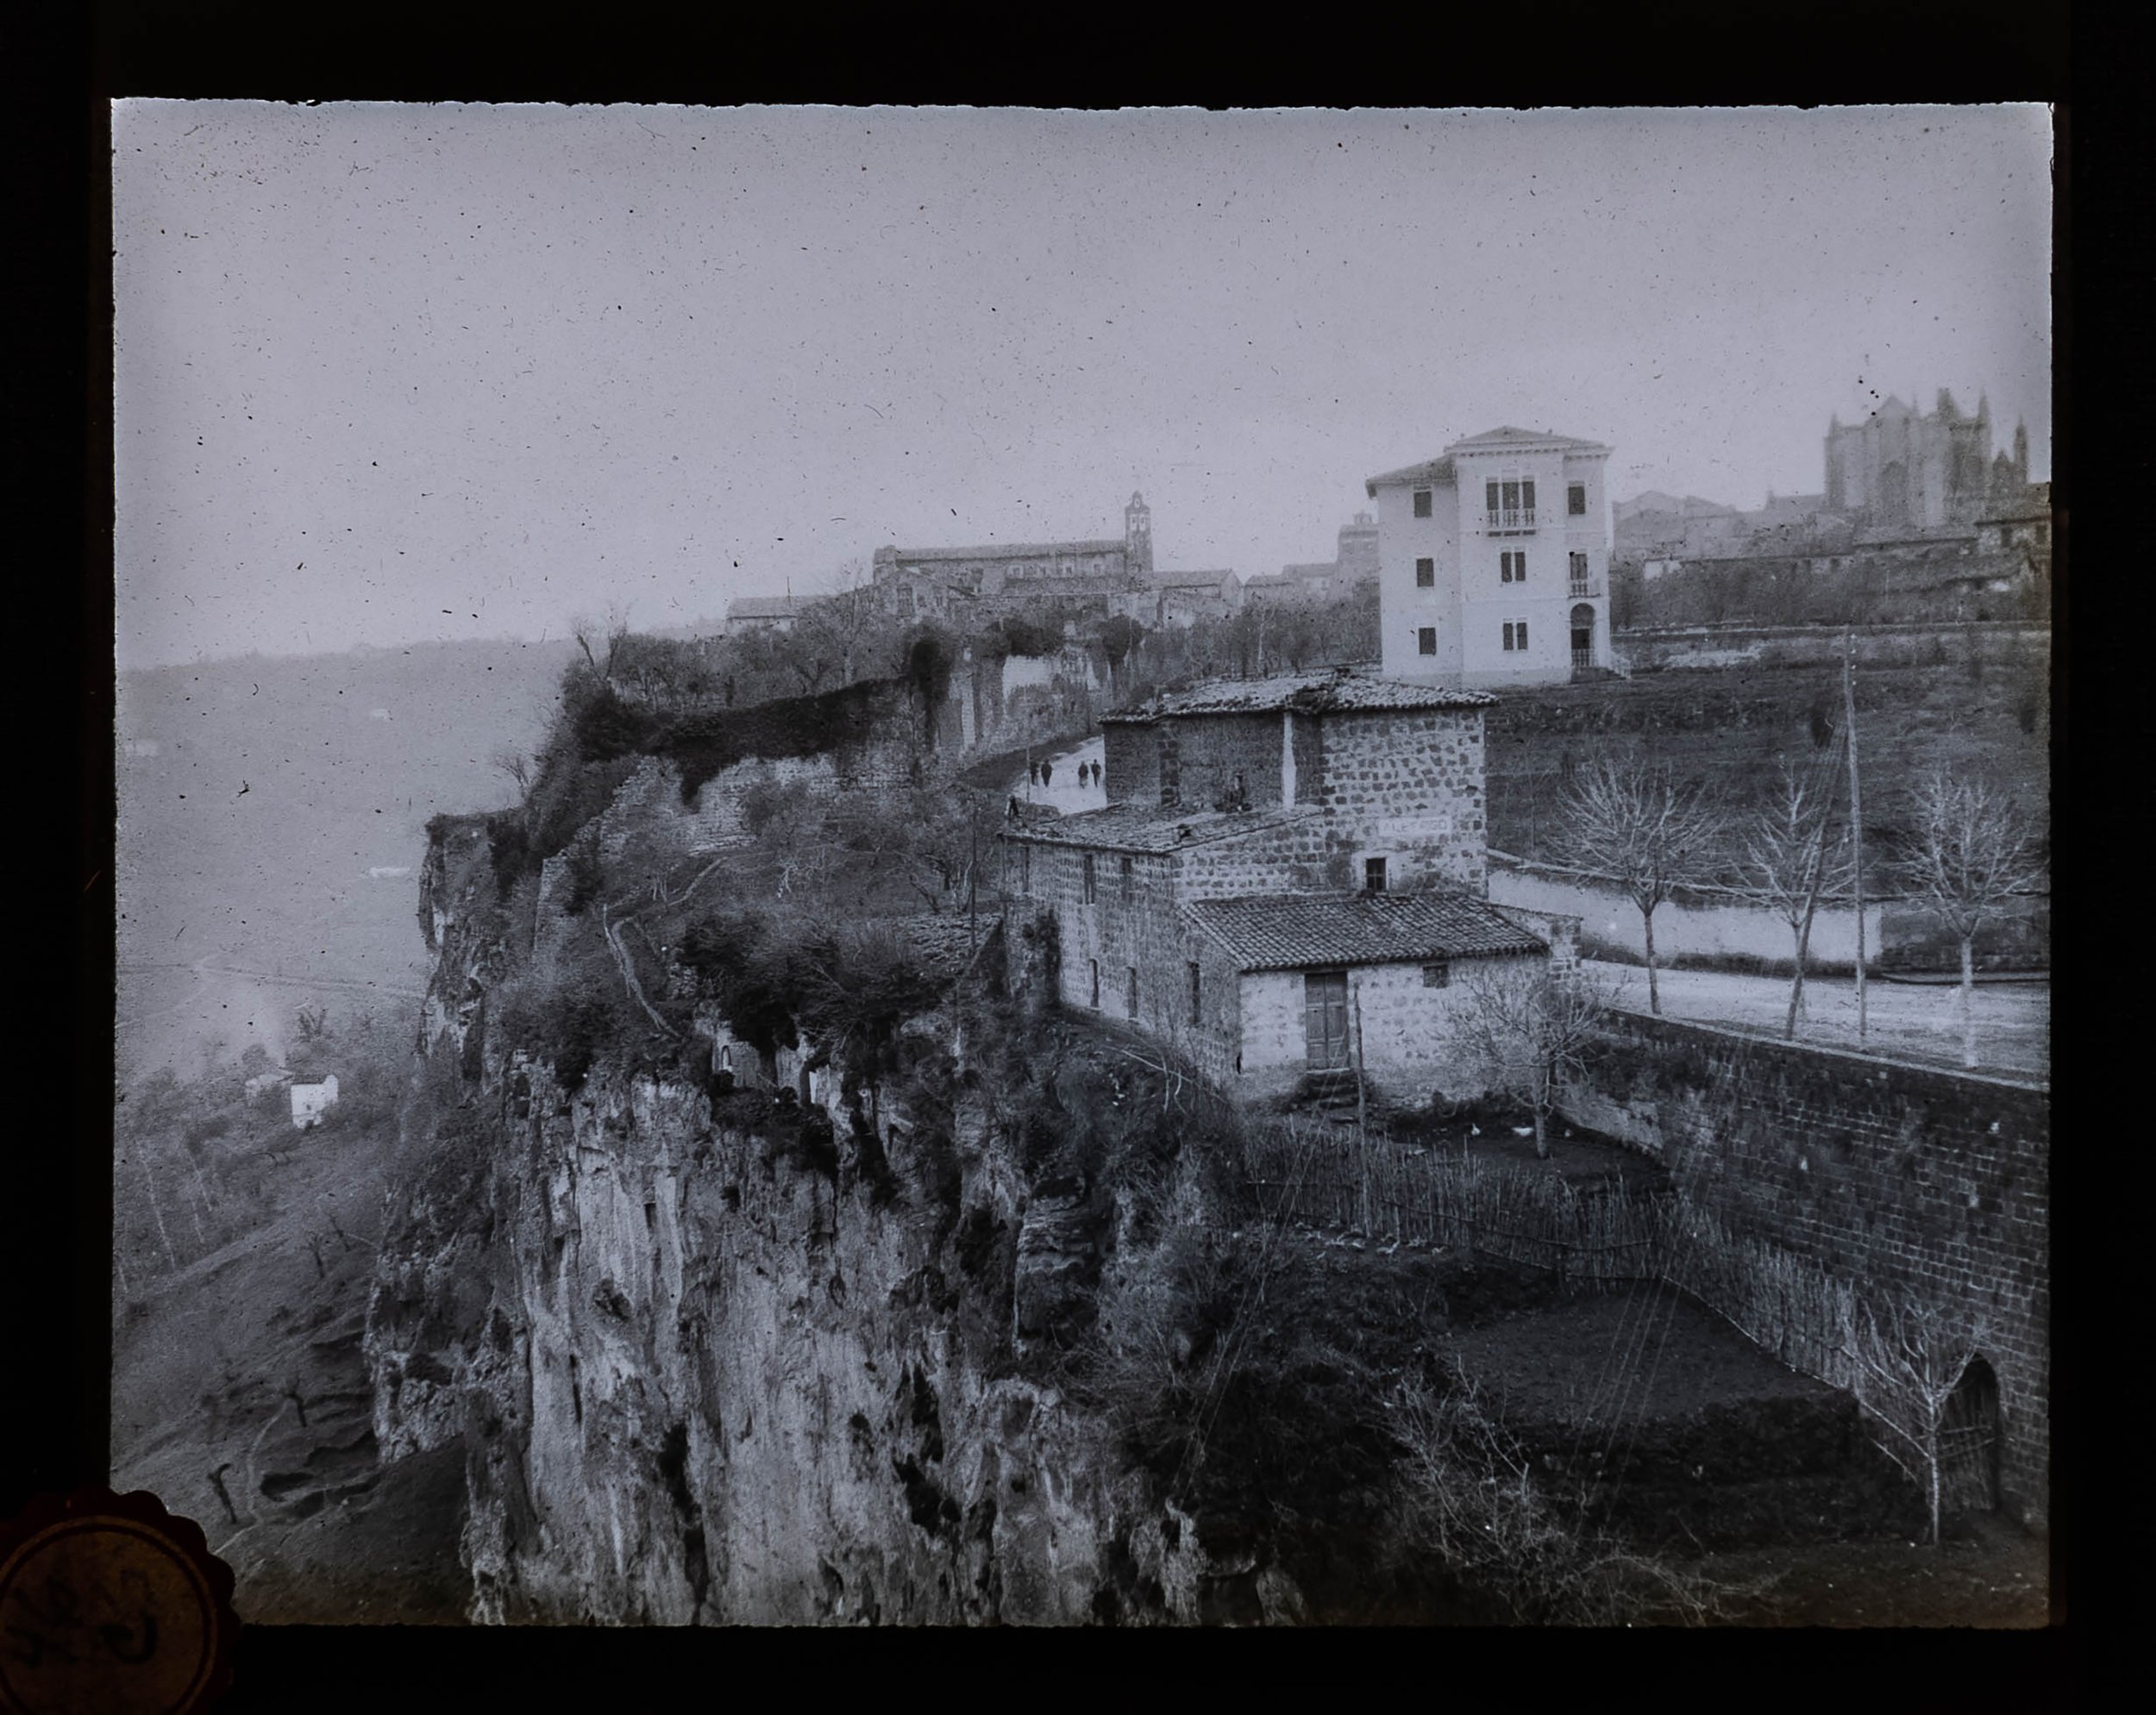
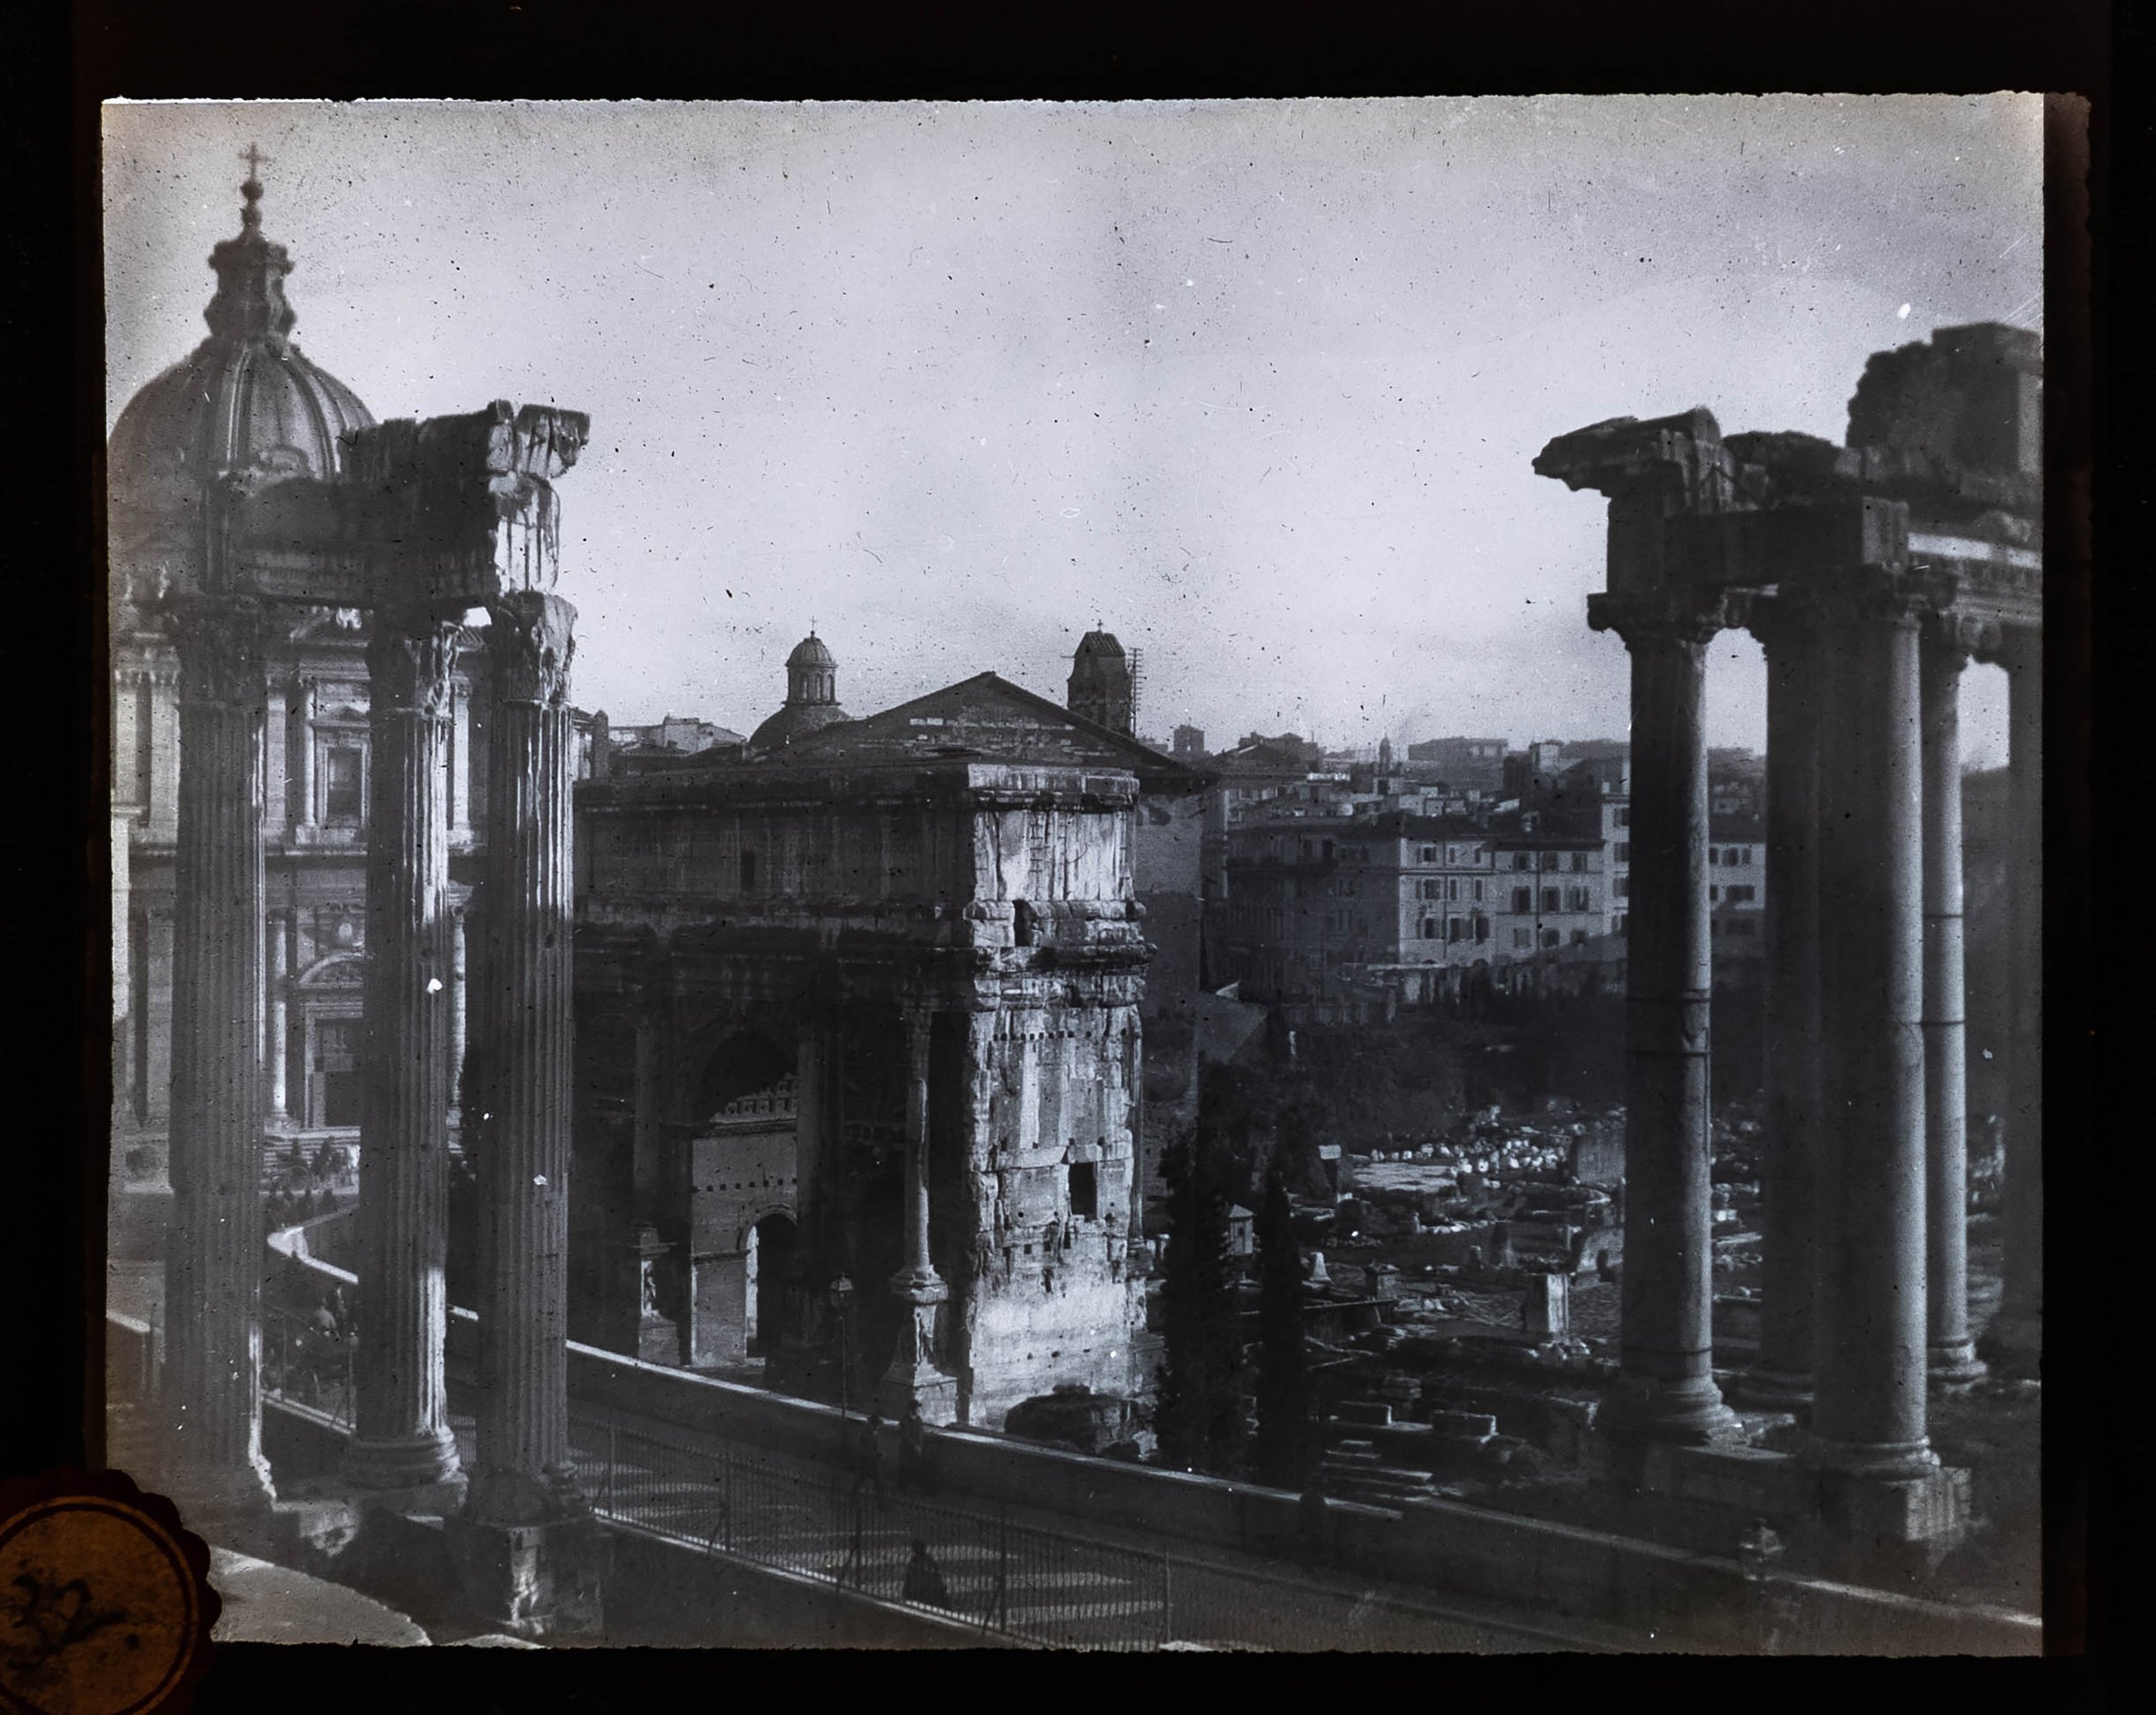
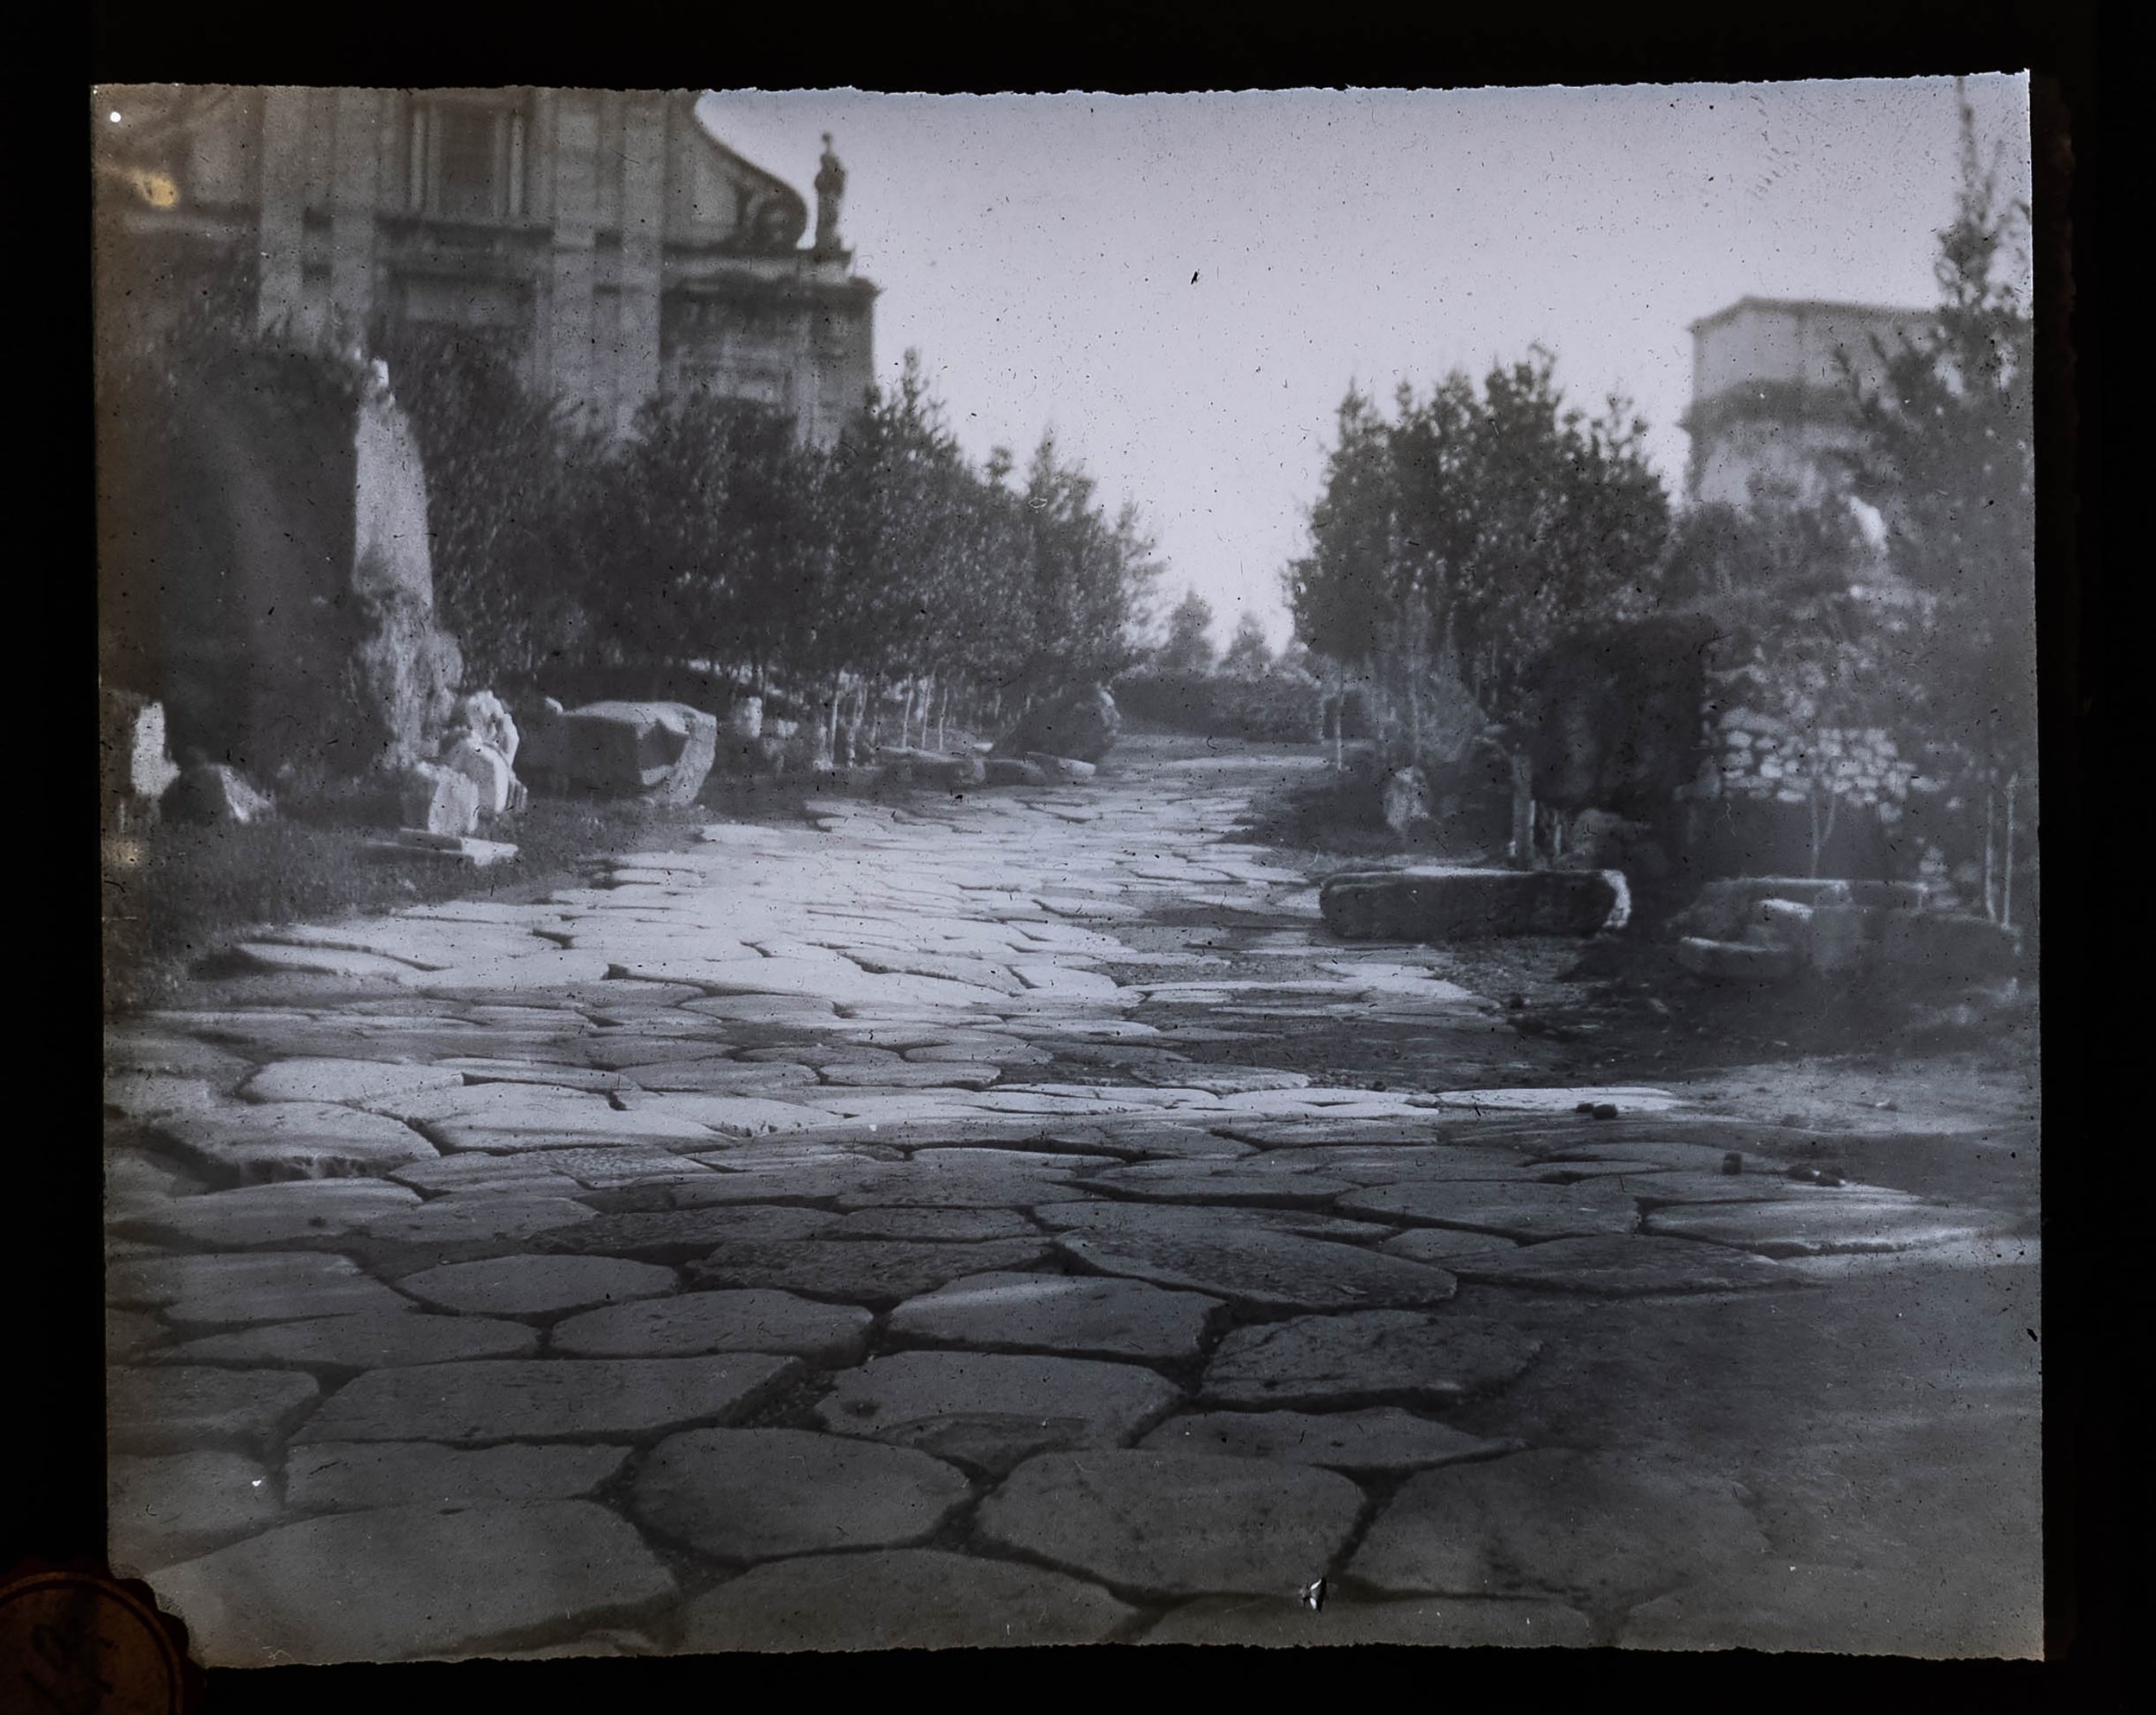
Looking to the sky


I’m trying something a little different tonight, namely I’m having a nice gin fizz while writing this. Expect some Truth to be dropped. If you’re wondering, my recipe for a mid gin fizz is a can of Sanpellegrino Limonata and 2oz of your favorite gin. In this case, I am finishing off a bottle of Hendrick’s Lunar. The addition of gin makes the Limonata barely drinkable.
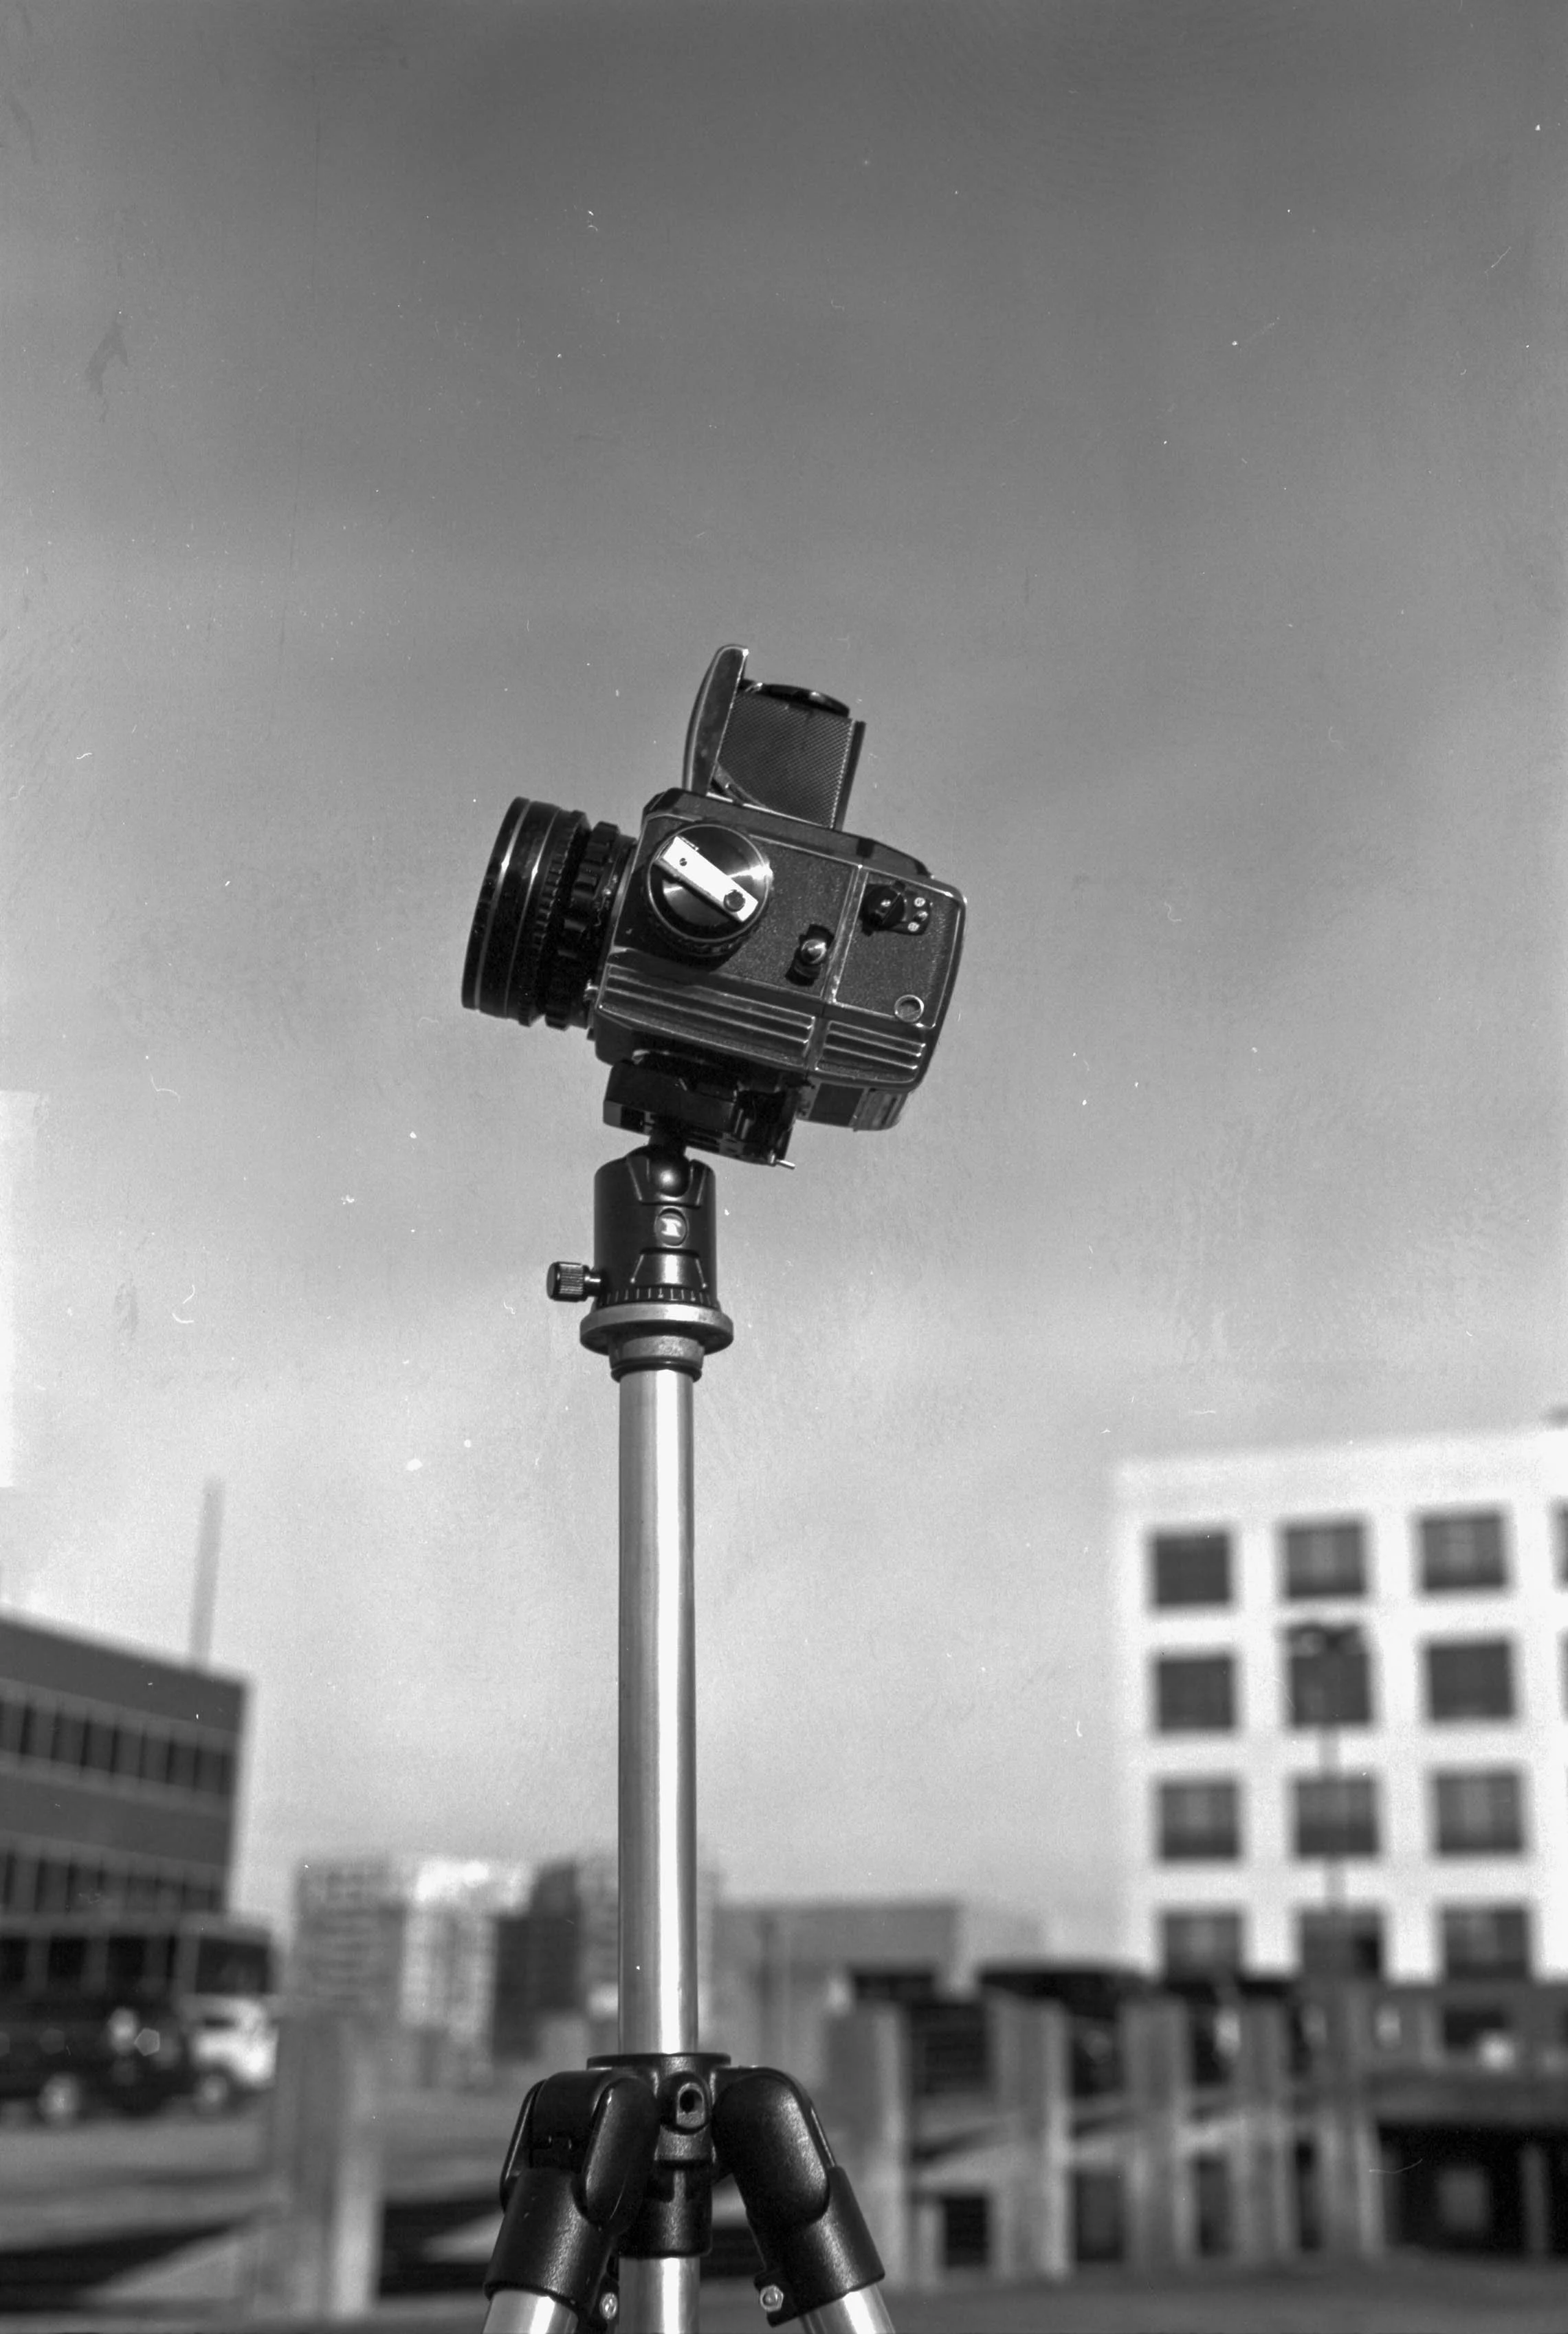
Enough of that, you came here for the pictures. And what pictures they are, some taken with a Yashica Electro35 and a couple taken with the Hasselblad X1D. Sometimes I swear I will stick to film, but the reality of the expenses associated with film make me want to scream. I couple of months ago I came across a stupendous deal on a Hasselblad X1D 50 with a lens for less than $2,000. When everything got to me it was as if I a been sent a new camera. My plan buying it was to just flip it immediately, but then I held the camera in my hand and that was that.
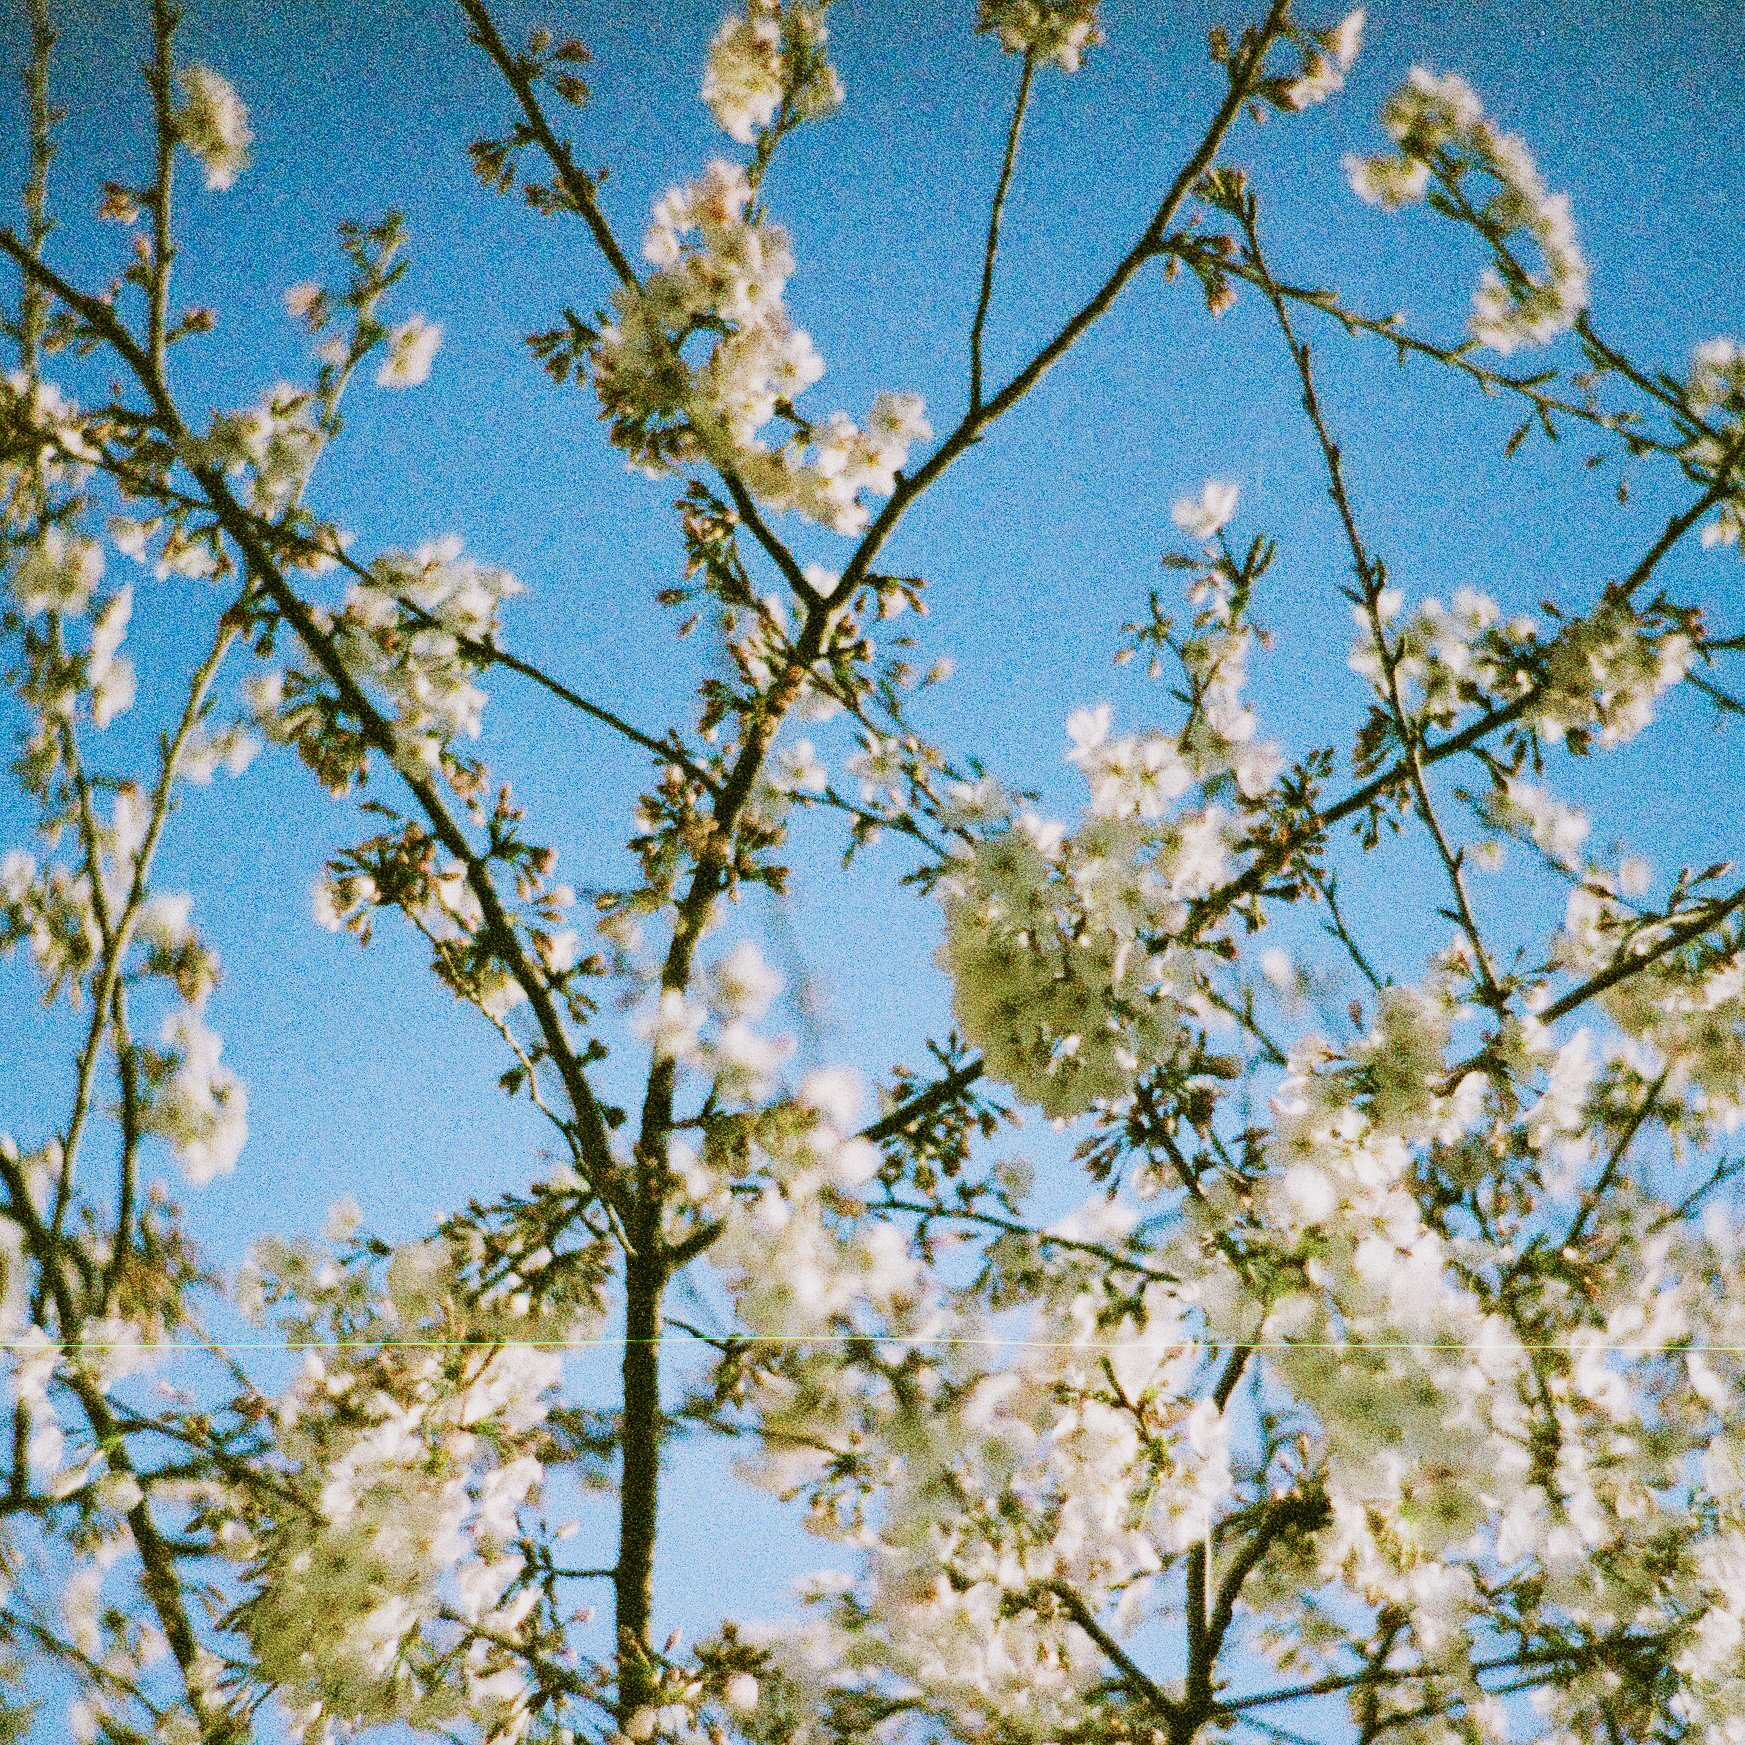
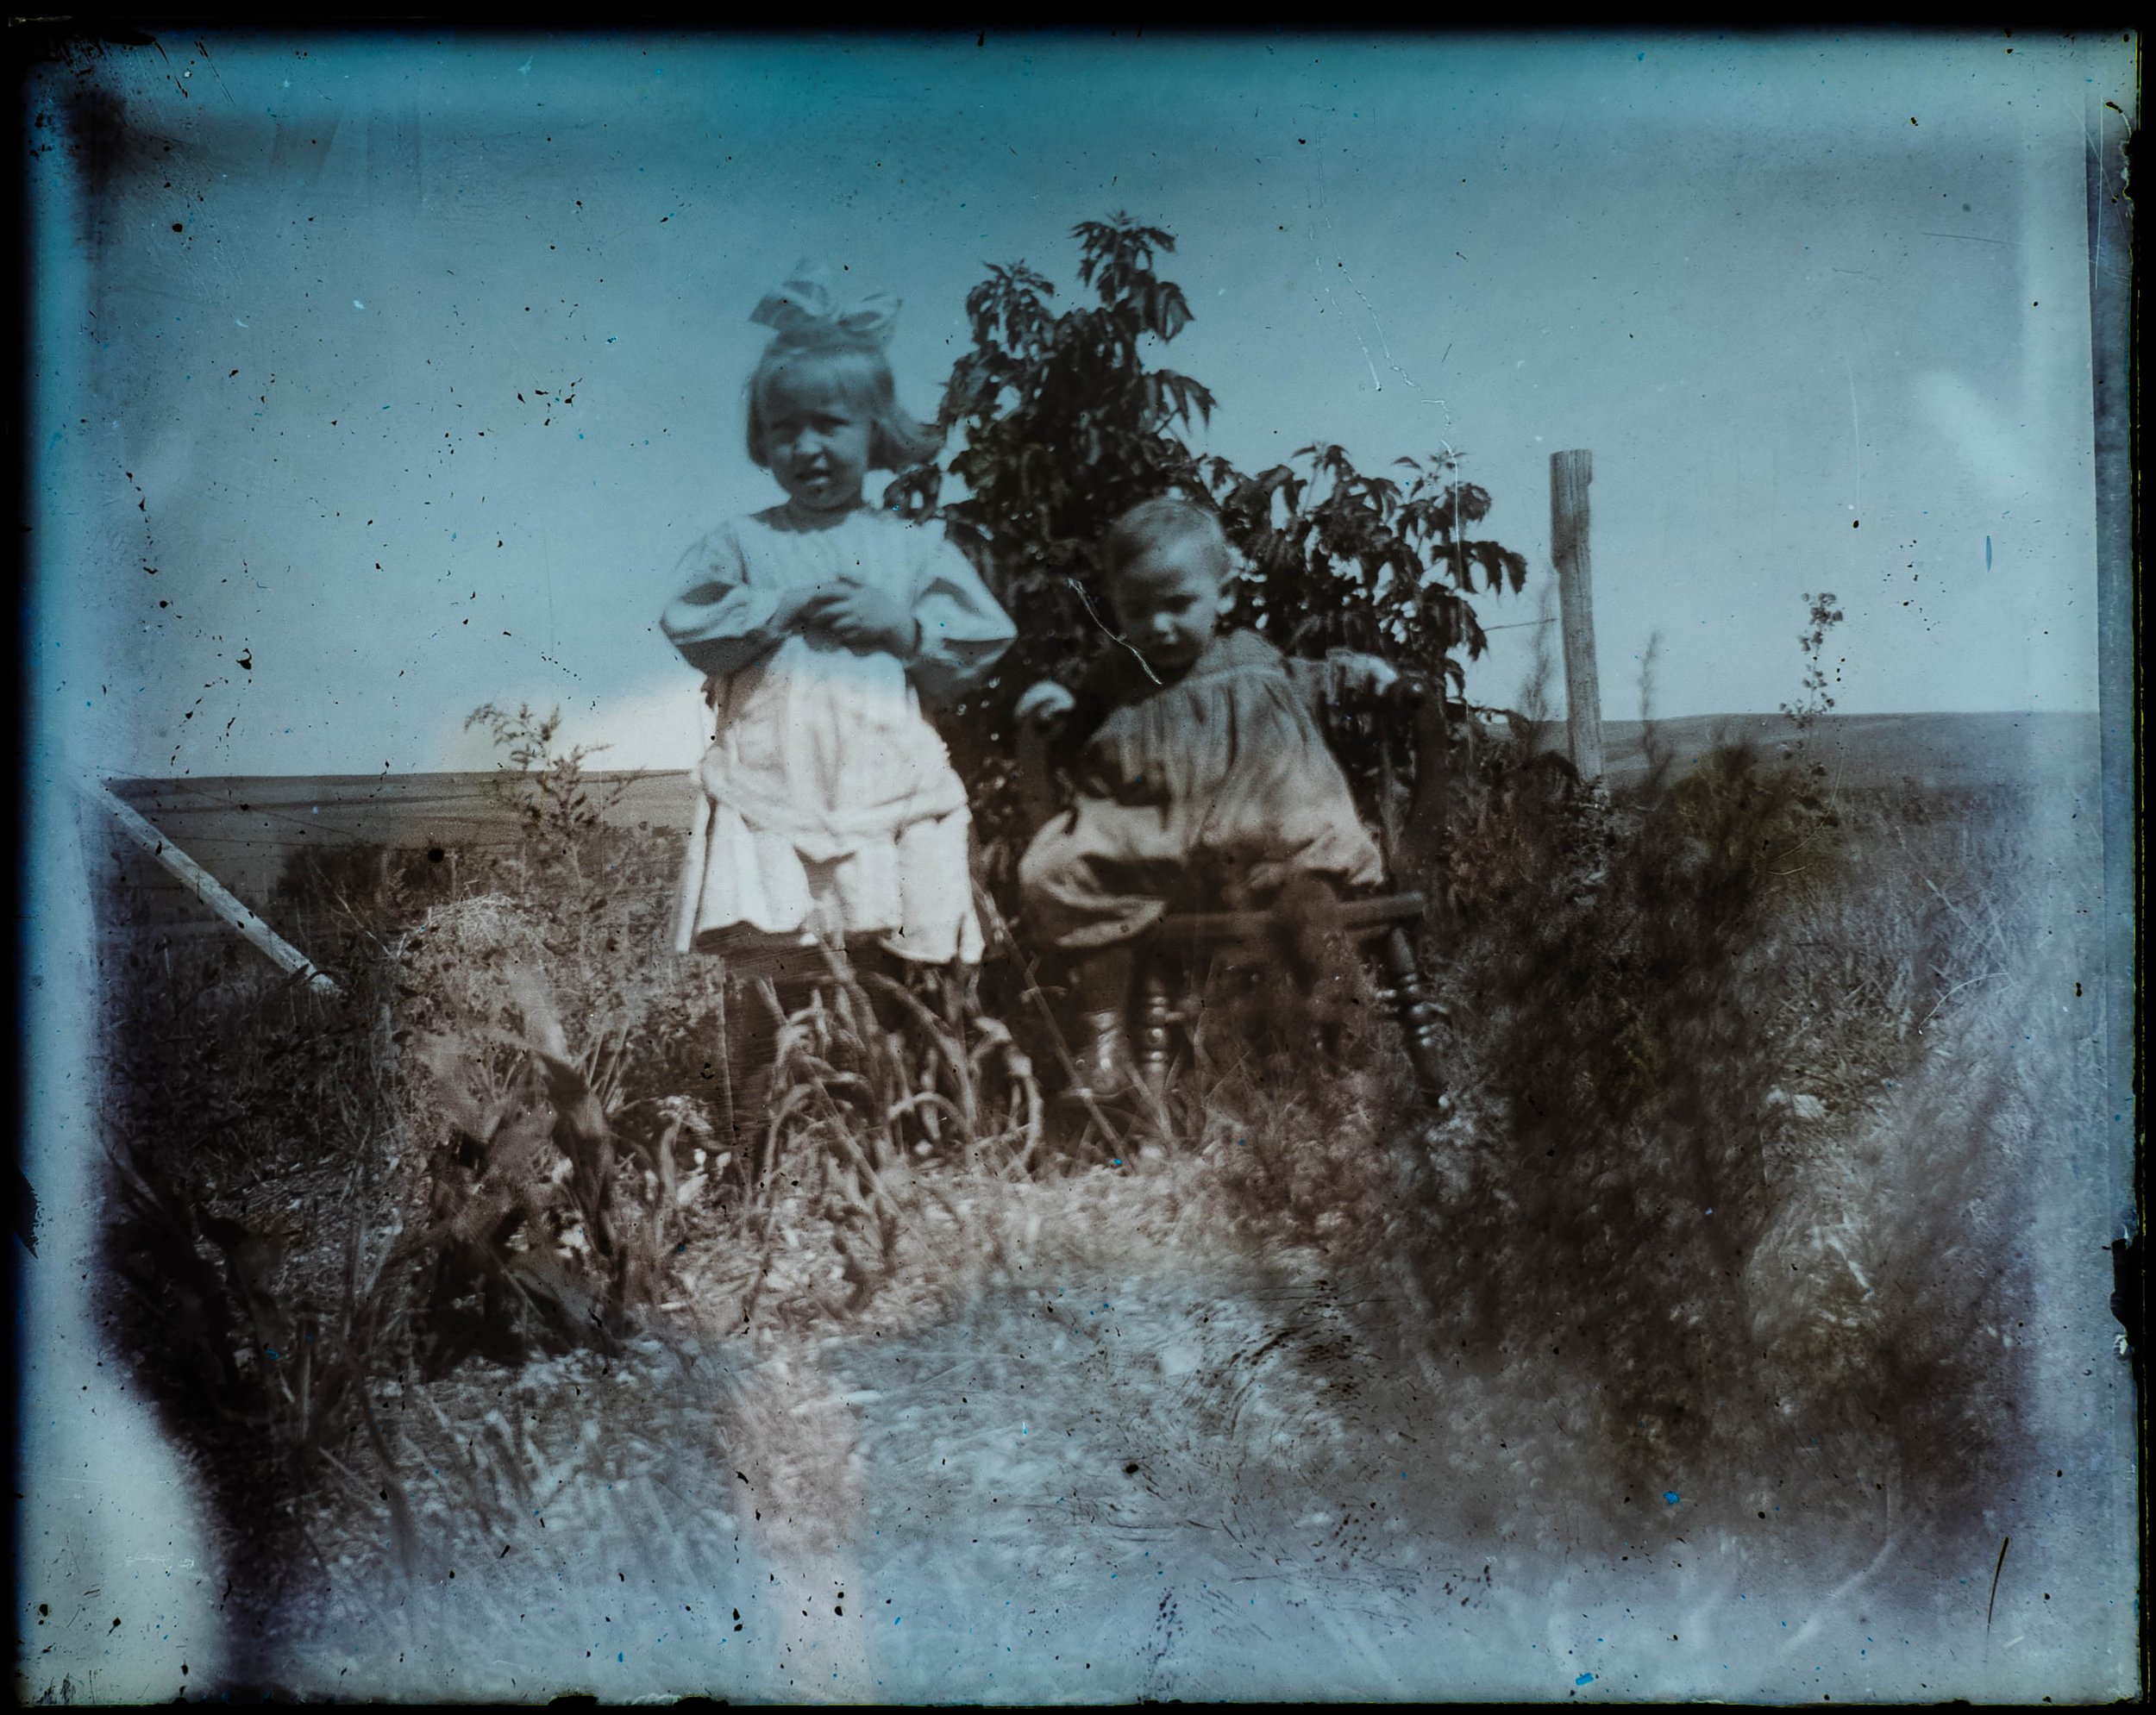
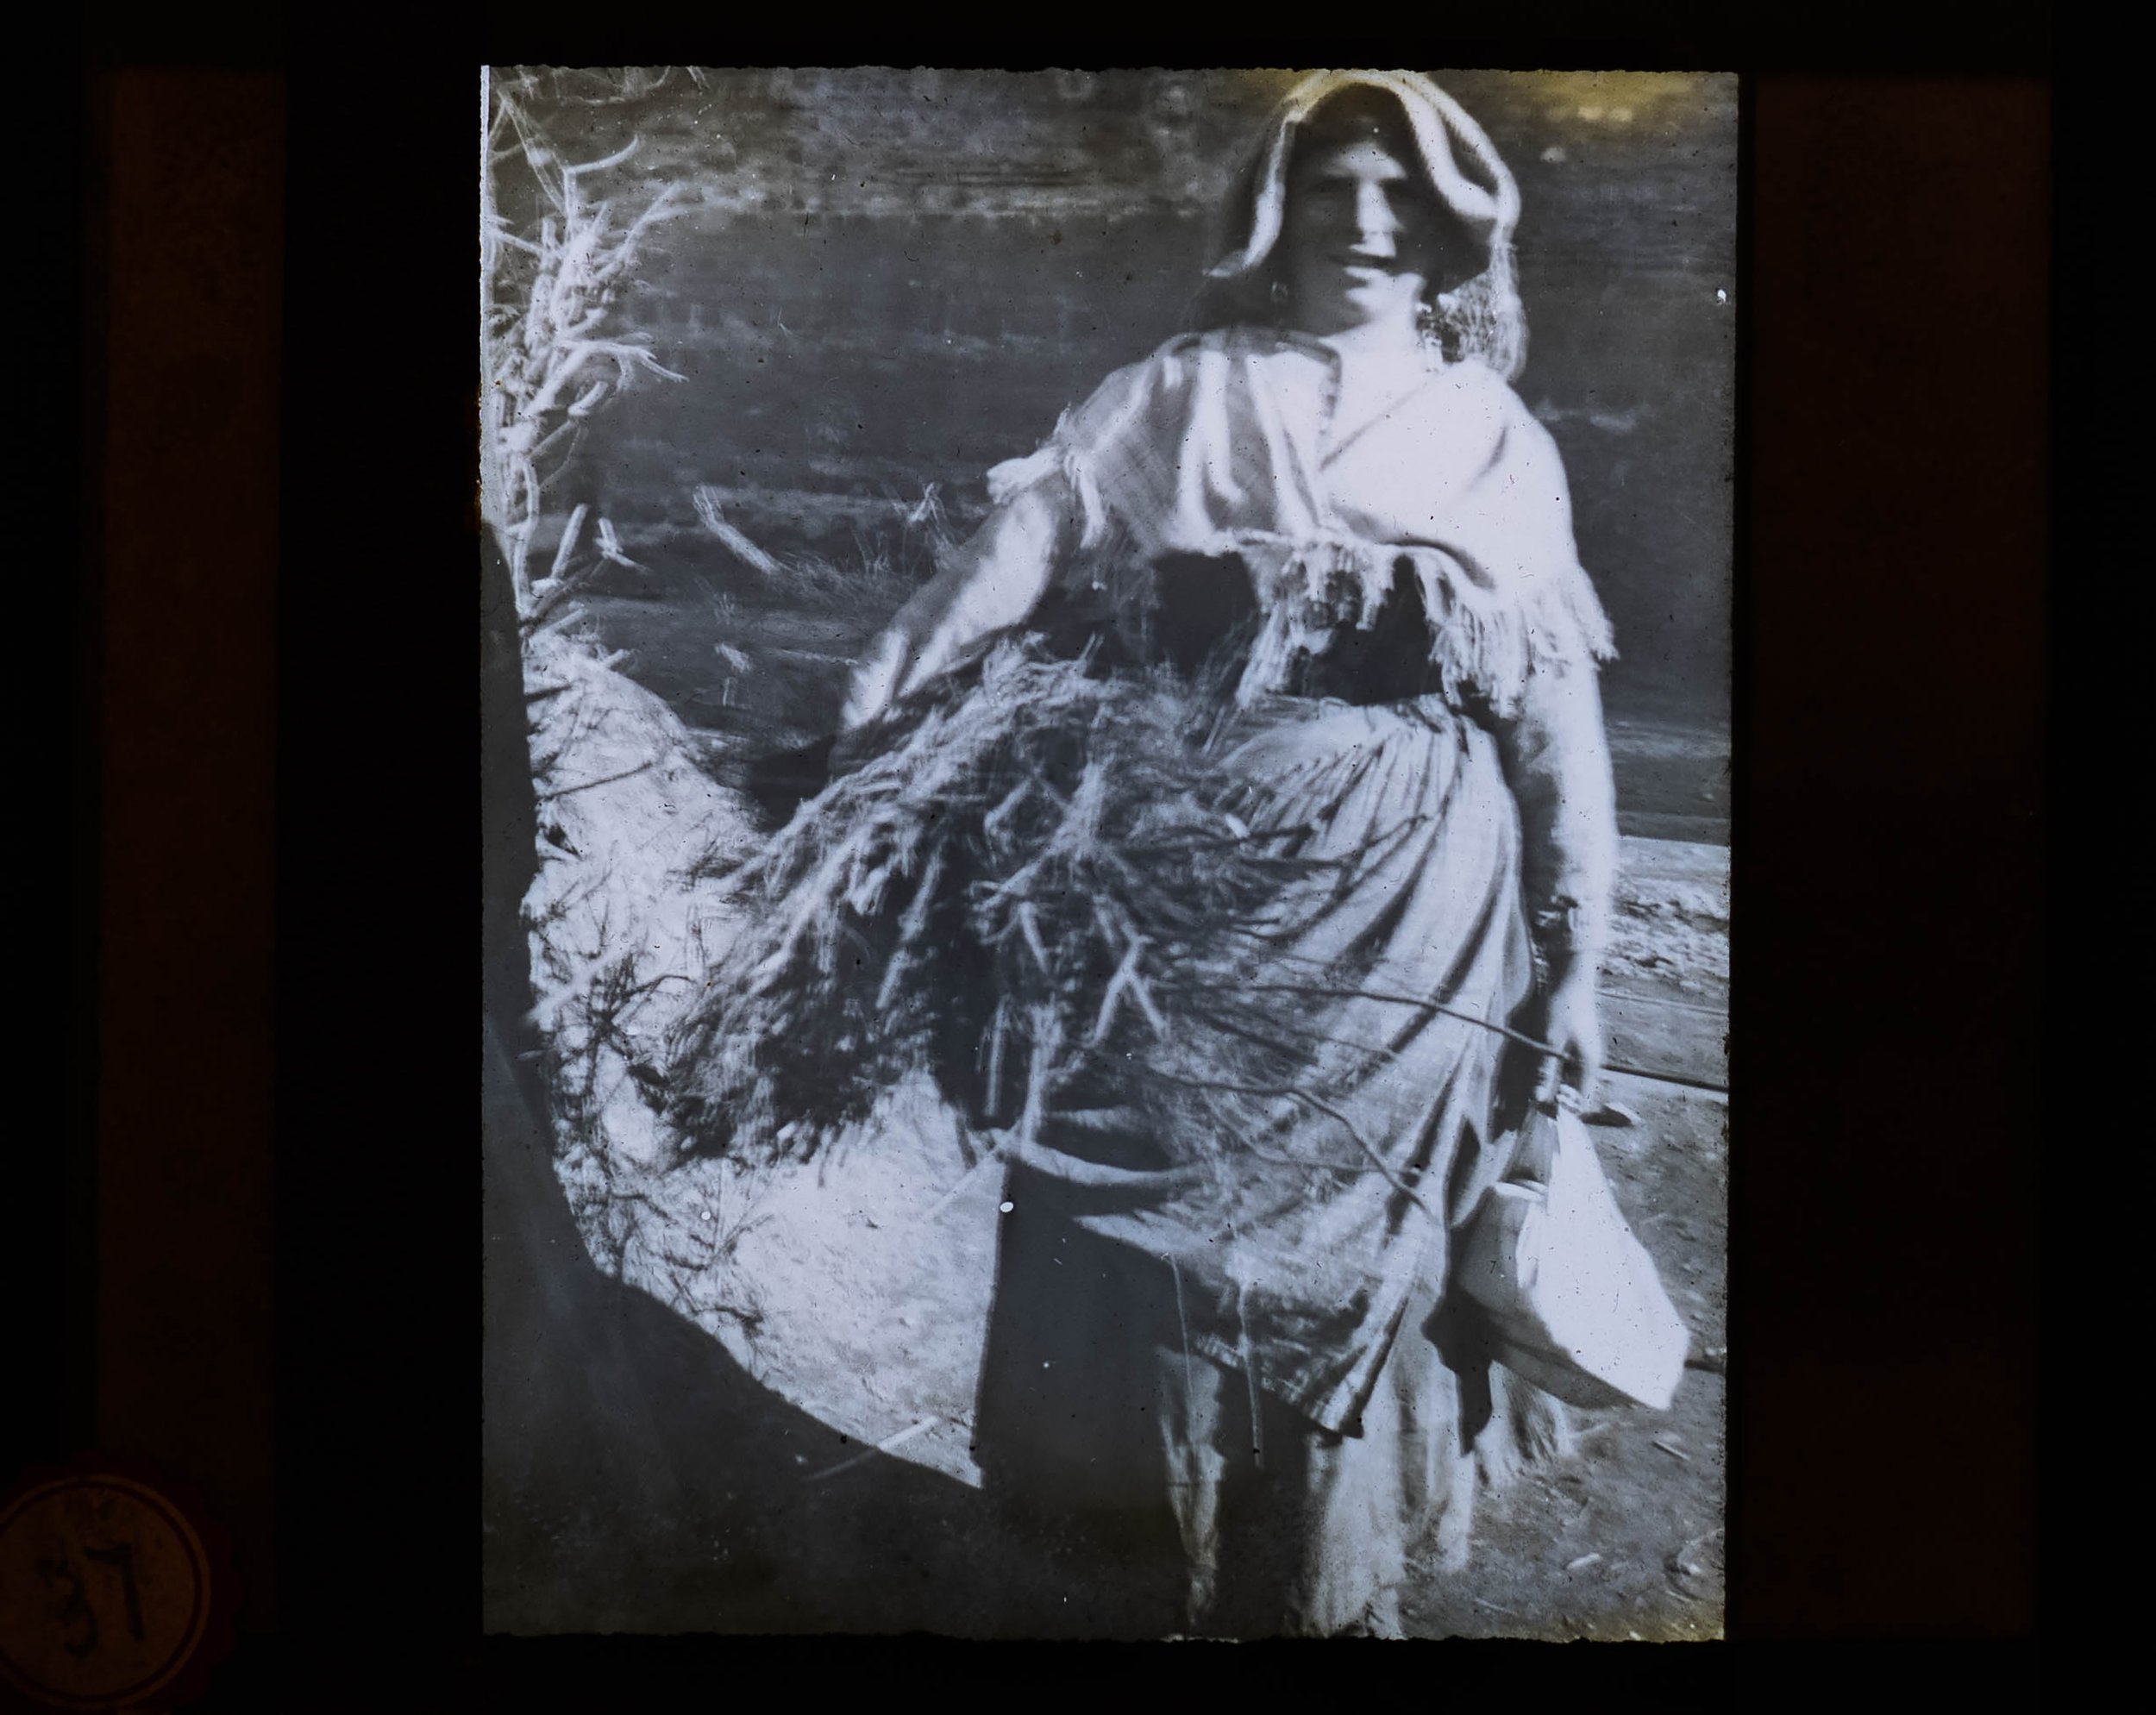
During the pandemic I went on a bit of photo book buying spree and one of my favorites was a book by a Japanese photographer Rinko Kawauchi. The book is called Utatane (“Hanabi” by the same photographer is also recommended) and several of the images made me want to look at the sky.
Americans don’t concern themselves with the sky too much. In our eyes, people who focus on the sky have “their heads in the clouds” and they need to “put their noses to the grindstone” and accomplish something.
Once I gave myself that challenge of making the sky the subject of the photo I found myself being pulled in to sky as a subject and thinking of all the ways I could incorporate it into my pictures. Also, this style lets me feel better about going out in the middle of the day instead of during the golden hour. So there’s that.
Later days, everybody.
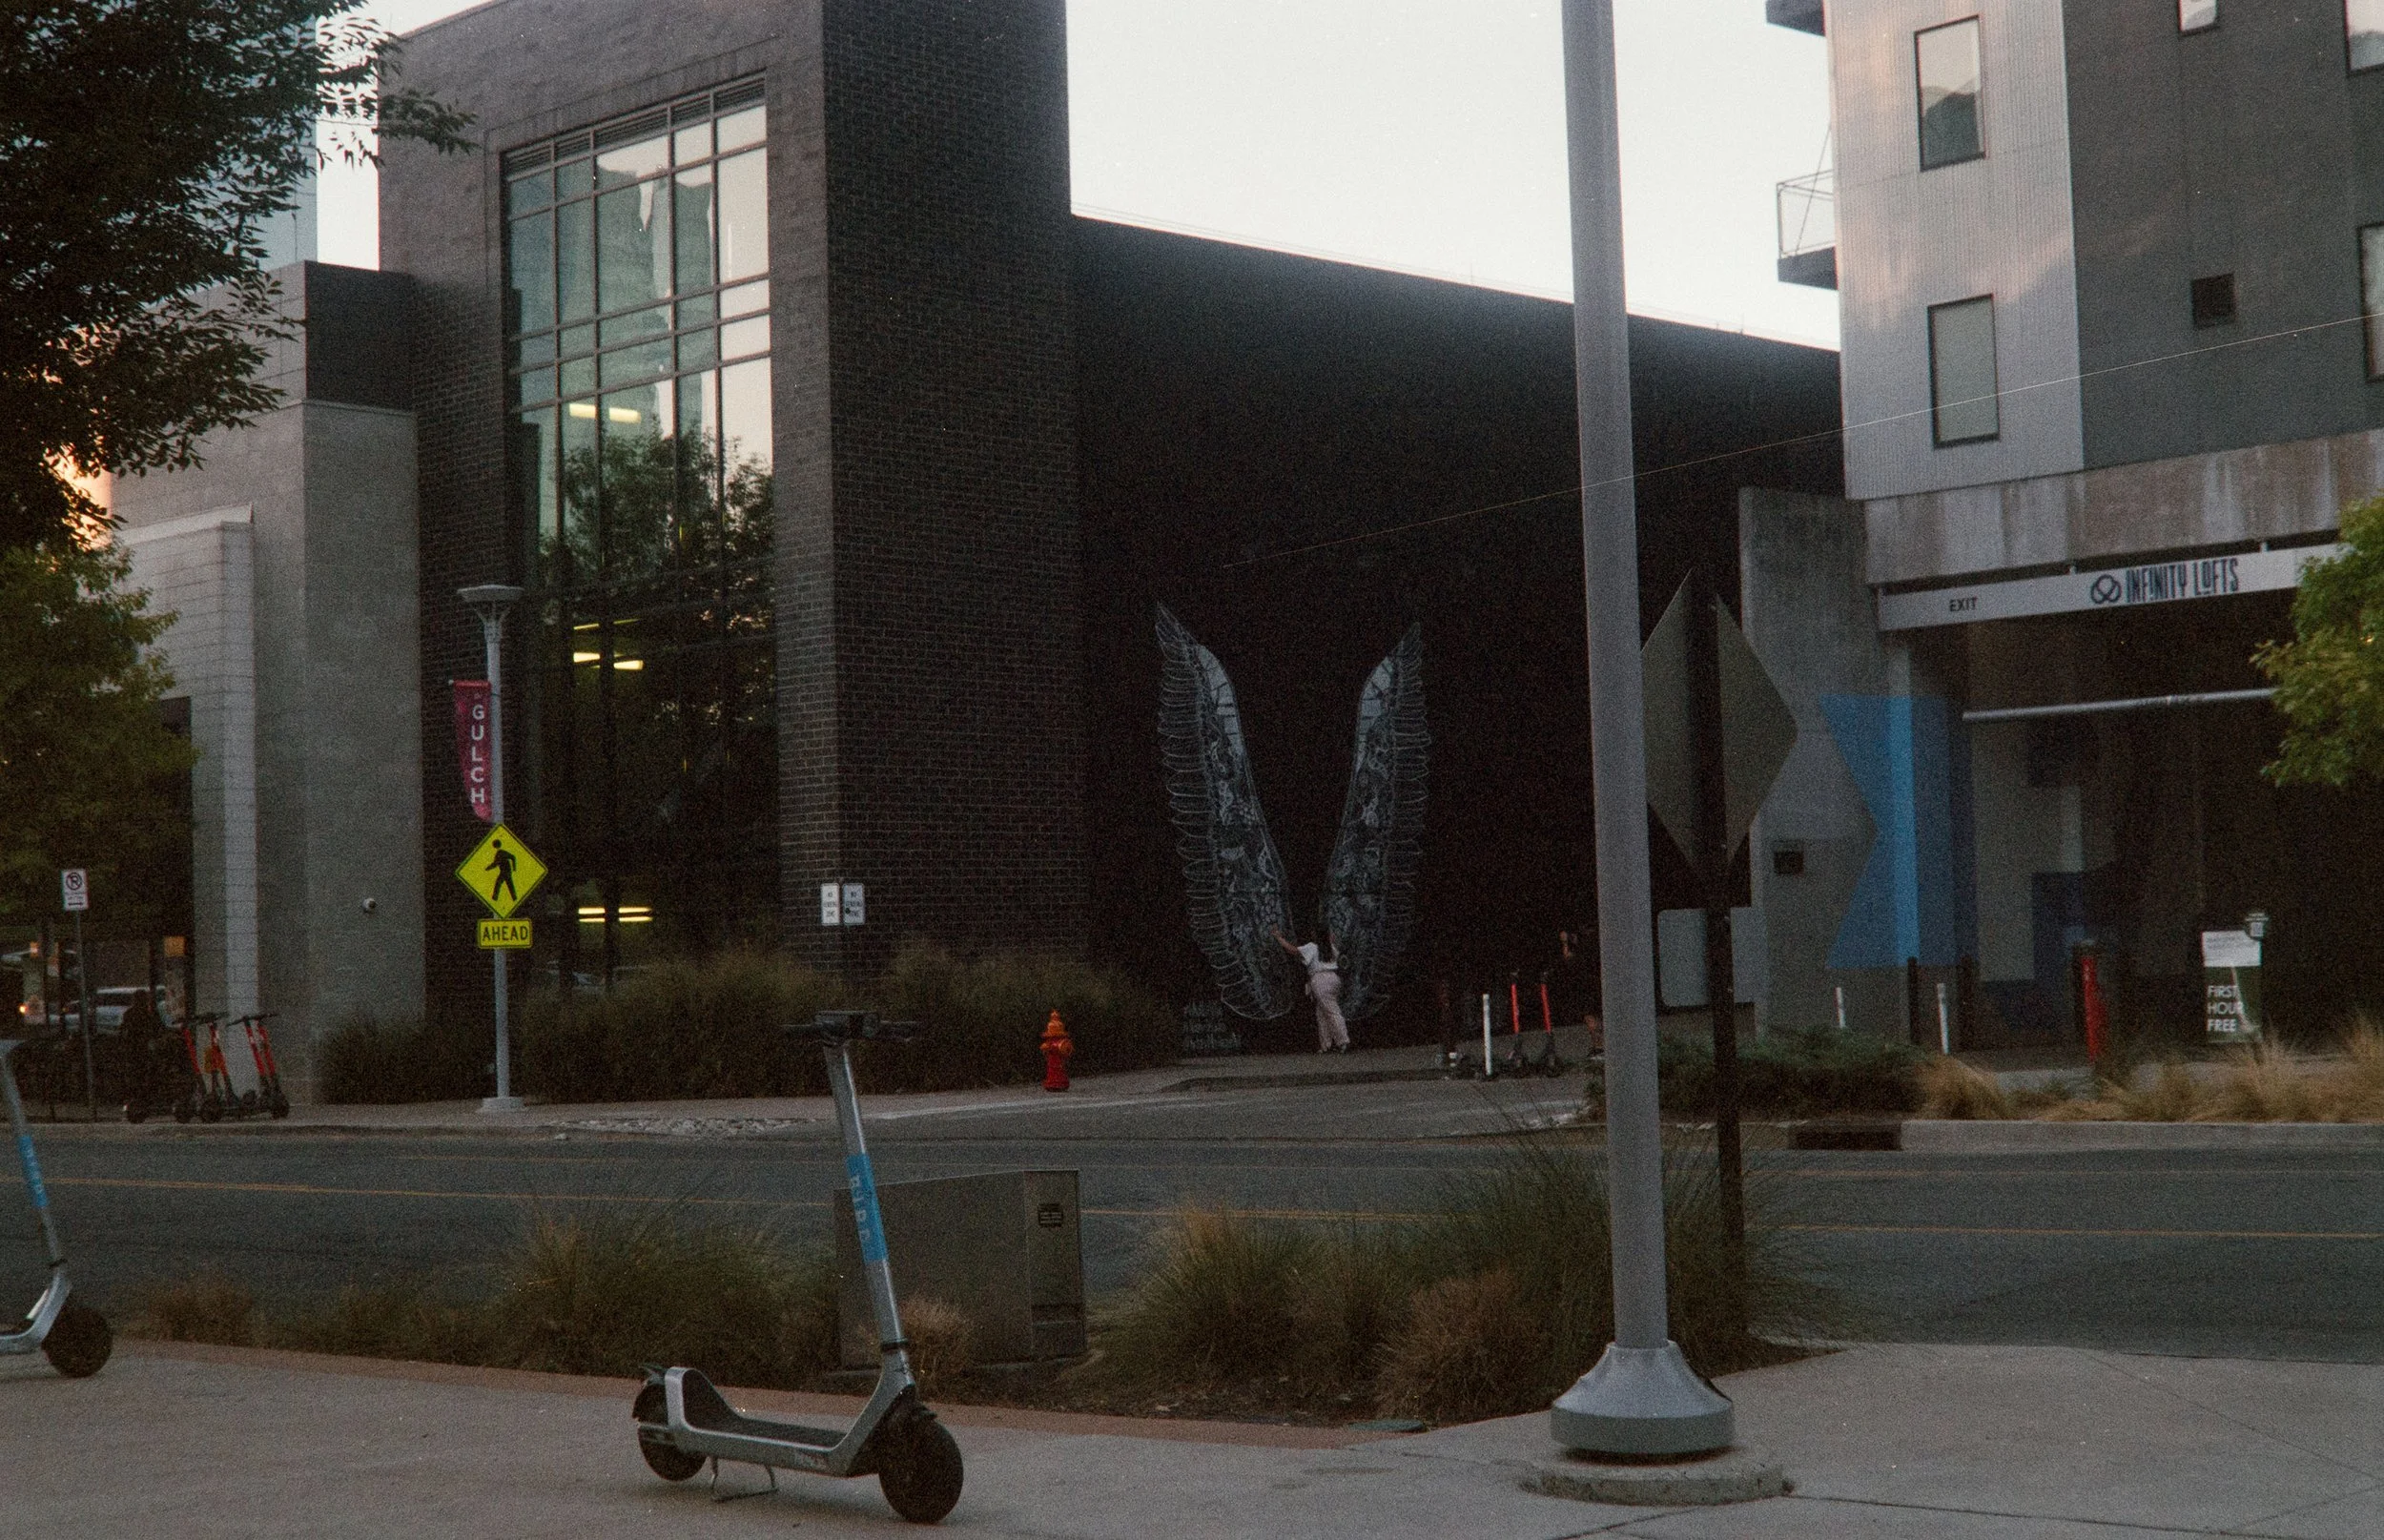
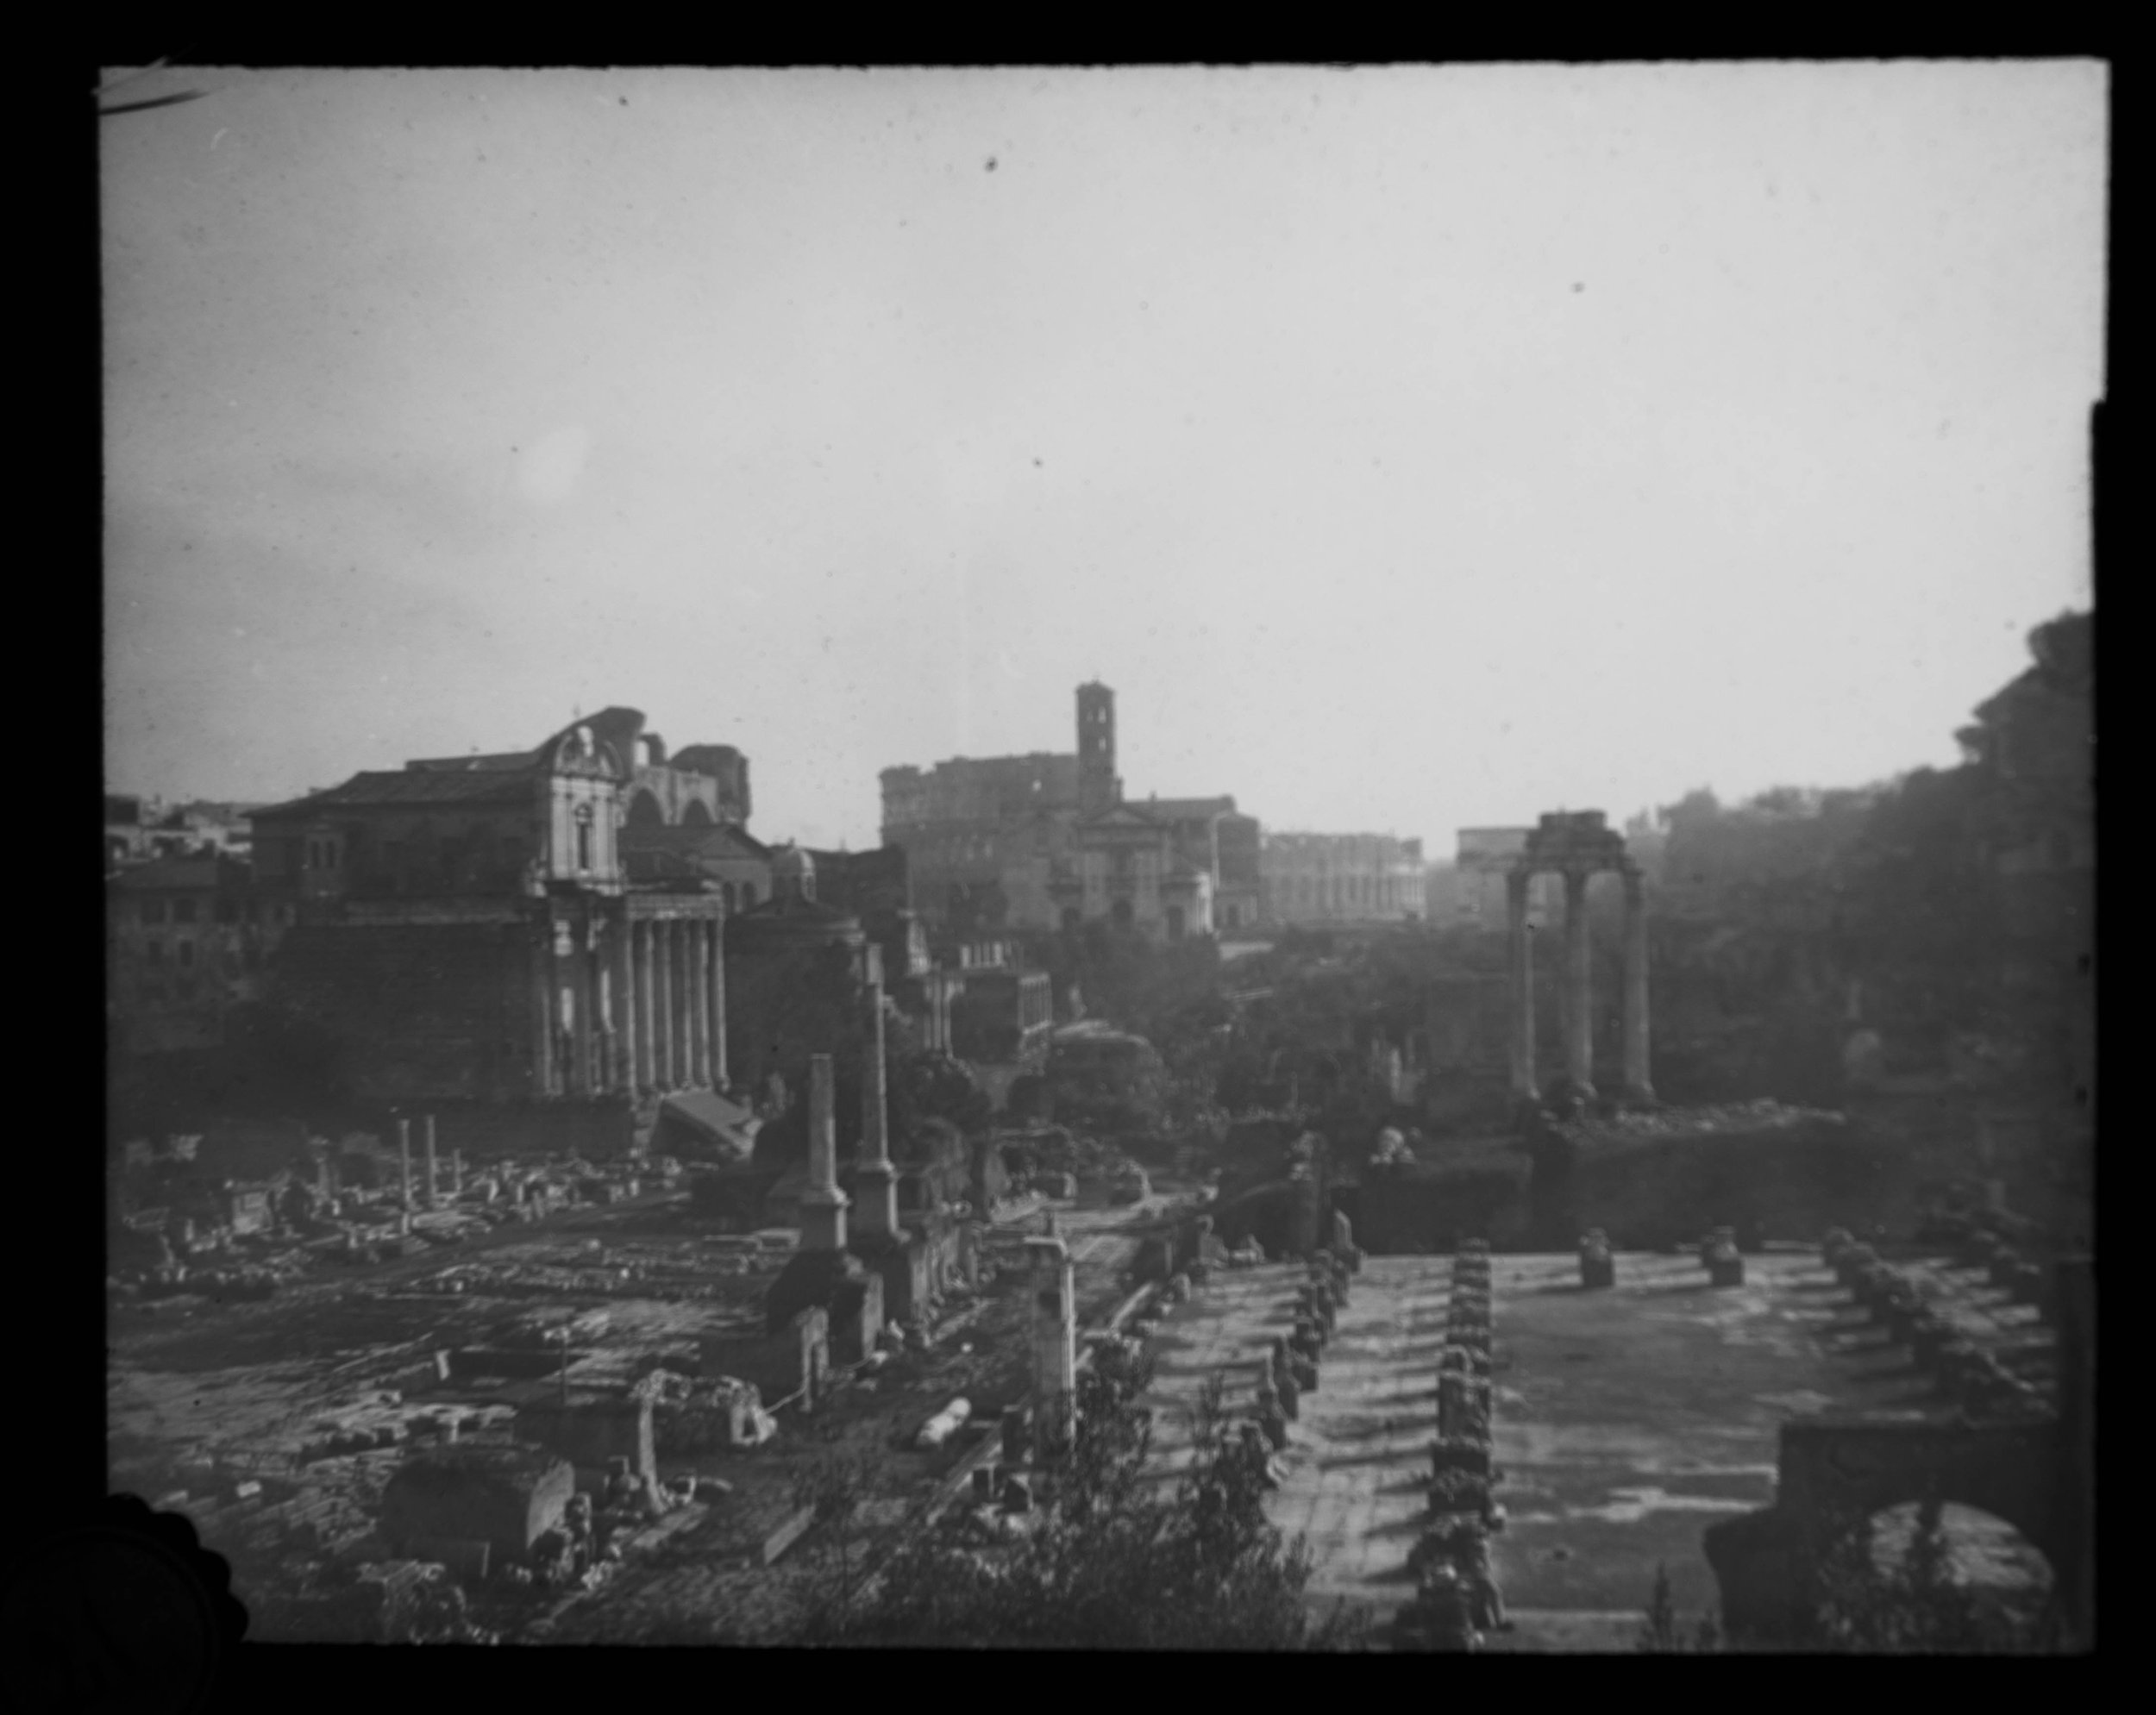
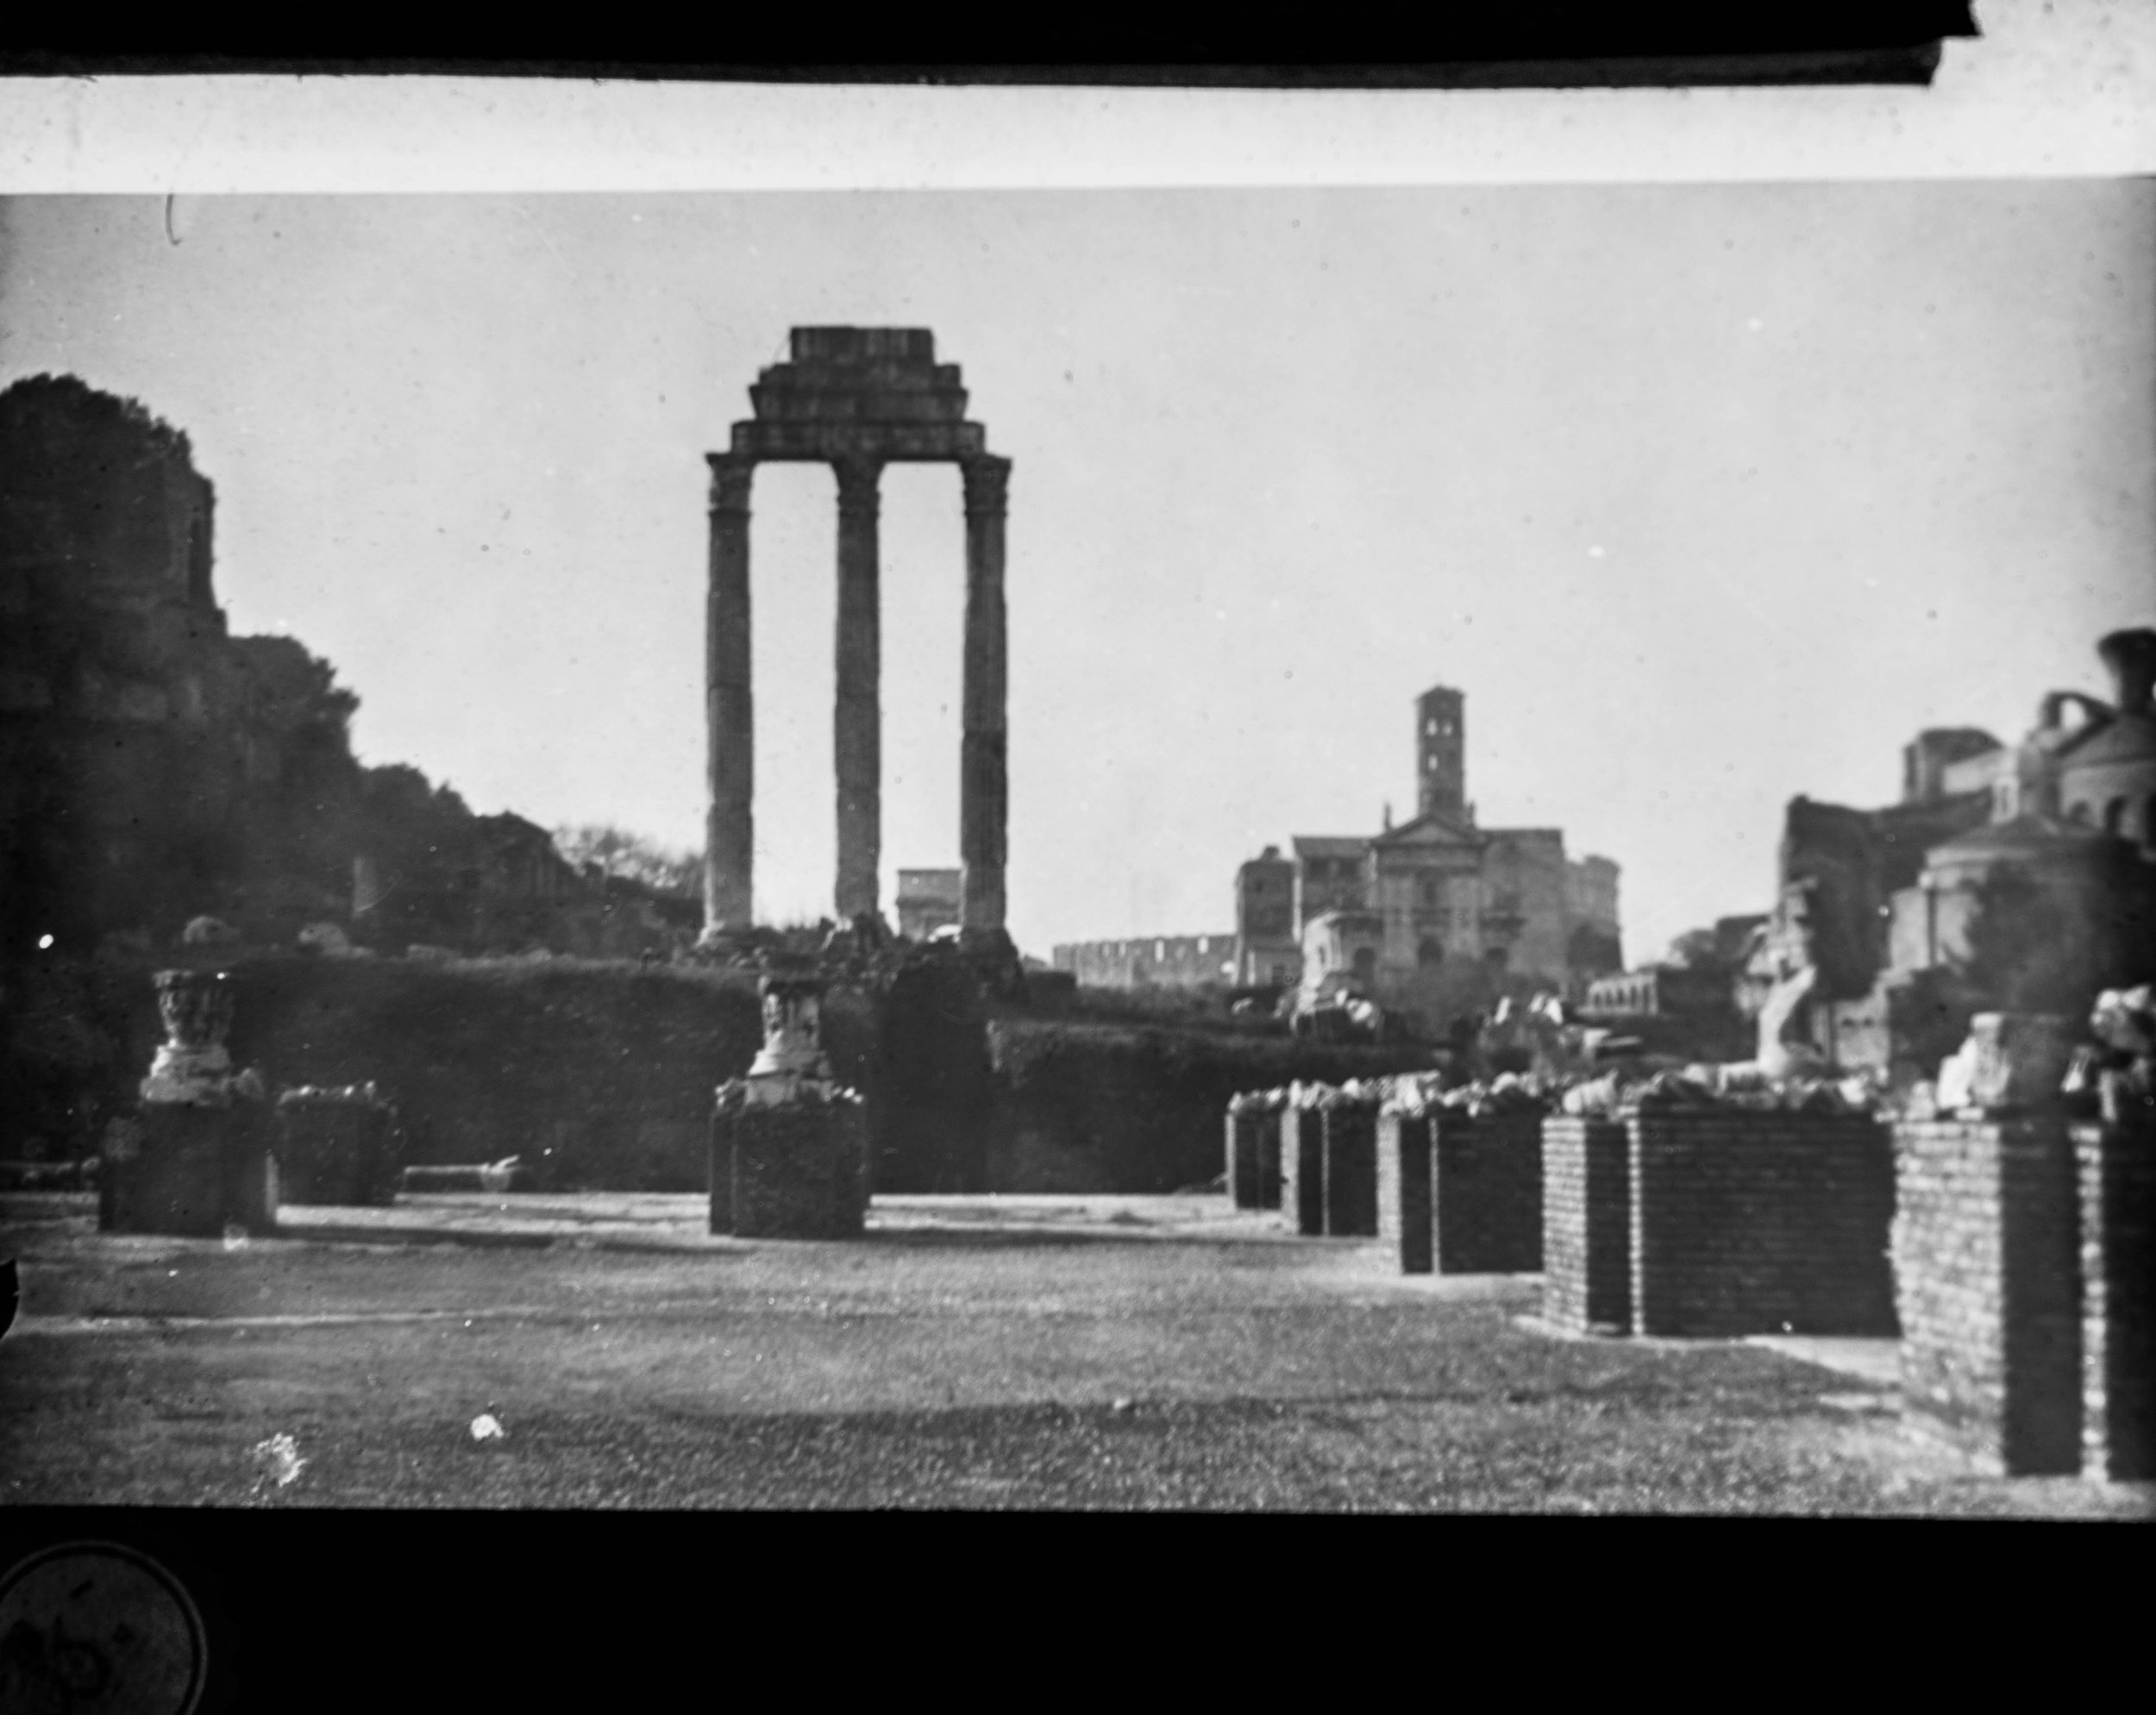
Black & White Urban Landscape Photography
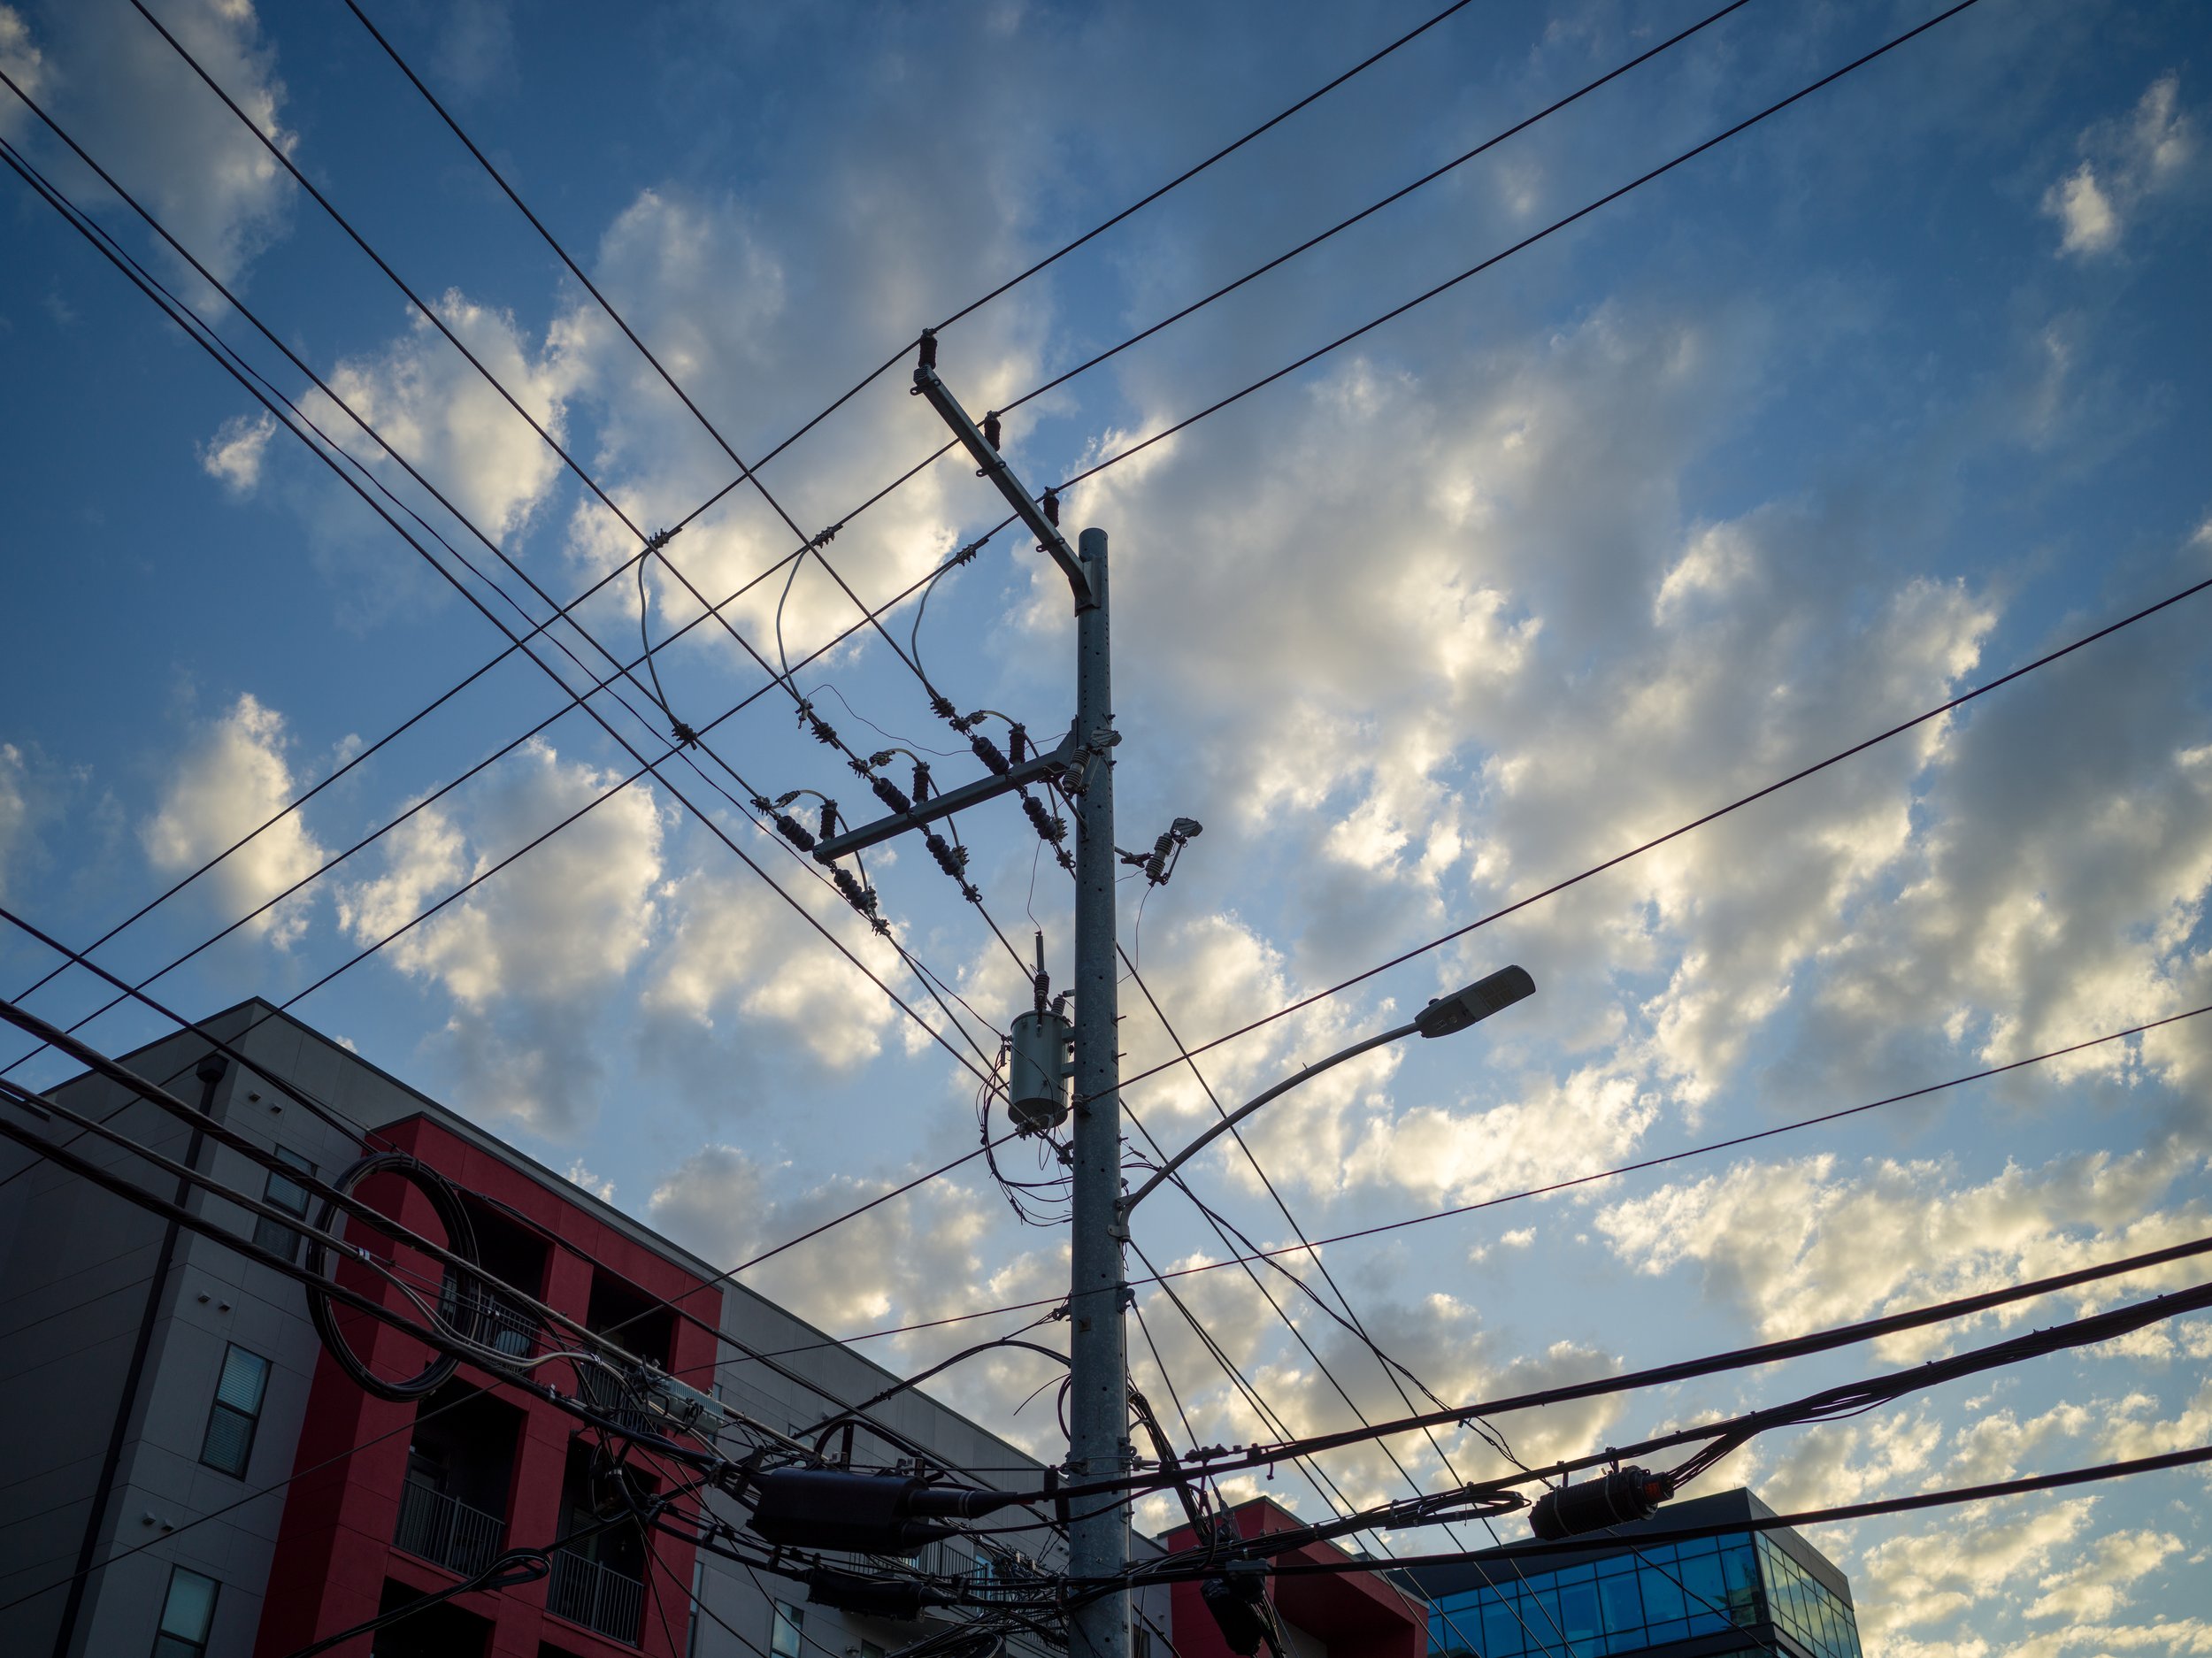
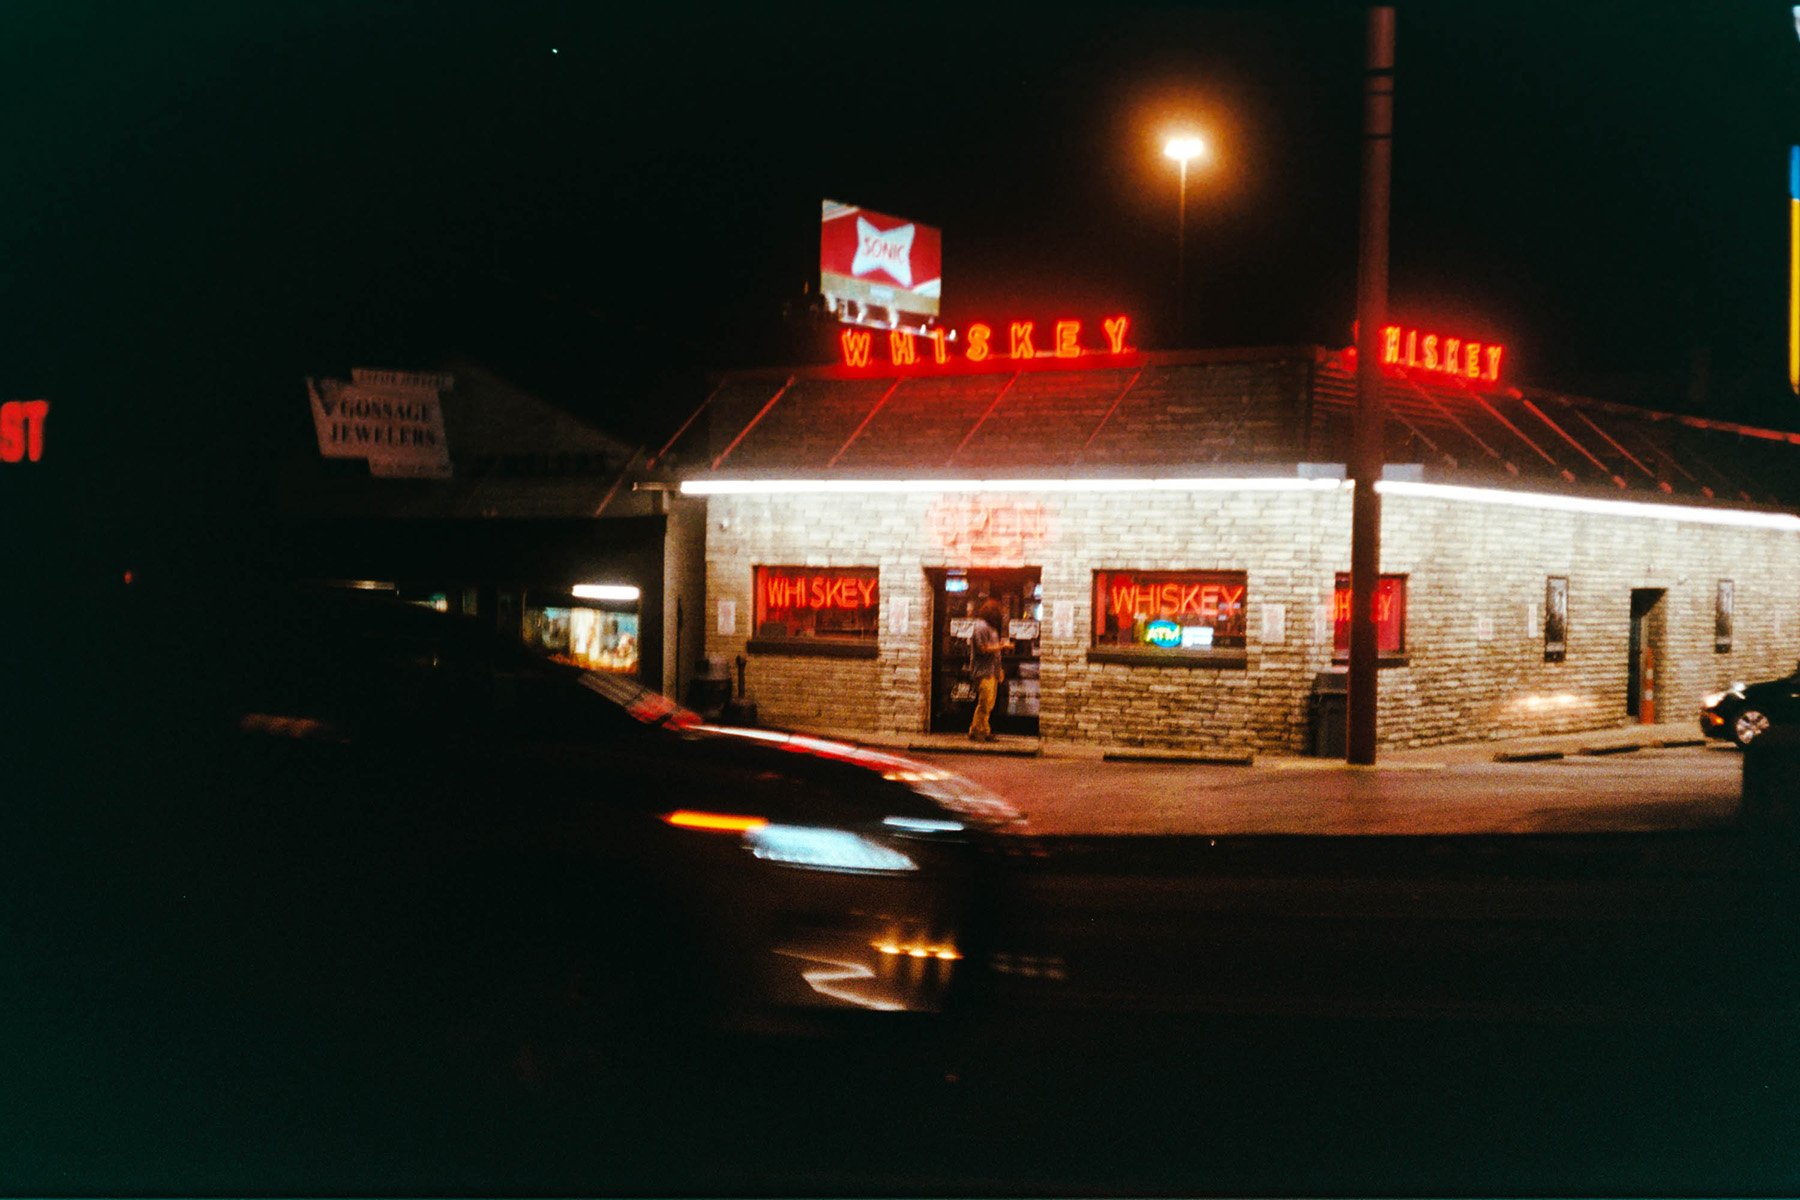
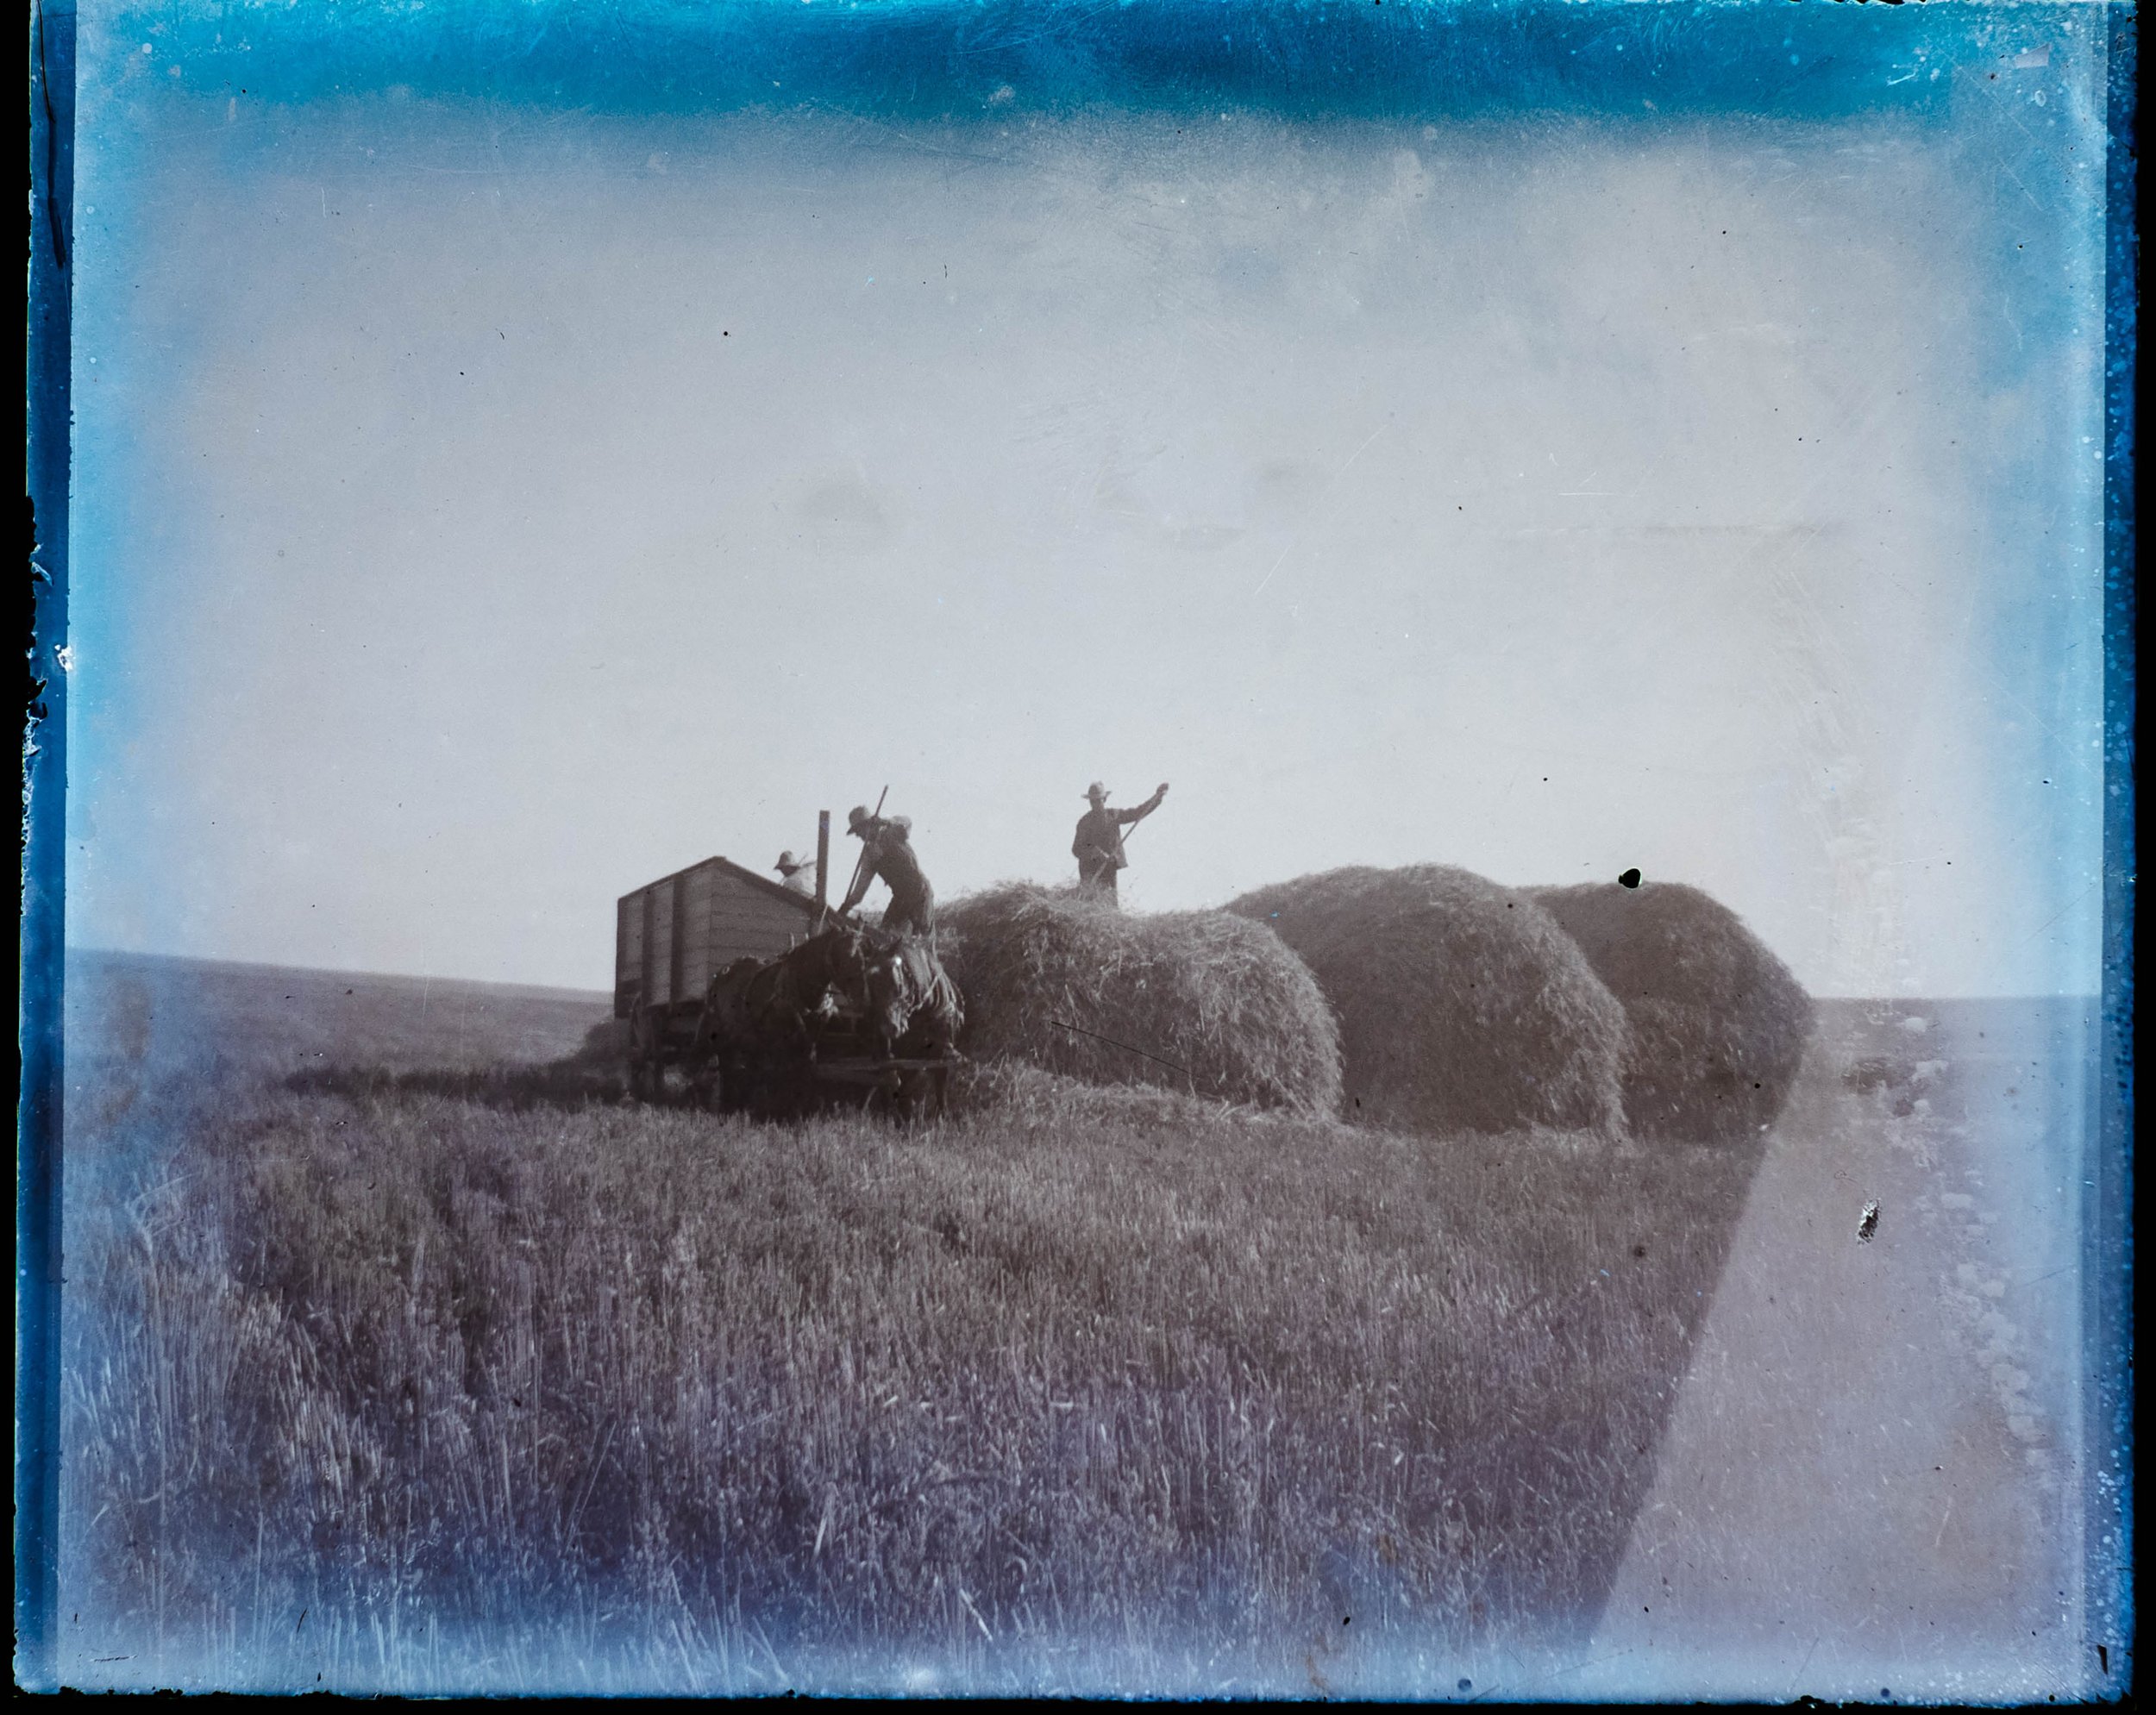
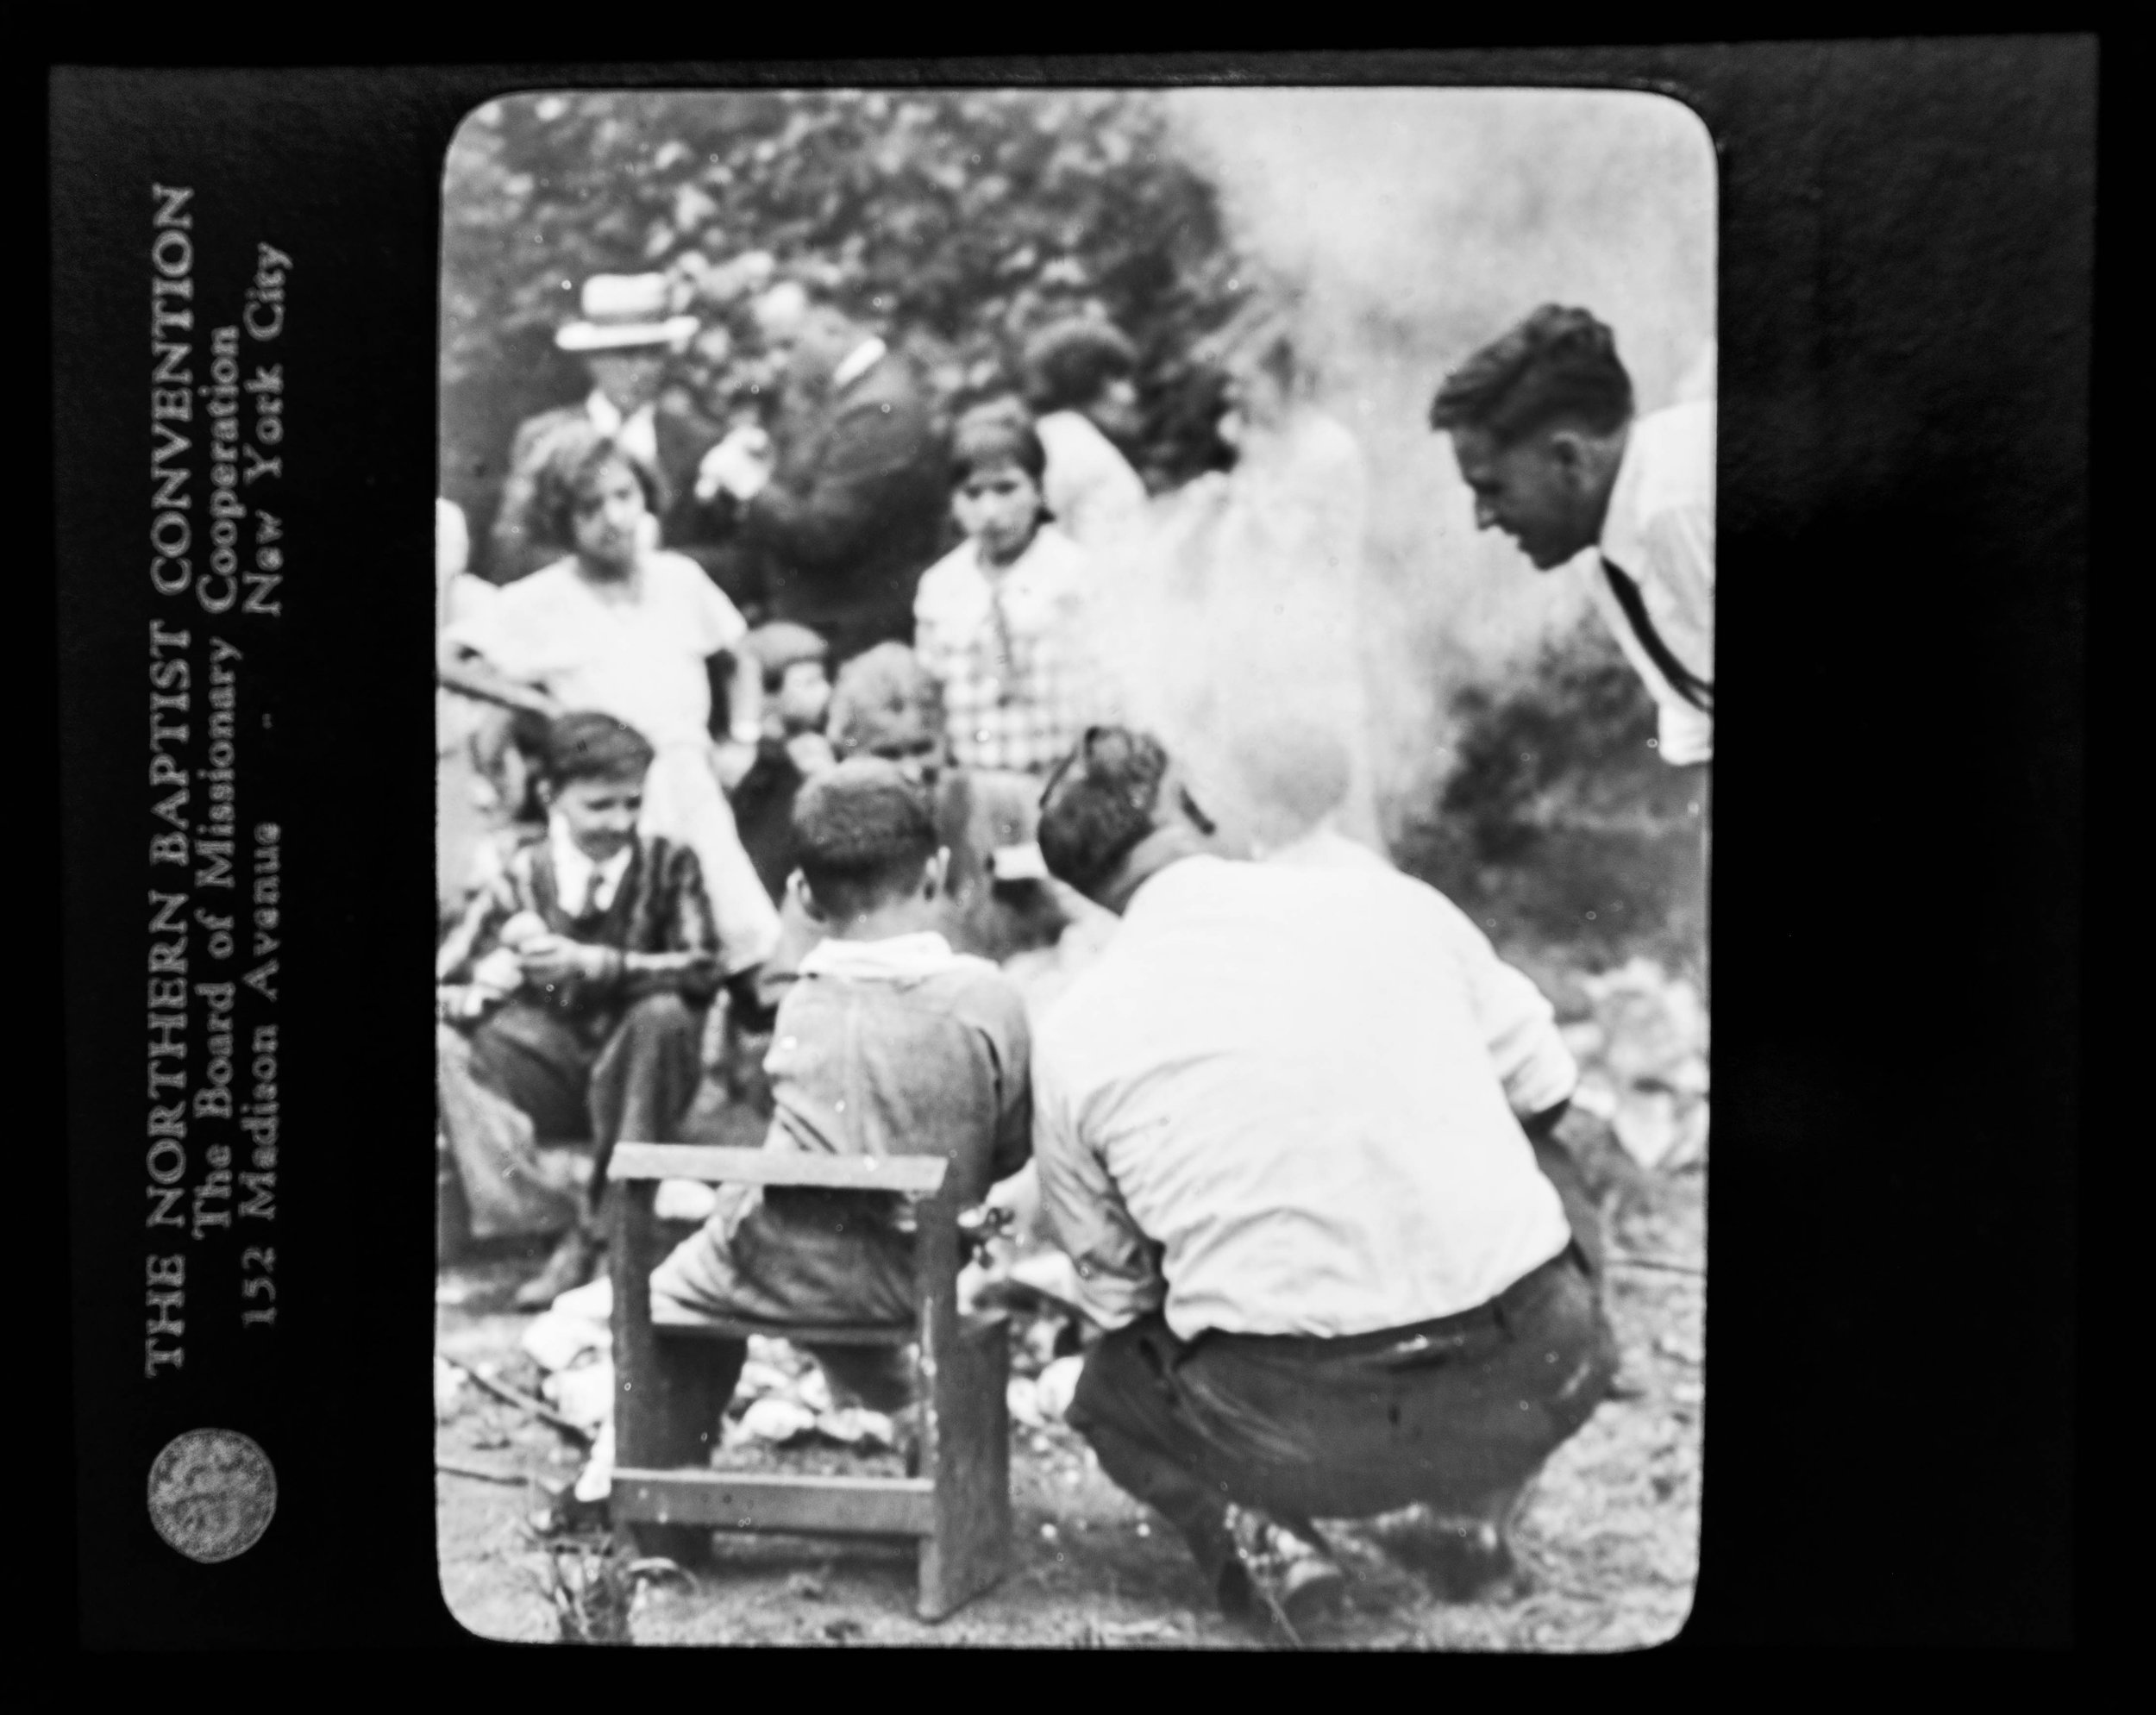
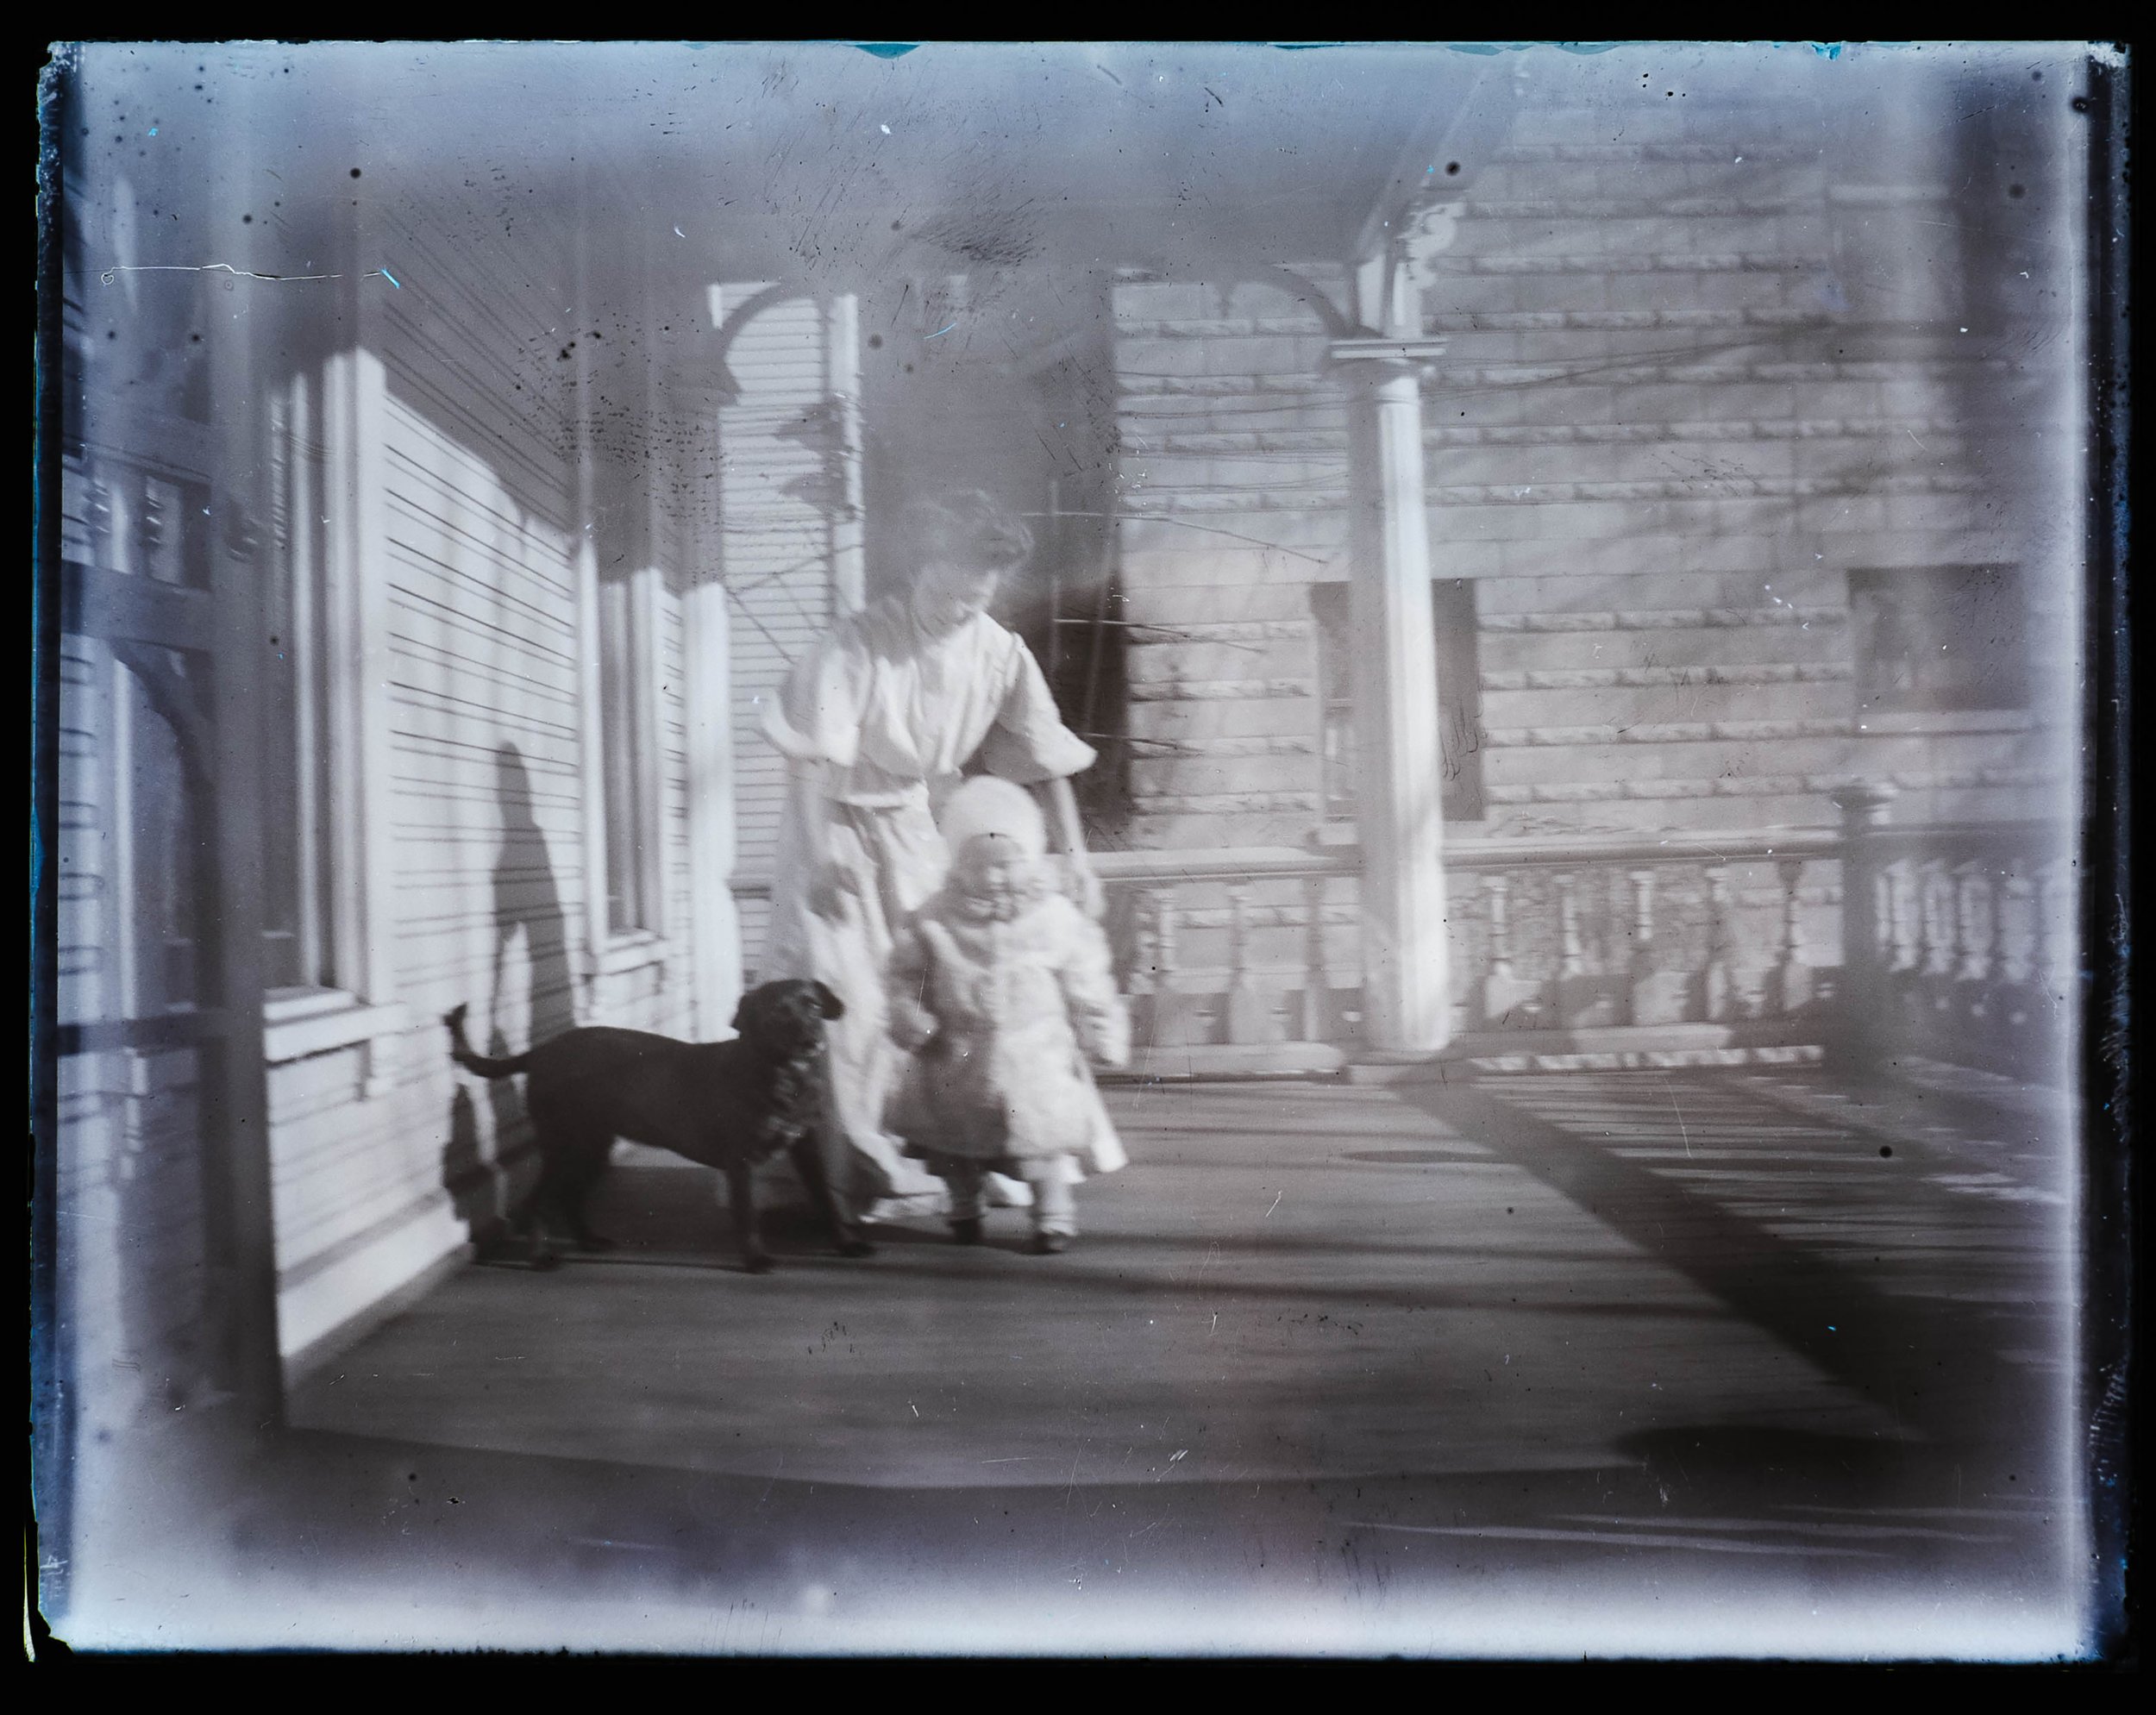
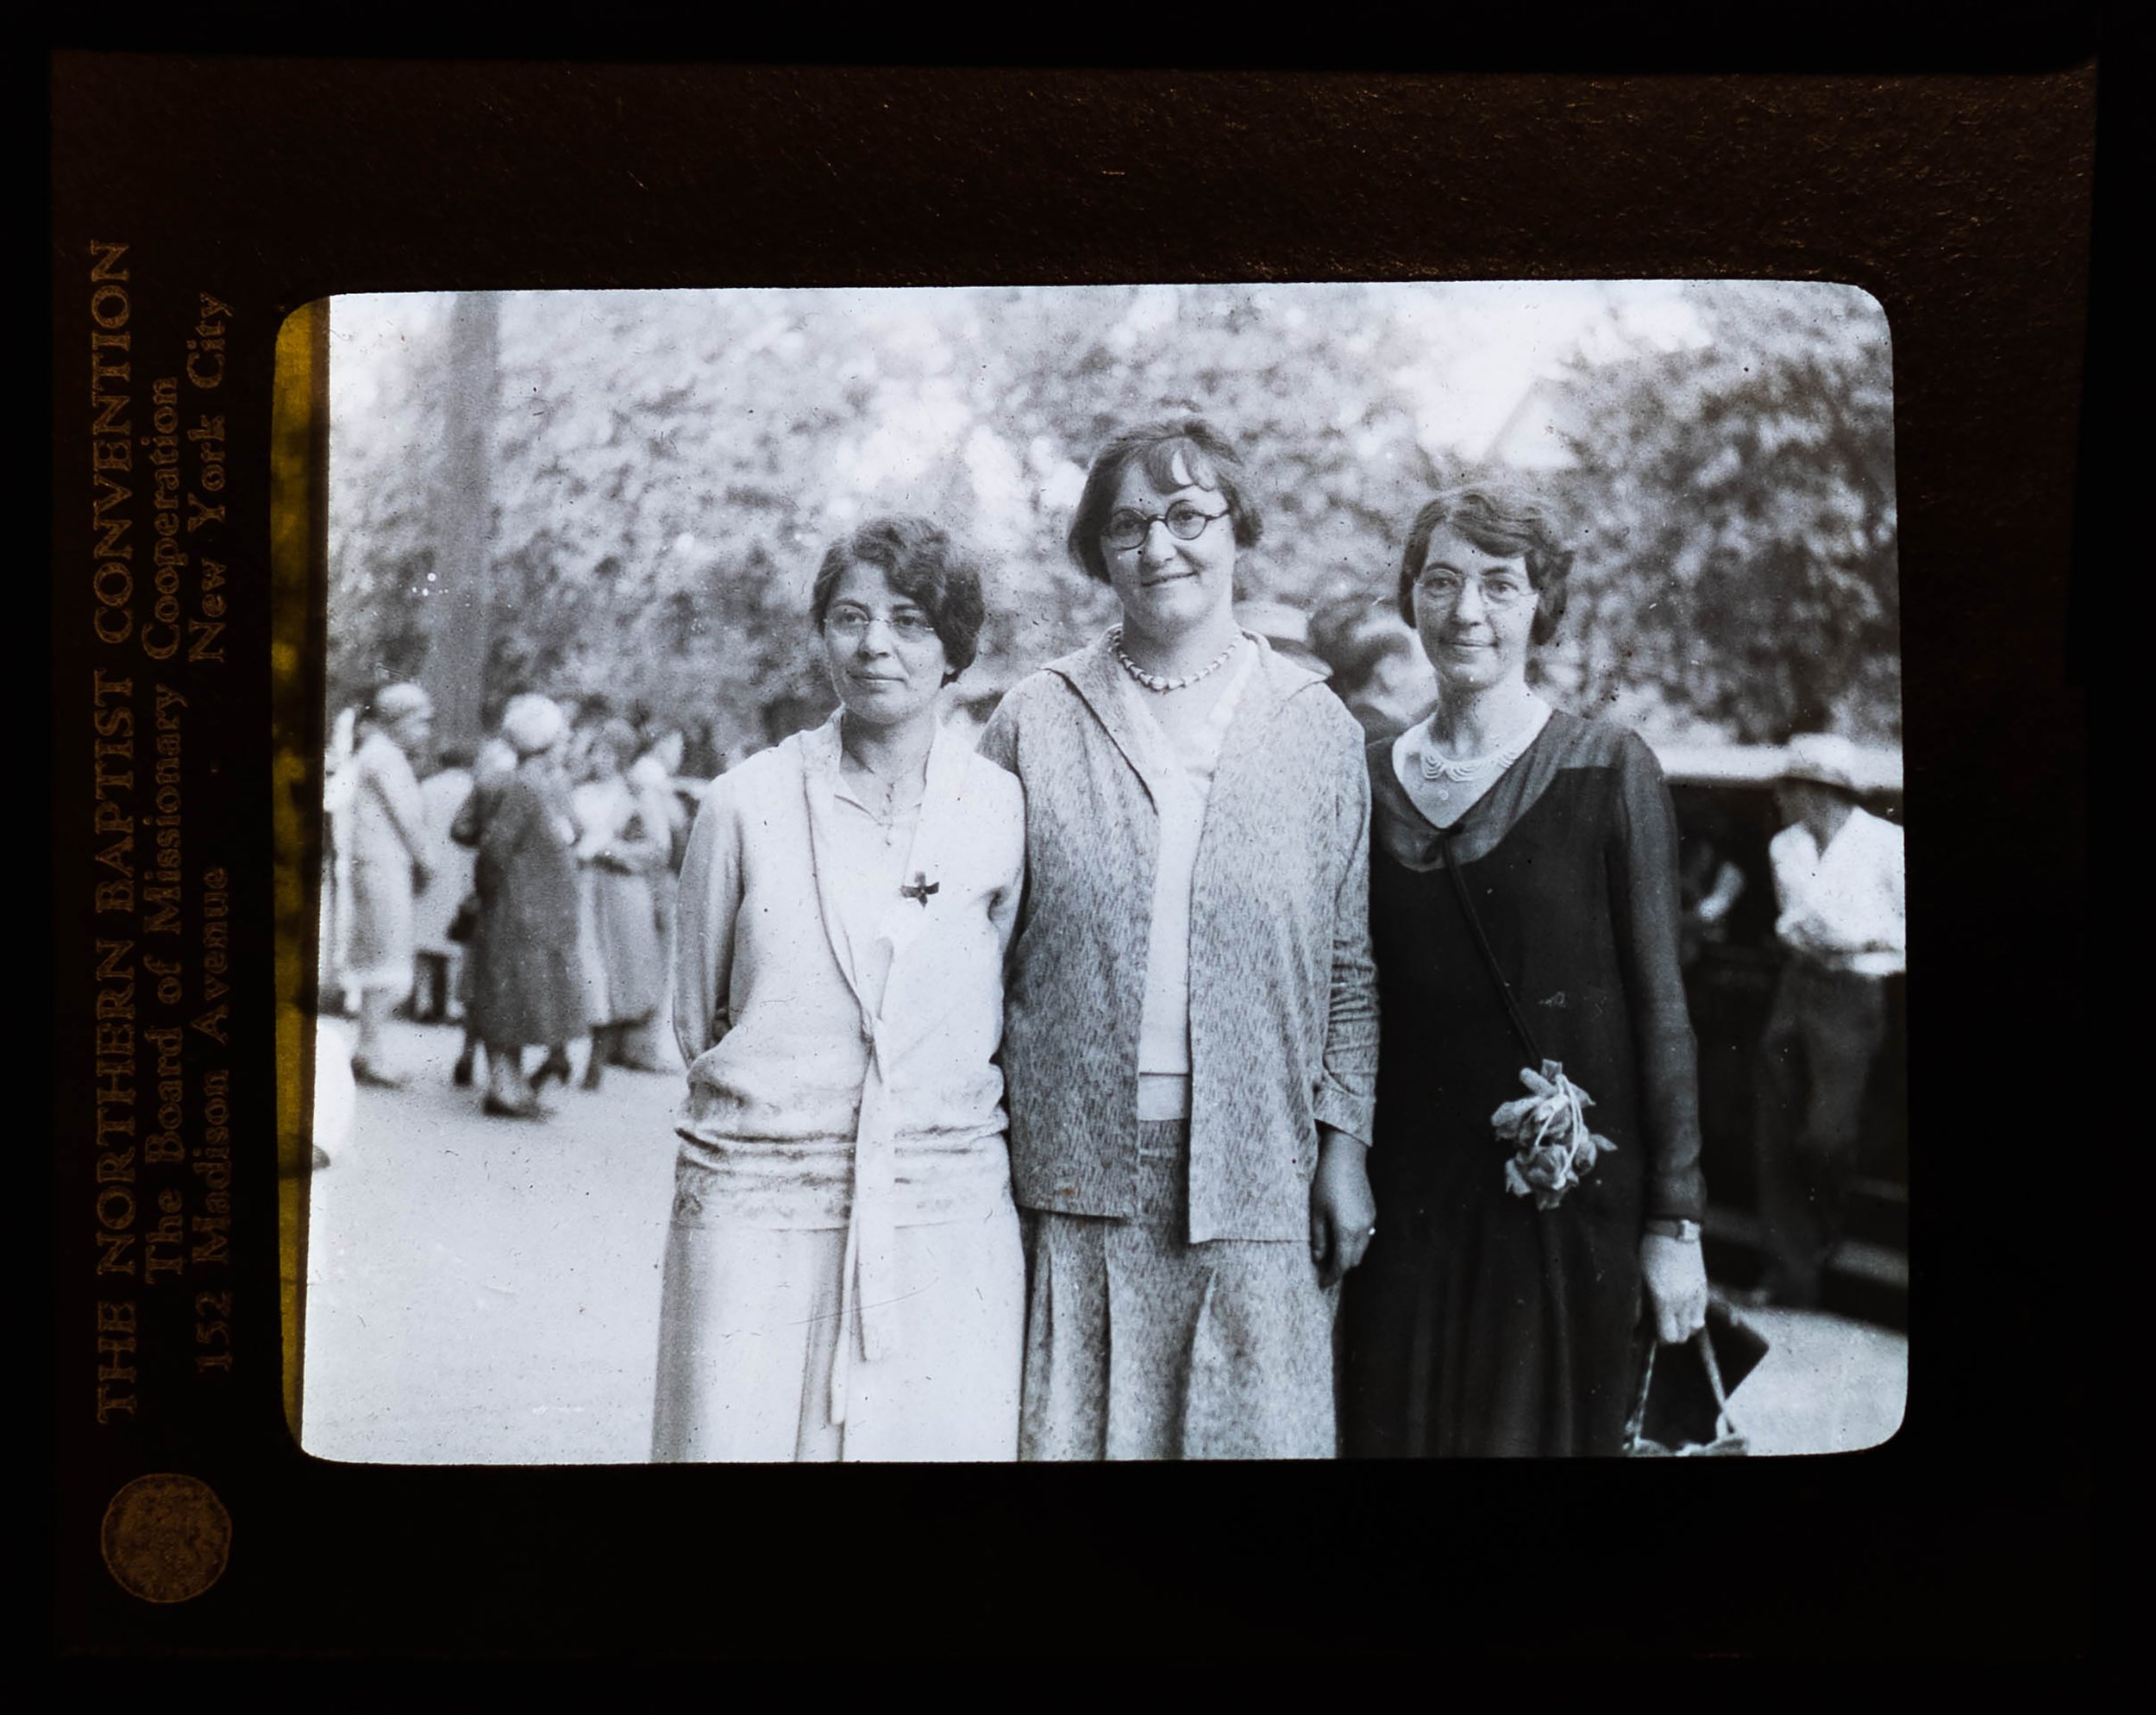
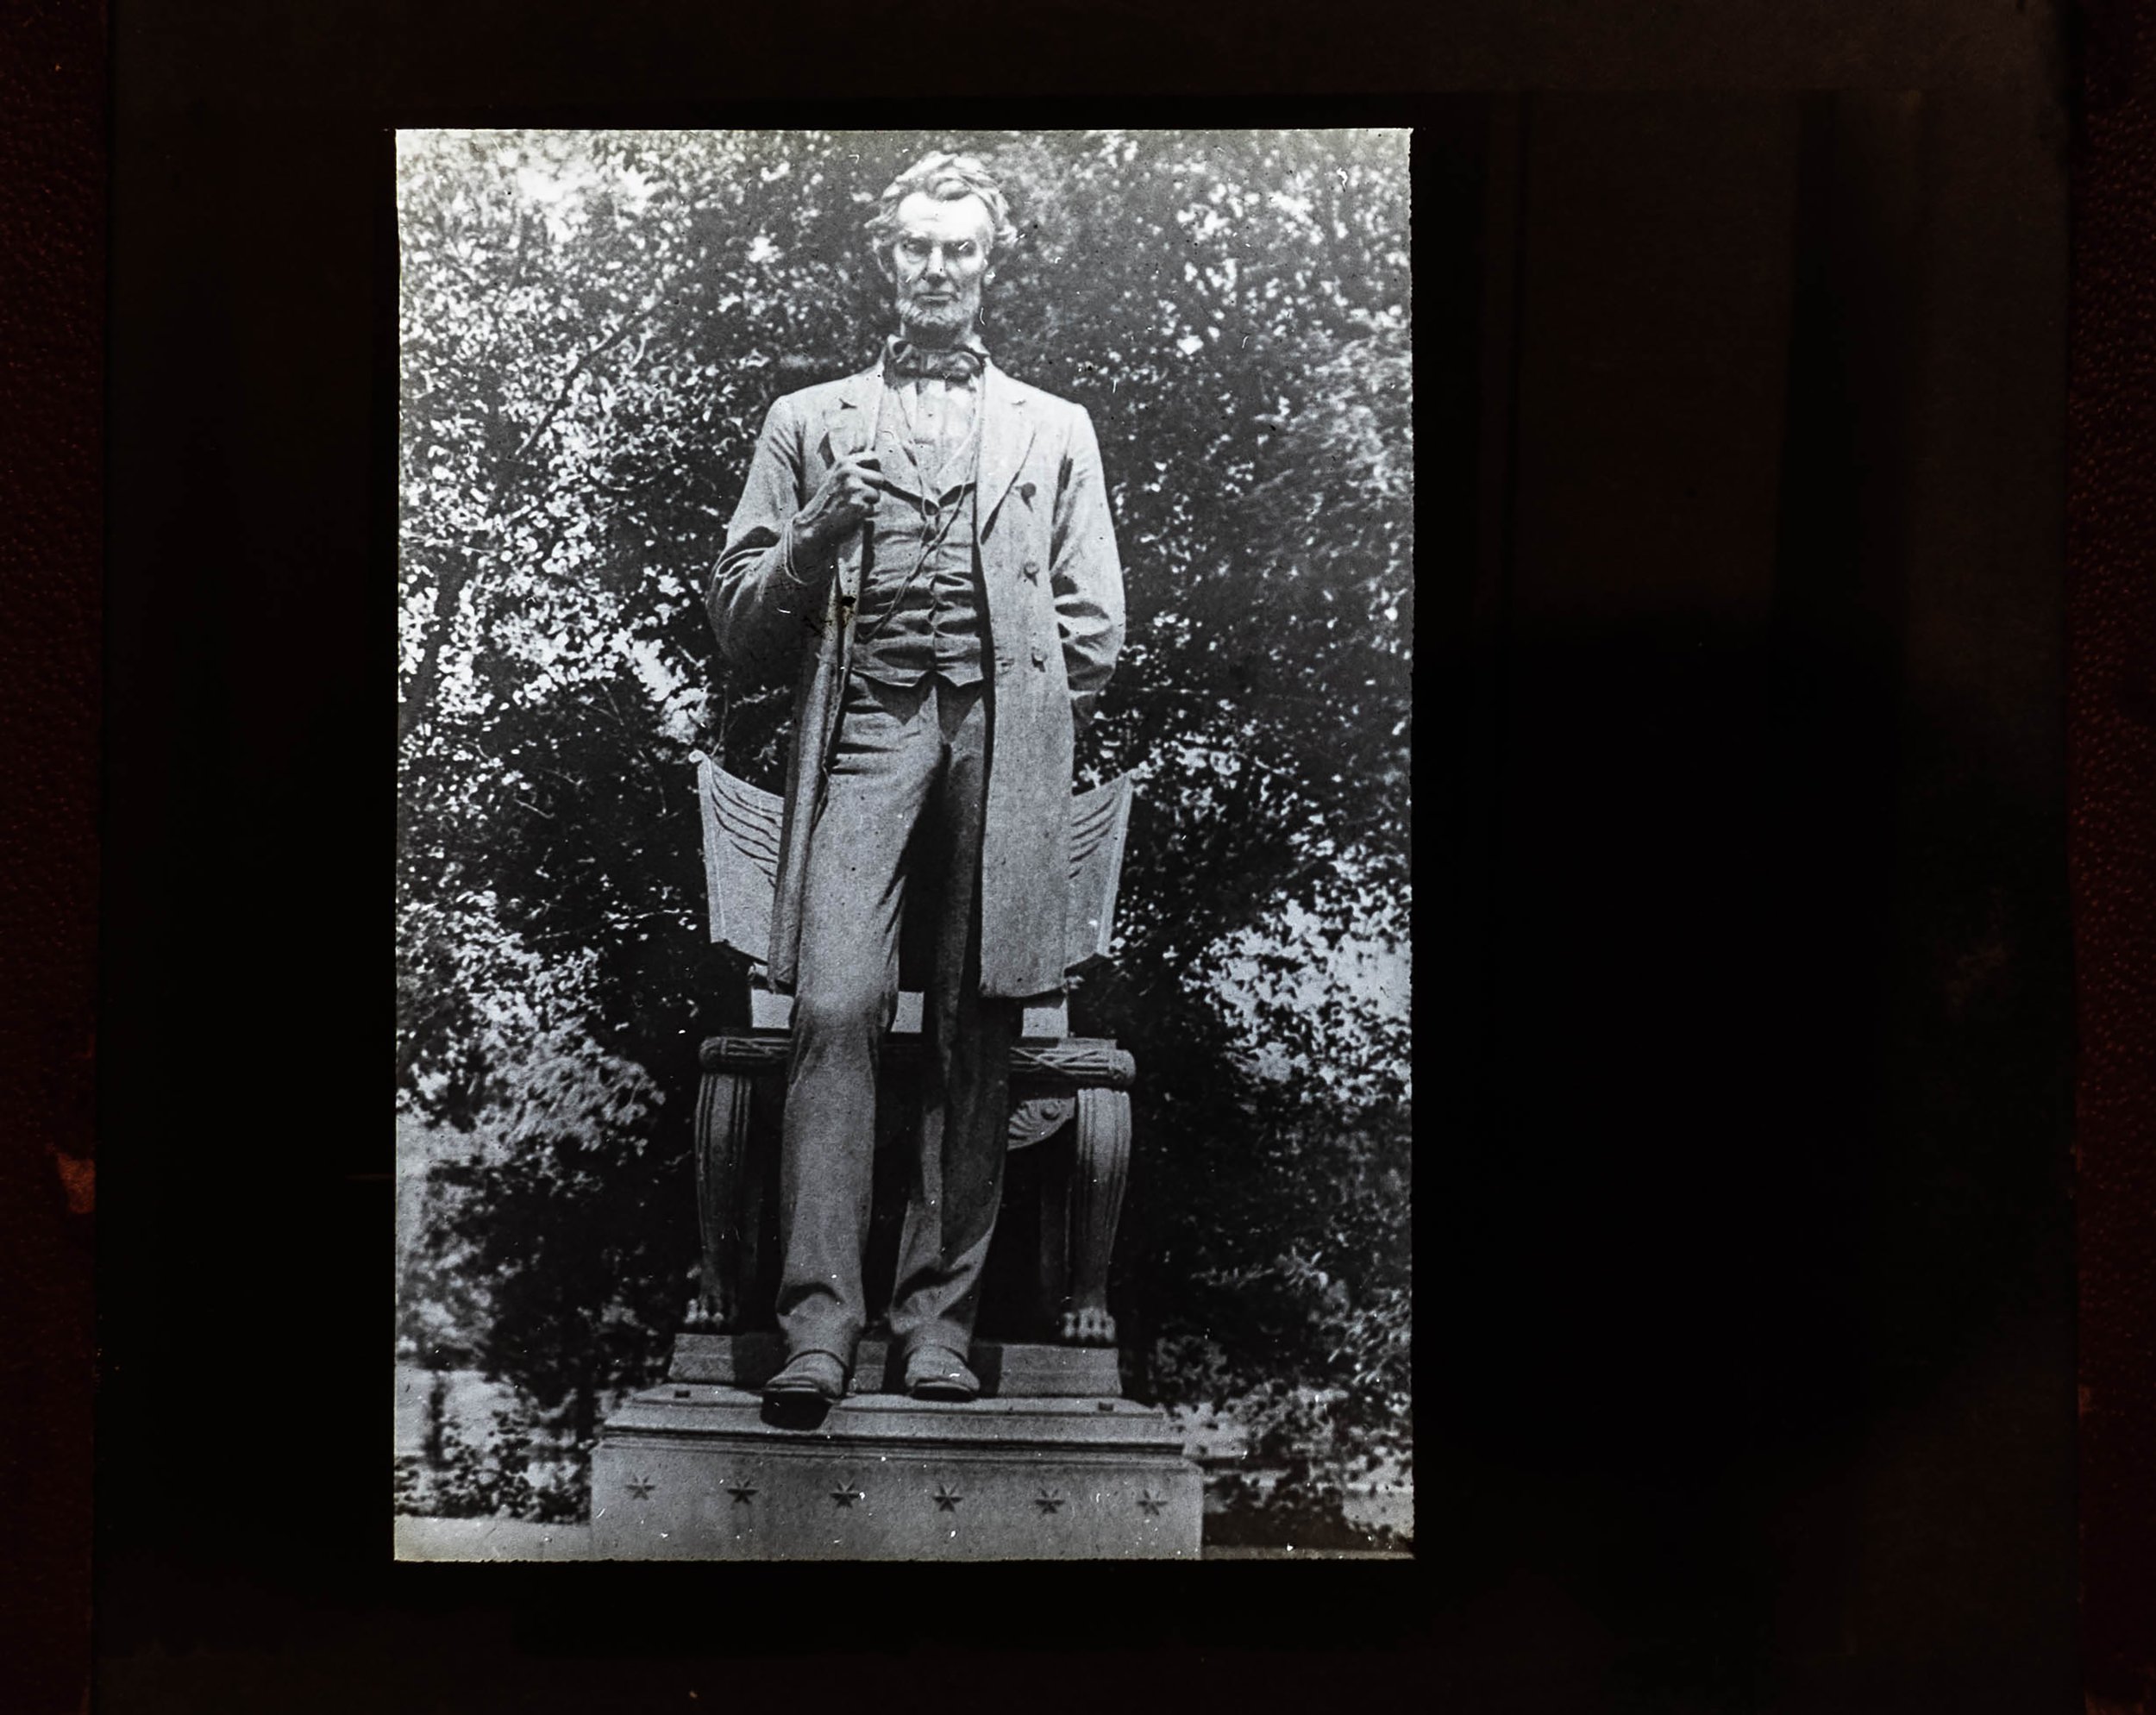
A quick drive around Nashville one Saturday and I found a rolls worth of interesting businesses.


This building located in a run-down part of town reminds of a time when we were looking to the future. With its golden dome and past-future design it’s like the builders were making a statement that things in the future are going to be different and we want to be a part of that.
Thrift stores are one of those businesses that always thrive, even in times when you think they wouldn't. It’s obvious that the store has been opened for years and you can bet it will continue for years to come.
The House of Pizza is an iconic restaurant here in Nashville. If you have the chance to, definitely get a slice. Or even better, get an order of the lasagna. it’s the best you will ever have. With the changes coming to The Arcade where it is located, if it survives might not be a forgone conclusion.
Varallo’s is Tennessee’s oldest restaurant. If this was the original location it was remodeled sometime in the 1960s or 1970s. This is a place I have never eaten; it is downtown and only open for breakfast and lunch so I haven’t made the trek. Maybe I should.
This gas station is in the heart of Hillsboro Village. While it looks closed it is not, they just keep a clean lot on the weekends. I forgot to write down the name, but I believe it is something like Village Auto-Service. I have had them do work for me in the past and they do a good job.
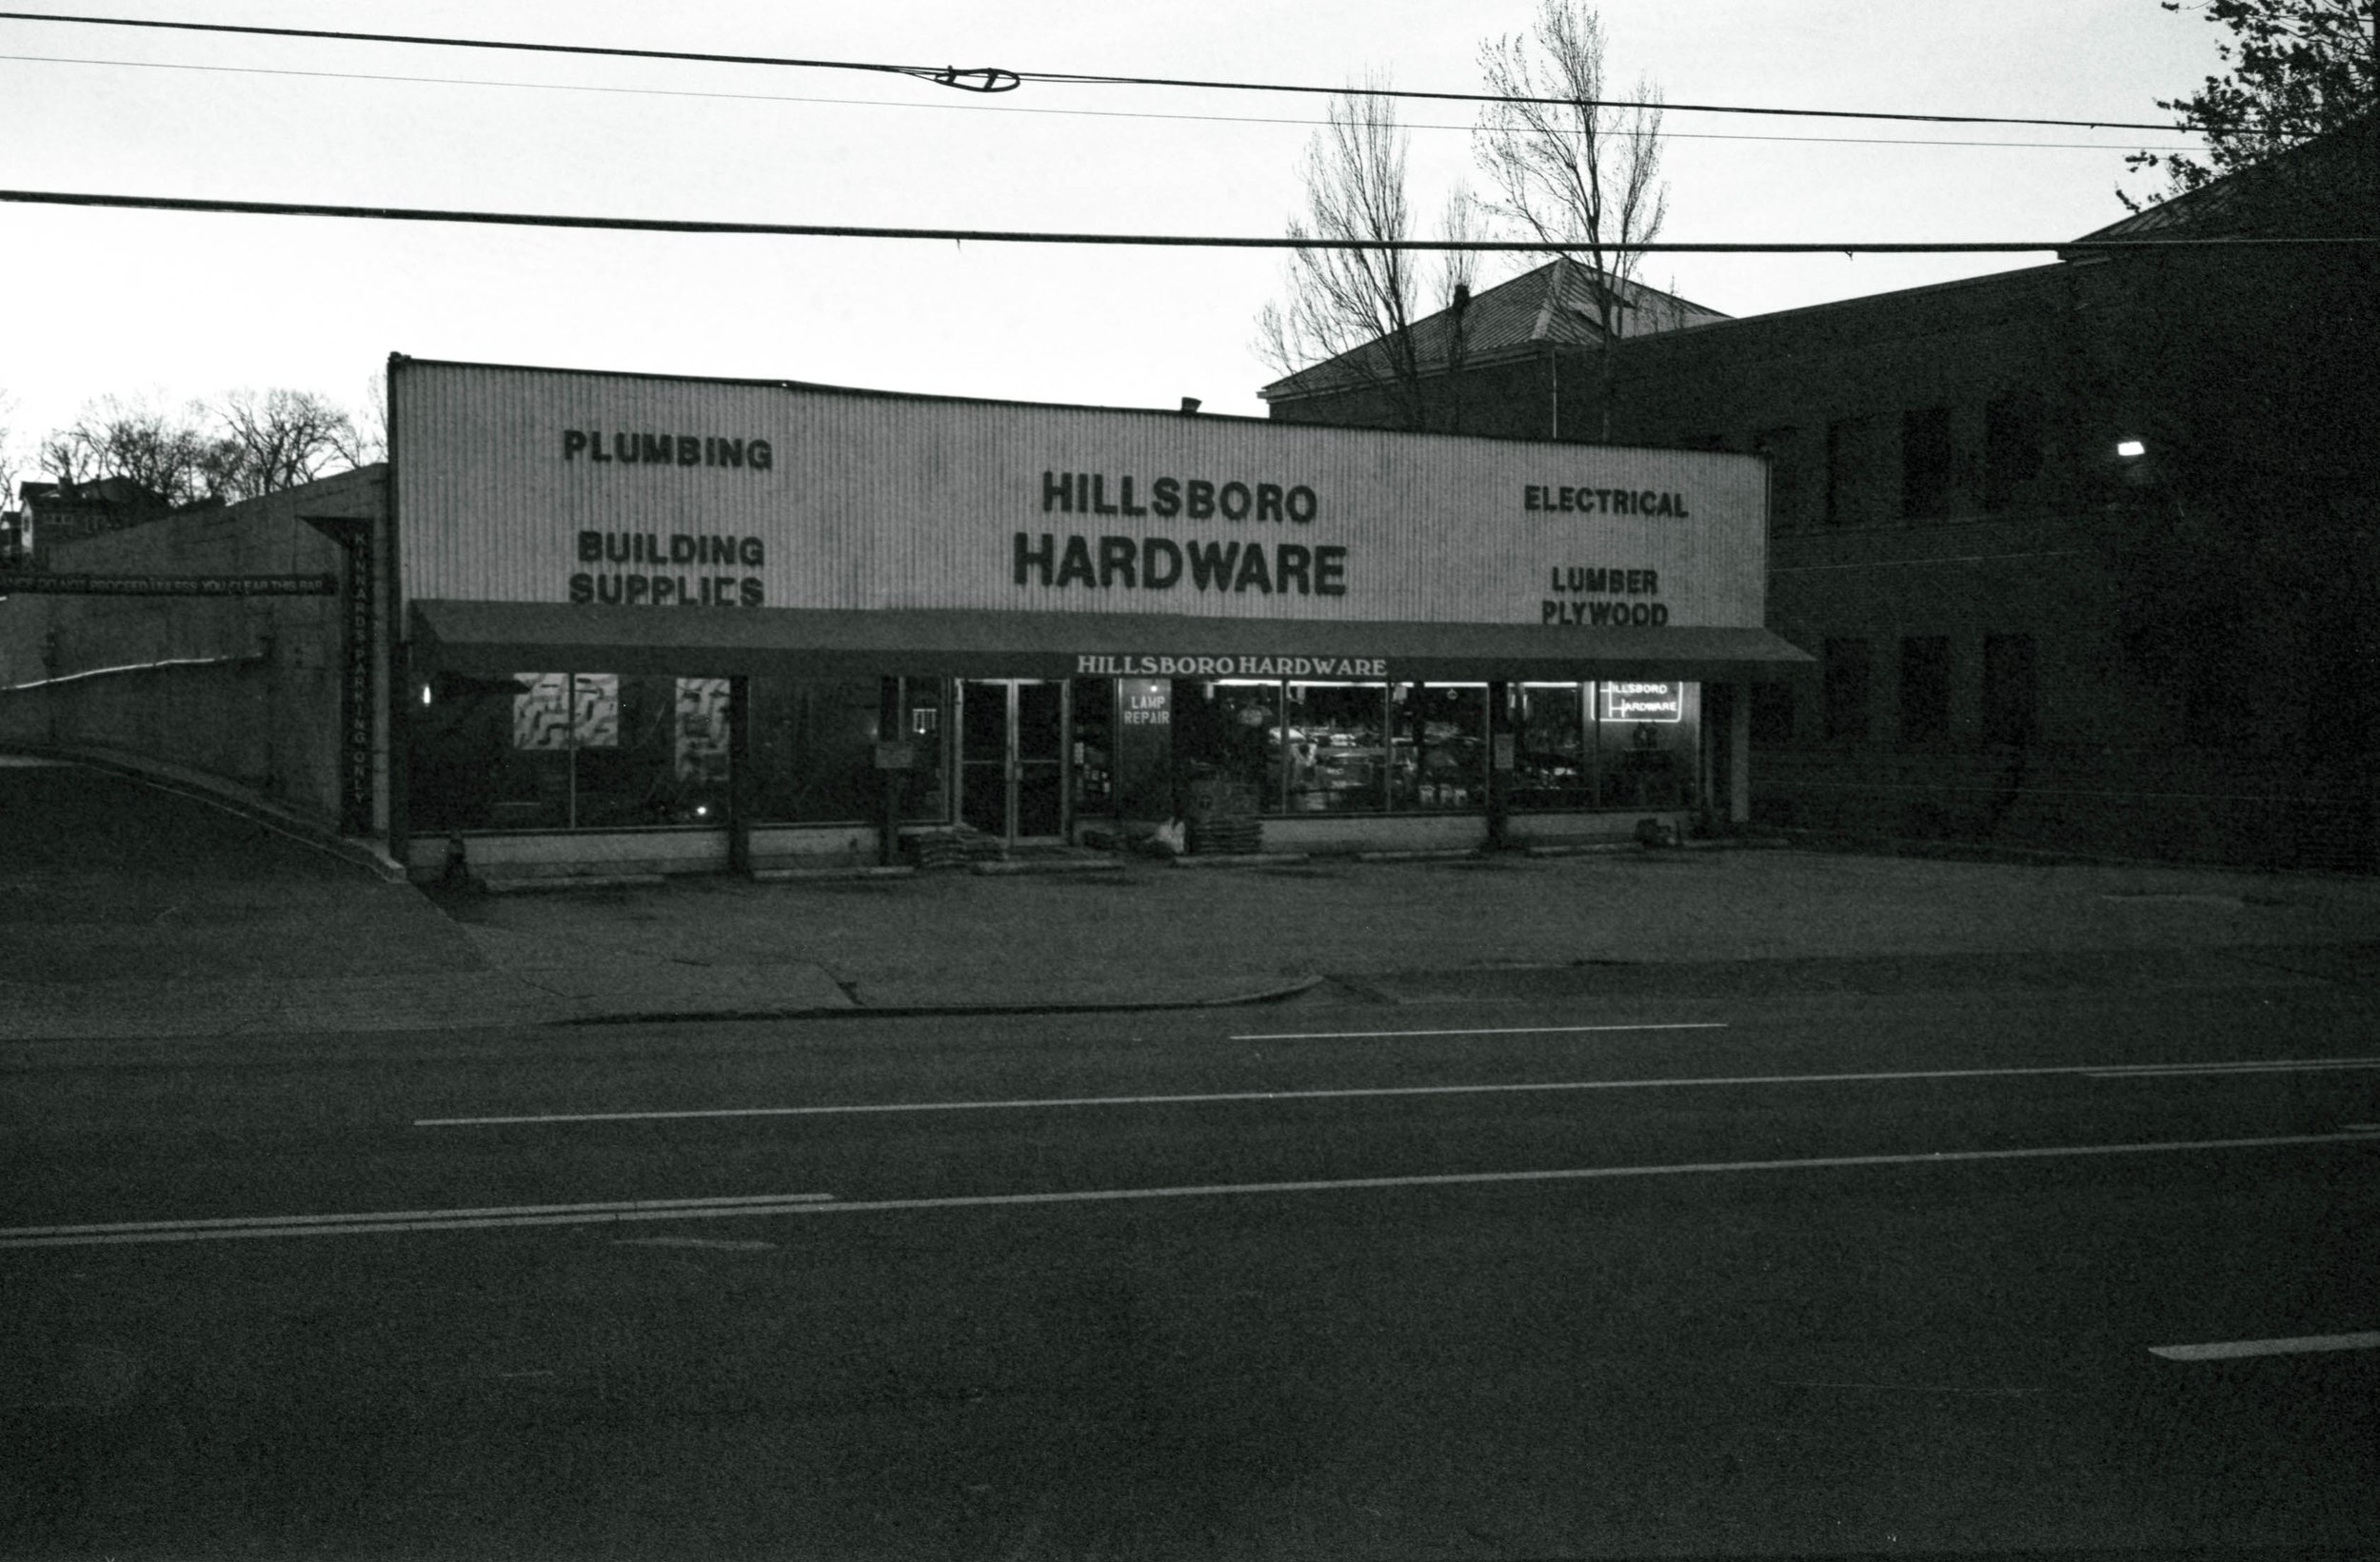
The venerable Hillsboro Hardware has been around for longer than I can remember. They are always busy when opened and are a great example of how smaller shops can thrive in a community.
This Mapco gas station is deceptive. The Mapco chain has definitely not been around as long as this building. A long time ago this was a two-bay garage. Guessing based on the curved corner of the former lobby I would guess this garage was first opened in the 1940s if not earlier.
This building was the one I set out with the goal of photographing. The now closed, Coin Laundry Express, was once a thriving part of the neighborhood. It’s one of those weird tales, around 3 months before closing it got a face-lift in the guise of new signage. It’s hard to know what happened, maybe they invested too much in new equipment and just didn’t see the business.
There you have it, a short Saturday morning drive worths of images.

Enter the Fuji GW690
First thoughts on the Fuji GW690
Recently I finally pulled the trigger and ordered a medium-format range-finder camera. Being a Bronica fan I really wanted the Bronica RF645, but after getting the Tomiyama Art Panorama 170 there just wasn’t any budget for a $2000 range finder camera. I had been looking at some others and finally decided on the Fuji GW690 mark II (in my case possibly mark 1.5, more on that later).
If the counter is to be believed, my example has only had 14 rolls (now 15) of film in it. And, honestly, it looks like a low-milage example. The strength of the dollar vs. the yen really helped on the price. Another thing that helped keep the price down was a quirk of Japanese listers - they only ever list items that are “Mint++++++++” and this camera was just listed as “Good” so the asking price was about a third less than the other listings for camera of this model.

Once it arrived I grabbed a roll of black and white film from the drawer, loaded it up, and went for a walk. This camera is a joy to use the only real gripe I have is that I wish it had a built in meter, but it’s probably for the best that it doesn’t to minimize the risk of battery damage and the like.
As the name implies the negatives are 6cm X 9cm and you will only get eight shots on a roll of 120 film. I love the size of the negatives and recently I have been pondering if 36 shots per roll that come on 35mm rolls of film is really too many. I want to be able to have a steady schedule of new images, something like one roll a week or ever other week and having to take fewer shots really works with my style. I try to put some thought into answering the question “do I want to take this picture” with every shot and only having eight shots to take makes that question have even more meaning. And generally speaking, I can get eight shots any time I take the camera out, but getting 36 means I take a lot of pictures that I wouldn’t necessarily take otherwise.


Something I look forward to is making prints from the negatives. I am more interested in the “alternate” printing process like Platinum Palladium and I have been wanted to make those kinds of prints straight from negative. I like the idea of a small picture that has a lot of detail; one that really pulls the viewer in and almost whispers its secrets one person at a time. I have high hopes that these negatives are the right size to really make that happen. Stay tuned for more on this.
The Importance of Being Printed
A man, a camera, expired film, and a story.
I guess it’s time for my quarterly blog posting. In this installment I am going to talk about printing and what you can learn from making a print from even a mediocre shot. Let’s face it - most of my shots are passable at best so printing gives me a little hope that I am creating something real and tangible.


A few weeks back I loaded some expired Kodak Gold in the Leica IIIf and took a walk in one of the better neighborhoods in town around midnight. I love the look you get with the combo of expired film, antique camera, and dead of night lighting. Kinda reminds me of a time when I sought out the poor places.
Mostly, all I ever had to do to find a poor place was step outside and walk a couple of blocks. I wasn’t ever rich, at least not rich in the kind of way that getting busted by the cops could be resolved by a call to the family lawyer, but I also wasn’t poor. I was rich in the “if you fuck up here, then you’re on your own. At least until tomorrow and that’s only if the person who might have bail isn’t sitting on the bench in tank beside you” kind of way. In other words, too rich to call family and not rich enough to buy my way out of a situation.
Not that any of this has anything to do with making prints. Or does it? You go to these places to experience something. Now, instead of alcohol I use camera and film to dull the senses (this metaphor might be a little too bleak). The point of taking the risk (or at least telling yourself that there was risk) was to have a good story or a raging hangover. Making prints is the proof of the deed done; a good story to share in preparation for the next time.
So get out there and tell a story of the night and when you get home make prints as proof that for that one moment in time you might have been in a little bit of danger.

Leica IIIf First Look
Some thoughts on the first roll of film I shot with the newly CLA’d Leica IIIf and the TTastisans Light Meter.
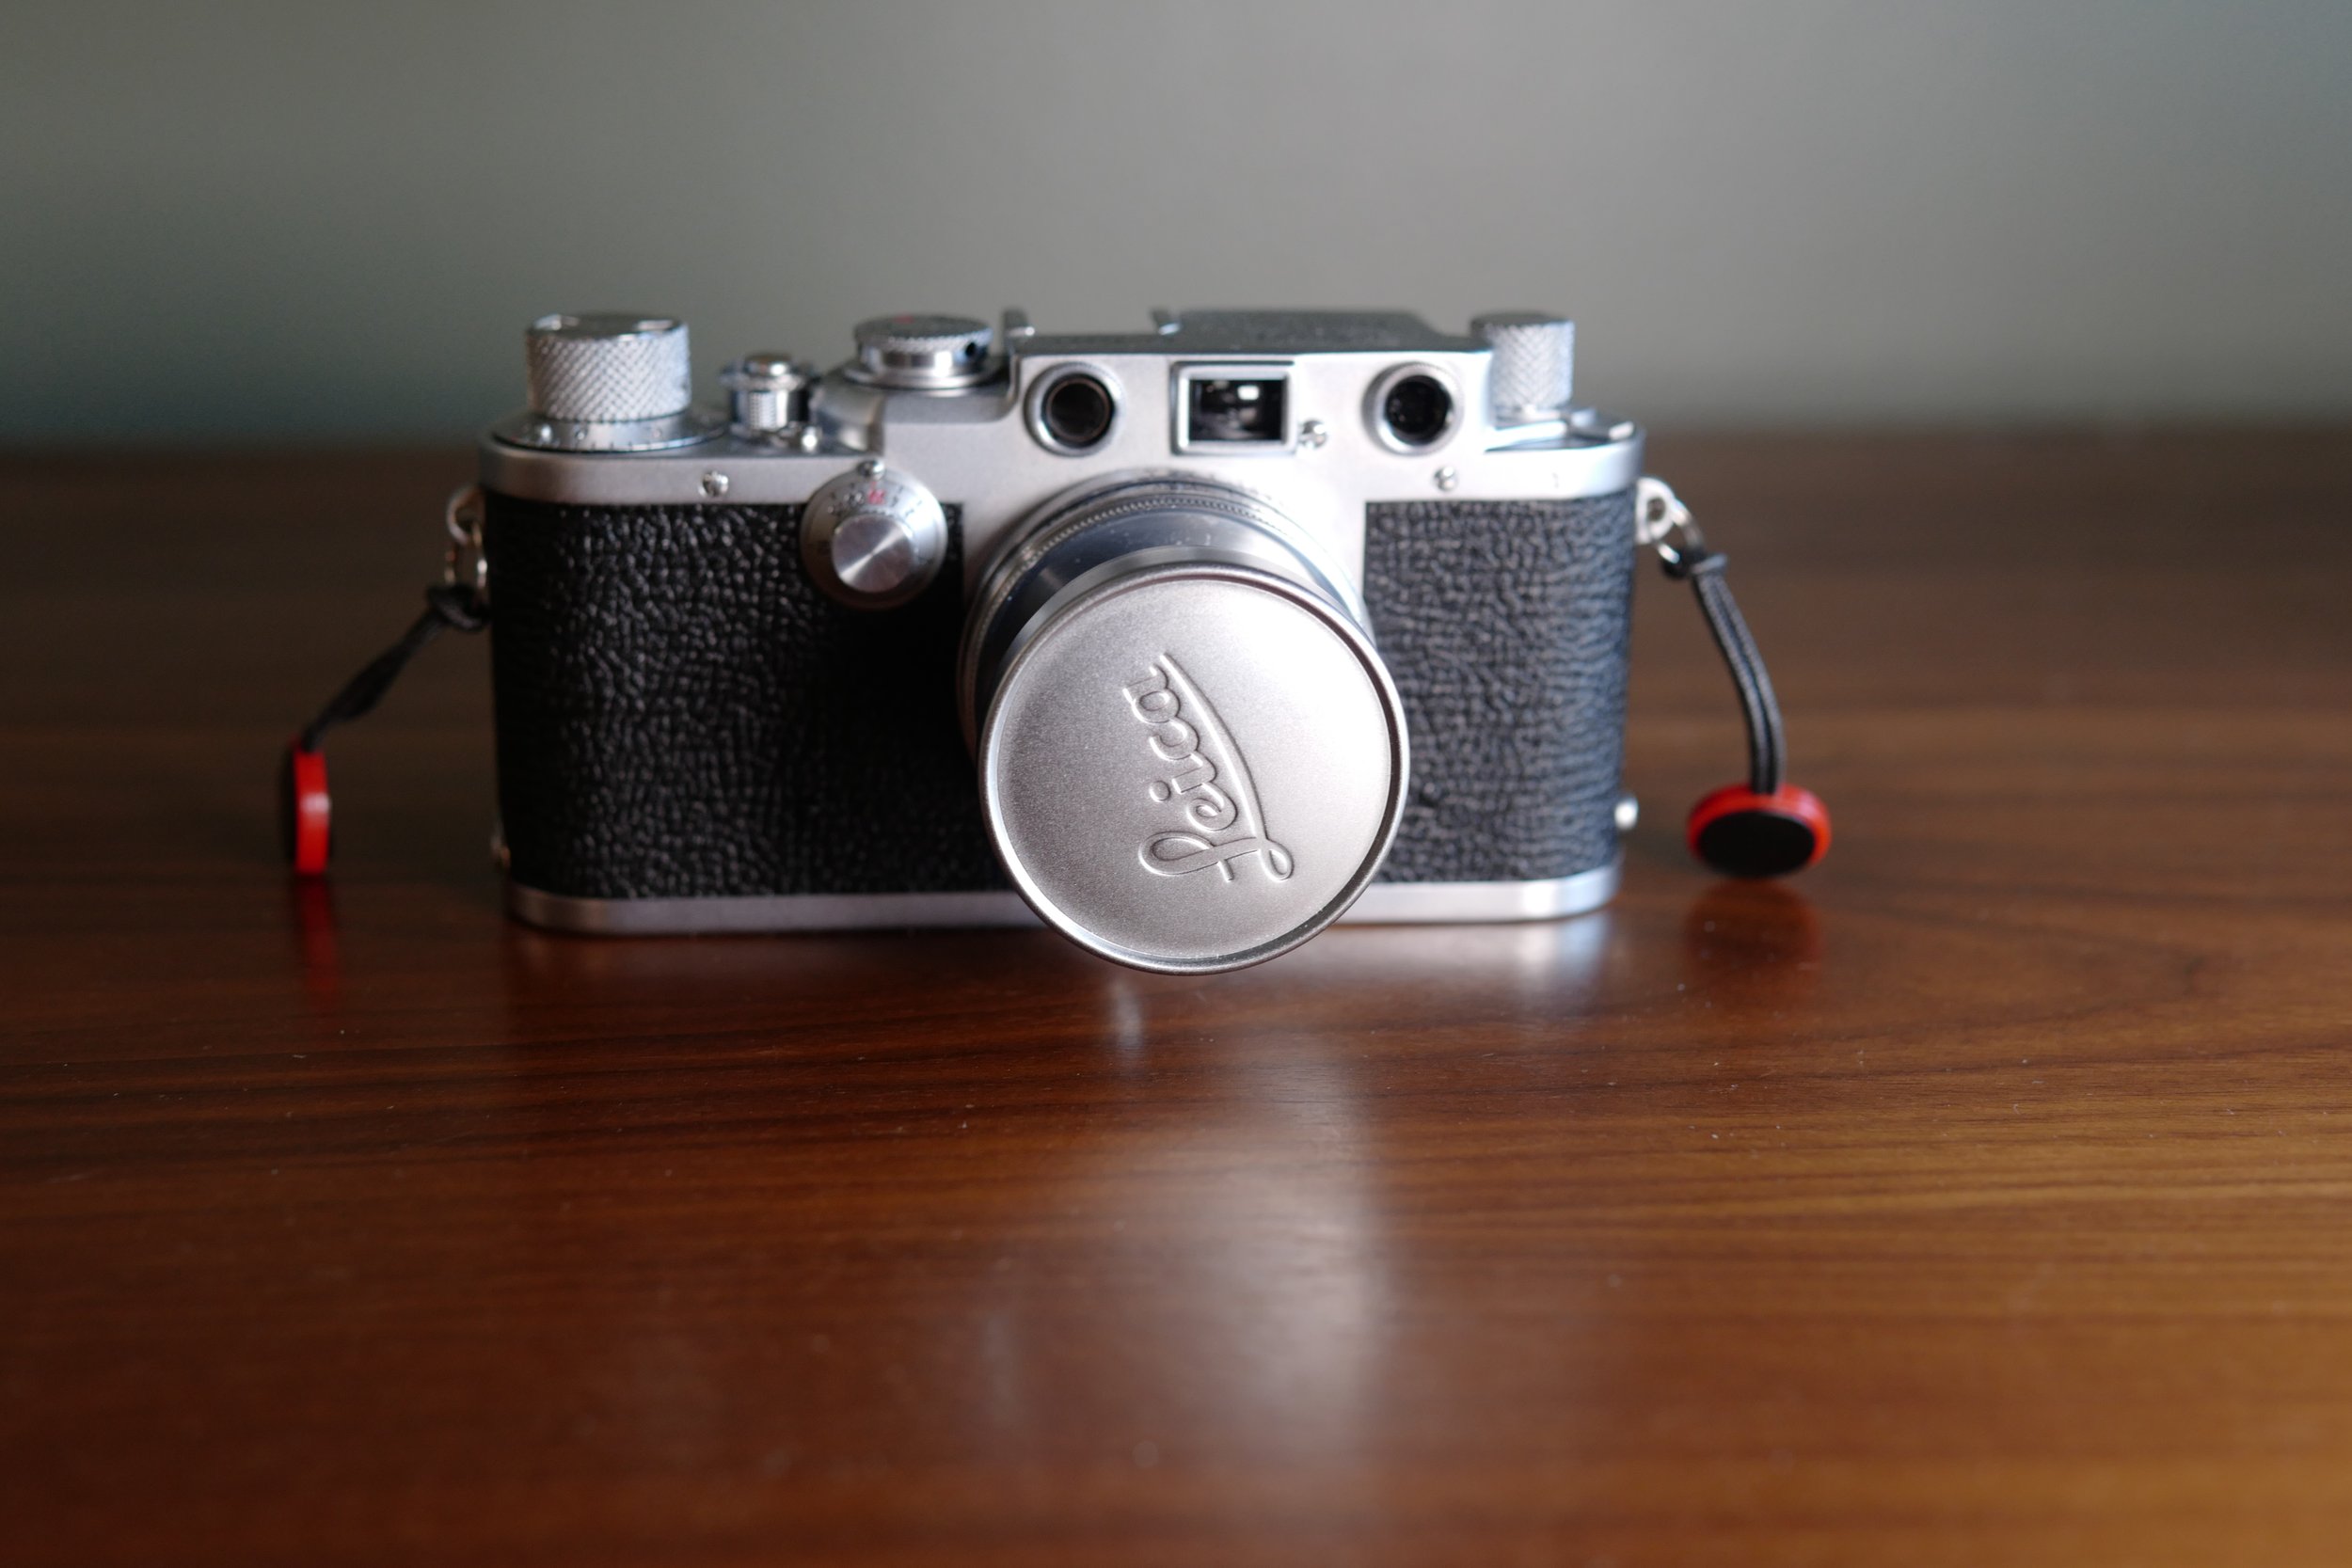
The new CLA’d Leica IIIf with Summicron f2.0 5cm lens.
Near the beginning of lockdown I came across an ad on Facebook marketplace for what I thought at the time was a nice example of a Leica IIIf black dial with a Summicron 5cm f2 lens priced as a group for what the body was selling for on eBay at the time. Naturally, I jumped at the chance to own an underrated (is that even possible for a Leica) camera. Once I got it home, I realized that it needed a CLA so I did the normal research and set it off to Gus Lazzari over in North Carolina knowing that it would take a while to get back, but hoping for a quick turnaround nonetheless.
The quick turn around didn't happen, but that’s part of the deal you make when dealing with nearly 70 year-old things that need servicing so I wasn’t too surprised. In all honesty I wasn’t too sure what I would do with camera when it came back anyway. With the prices and lead times from developing film here in town I had moved on from shooting film during the pandemic. I knew the lens could be adapted to both my Leica CL and Leica SL so I felt getting the CLA was worth the wait and cost as the lens is what needed the most work. This lens is a Thorium coated example and still has some of the coating so I had high hopes for some dreamy pictures.
When I got the package back I thought of just putting the body up for sale on eBay but had my mind changed while trolling Facebook marketplace when I came across a copy of book called “New Leica Manual” by Willard D. Morgan & Henry M. Lester published in 1953 for cheap. This book is basically the most in-depth manual for a camera I have ever seen. Reading it made me want to try out the camera at least once or twice before I sold it on.

I knew I would need some sort of exposure meter so I researched those that mount in the accessory shoe mount and decided to get the TTartisan Light Meter in silver to match the camera. I got this one mainly because 1) it was available to purchase and 2) I like the simple nature of the dials and + or - LEDs used to indicate the exposure. Once I had the meter in-hand I loaded in a roll of long expired Kodak Gold 400 film and set off on a walk around the neighborhood.
At first I was worried that the split rangefinder/composing viewfinder arrangement would be difficult to use in practice. Much to my surprise I found the focusing and composing workflow to be easy and natural. It didn’t take more than five minutes for it be second nature. My basic approach was to use the meter to get a reading, set the speed, advanced the film, compose, focus, re-compose and then take the shot. I’m sure that a Nikon Z9 user could take over 1,000 pictures in the time it took me to take one, but speed is not the point of this camera system.
When researching the light meters the reviews for the TTartisan meter consistently stated that the readings were 1 stop under what would be found comparing to an app on a phone. And I can see how difficult getting an accurate reading could be with this meter as the f-stop/film speed dial is not indexed; meaning that it is not certain that a specific f-stop or film speed has been selected. In other words, it is not possible to exactly select f2 or exactly select ISO-100 with this meter. I’m sure most of the time the selection is really, really close, but you will never be able to exactly select a setting with the left dial. The lack of an index on the left dial stands out compared to the shutter speed selector dial which is indexed. I’m not saying the meter is unusable, you just have to know that it is not accurate and that it cannot be accurate due to the way it has been designed.
When I got the scans back from the developer they were grainy and soft, exactly what I expected. And, also, what I want from this kind of camera. One of these days I will put in some new film and when I do I am sure the scans will be crisper and look better overall. That being said, film cameras were not meant to make digital images and these negatives were no exception. On my MacBook Pro with a 32” Samsung 4k monitor the 22” x 14” (as reported by Photoshop) scans did look fuzzy and the grain was as big as a pin head and someone could be excused for thinking that the images just were not any good. But film images are meant to be printed, which is what I did. I have a Canon Pro-10 printer and once I turned it on, pleaded with it, begged it, threatened it, and ultimately bribed it I was able to print a few of the images. I made 4” x 6” prints on Canon Photo Paper Pro Platinum paper. The results were what you would expect - perfectly serviceable. The grain wasn’t noticeable, the sharpness was acceptable and all-in-all produced fine looking prints. I do believe that the prints were about 1/2 stop under exposed and I probably could have done some editing in Lightroom but that wasn’t what I wanted to do with my time. I wish there was a way to convey how the prints looked here, but that just isn’t possible - you have to see it for yourself.
If you’re interested hit me up on Twitter or Instagram and I will send you one of the prints. For now, I have included a gallery with the images. All I have done is resized the images down 50% and saved with the “8 - large” setting in Photoshop so the file size would be low enough to upload here. Until next time, thanks for reading.


Dry Plate Photography and Following Through
It only took me four years to write this posting. Join my on a journey of struggle to not create a YouTube video.
It’s 9 a.m. Monday morning, I’ve had 3 hours sleep in the last 72 hours and I look like an under-ripe heirloom tomato. Trying to be creative when you have no talent can take its toll. Every speed bump is Mount Everest. Just trying to write these words I have been stopped for days at a time by the easiest to overcome roadblocks, Nearly dead battery? Gotta charge it because if it dies then I might loose a precious thought. And that charge time becomes three days of me not making progress on this project.
Getting blocked for two or three days because I wanted to charge the laptop is nothing when compared to how log this posting has been in the works. I started on this project sometime in 2018. On a trip to the flea market I purchased some dry plates for around $5.00. At the time, I thought that these would make a great video, one that would get likes, comments, and subscribes. You know, all those things that every budding YouTuber wants from a video.
Once I got home the blue meanies attacked with their chorus of “you don’t know how to digitize these” (I didn’t). “Your camera doesn’t do 4k so it isn’t good for making videos”, (It doesn't). “You don’t know anything about this ‘dry plate’ technique”, (I didn’t). So it was easy to just sit them on a shelf and forget about them, only to be reminded of how cool the video could be when I came across them every few months.
A fun thing about time is that as it progresses things change which allowed me to beat back the blue meanies. I purchased a light pad that I use to view negatives which turns out is pretty good for looking at these dry plates. I purchased a camera boom, which again turns out to be good for holding my Leica CL paired with a Sigma 30MM 1.4 DC DN lens to digitize the plates.

This is my simple setup I used to digitize the images in this posting: Light tracing pad, camera boom, Leica CL paired with a Sigma 30MM 1.4 DC DN lens. I use the Leica FOTOS app on my iPad Pro to capture the images.
Once I had climbed that series of mountains there was nothing stopping from putting together a video of some sort, right? If only it were that easy. Once the untalented gets past the simple mountains, they find themselves in bat country where things get down right weird.
Bat country is the part of the journey where you punch yourself in the face over and over again. Focused images? Who needs it? Time to re-digitize all the images. And then there was the time I reformatted the SD card, for reasons I guess. Re-digitize one more time. Do I have enough images? Search eBay and buy more to go through the process of digitizing and editing for that lot.
I have the images scanned and an idea of what they are and what they mean, but I still don’t have a good video planned. I have an idea of what I want to be but I have to articulate that idea, so check back in four years when I have climbed the next set of mountains to slay the triplet dragons of writing a script, shooting video, and editing the video into a story.
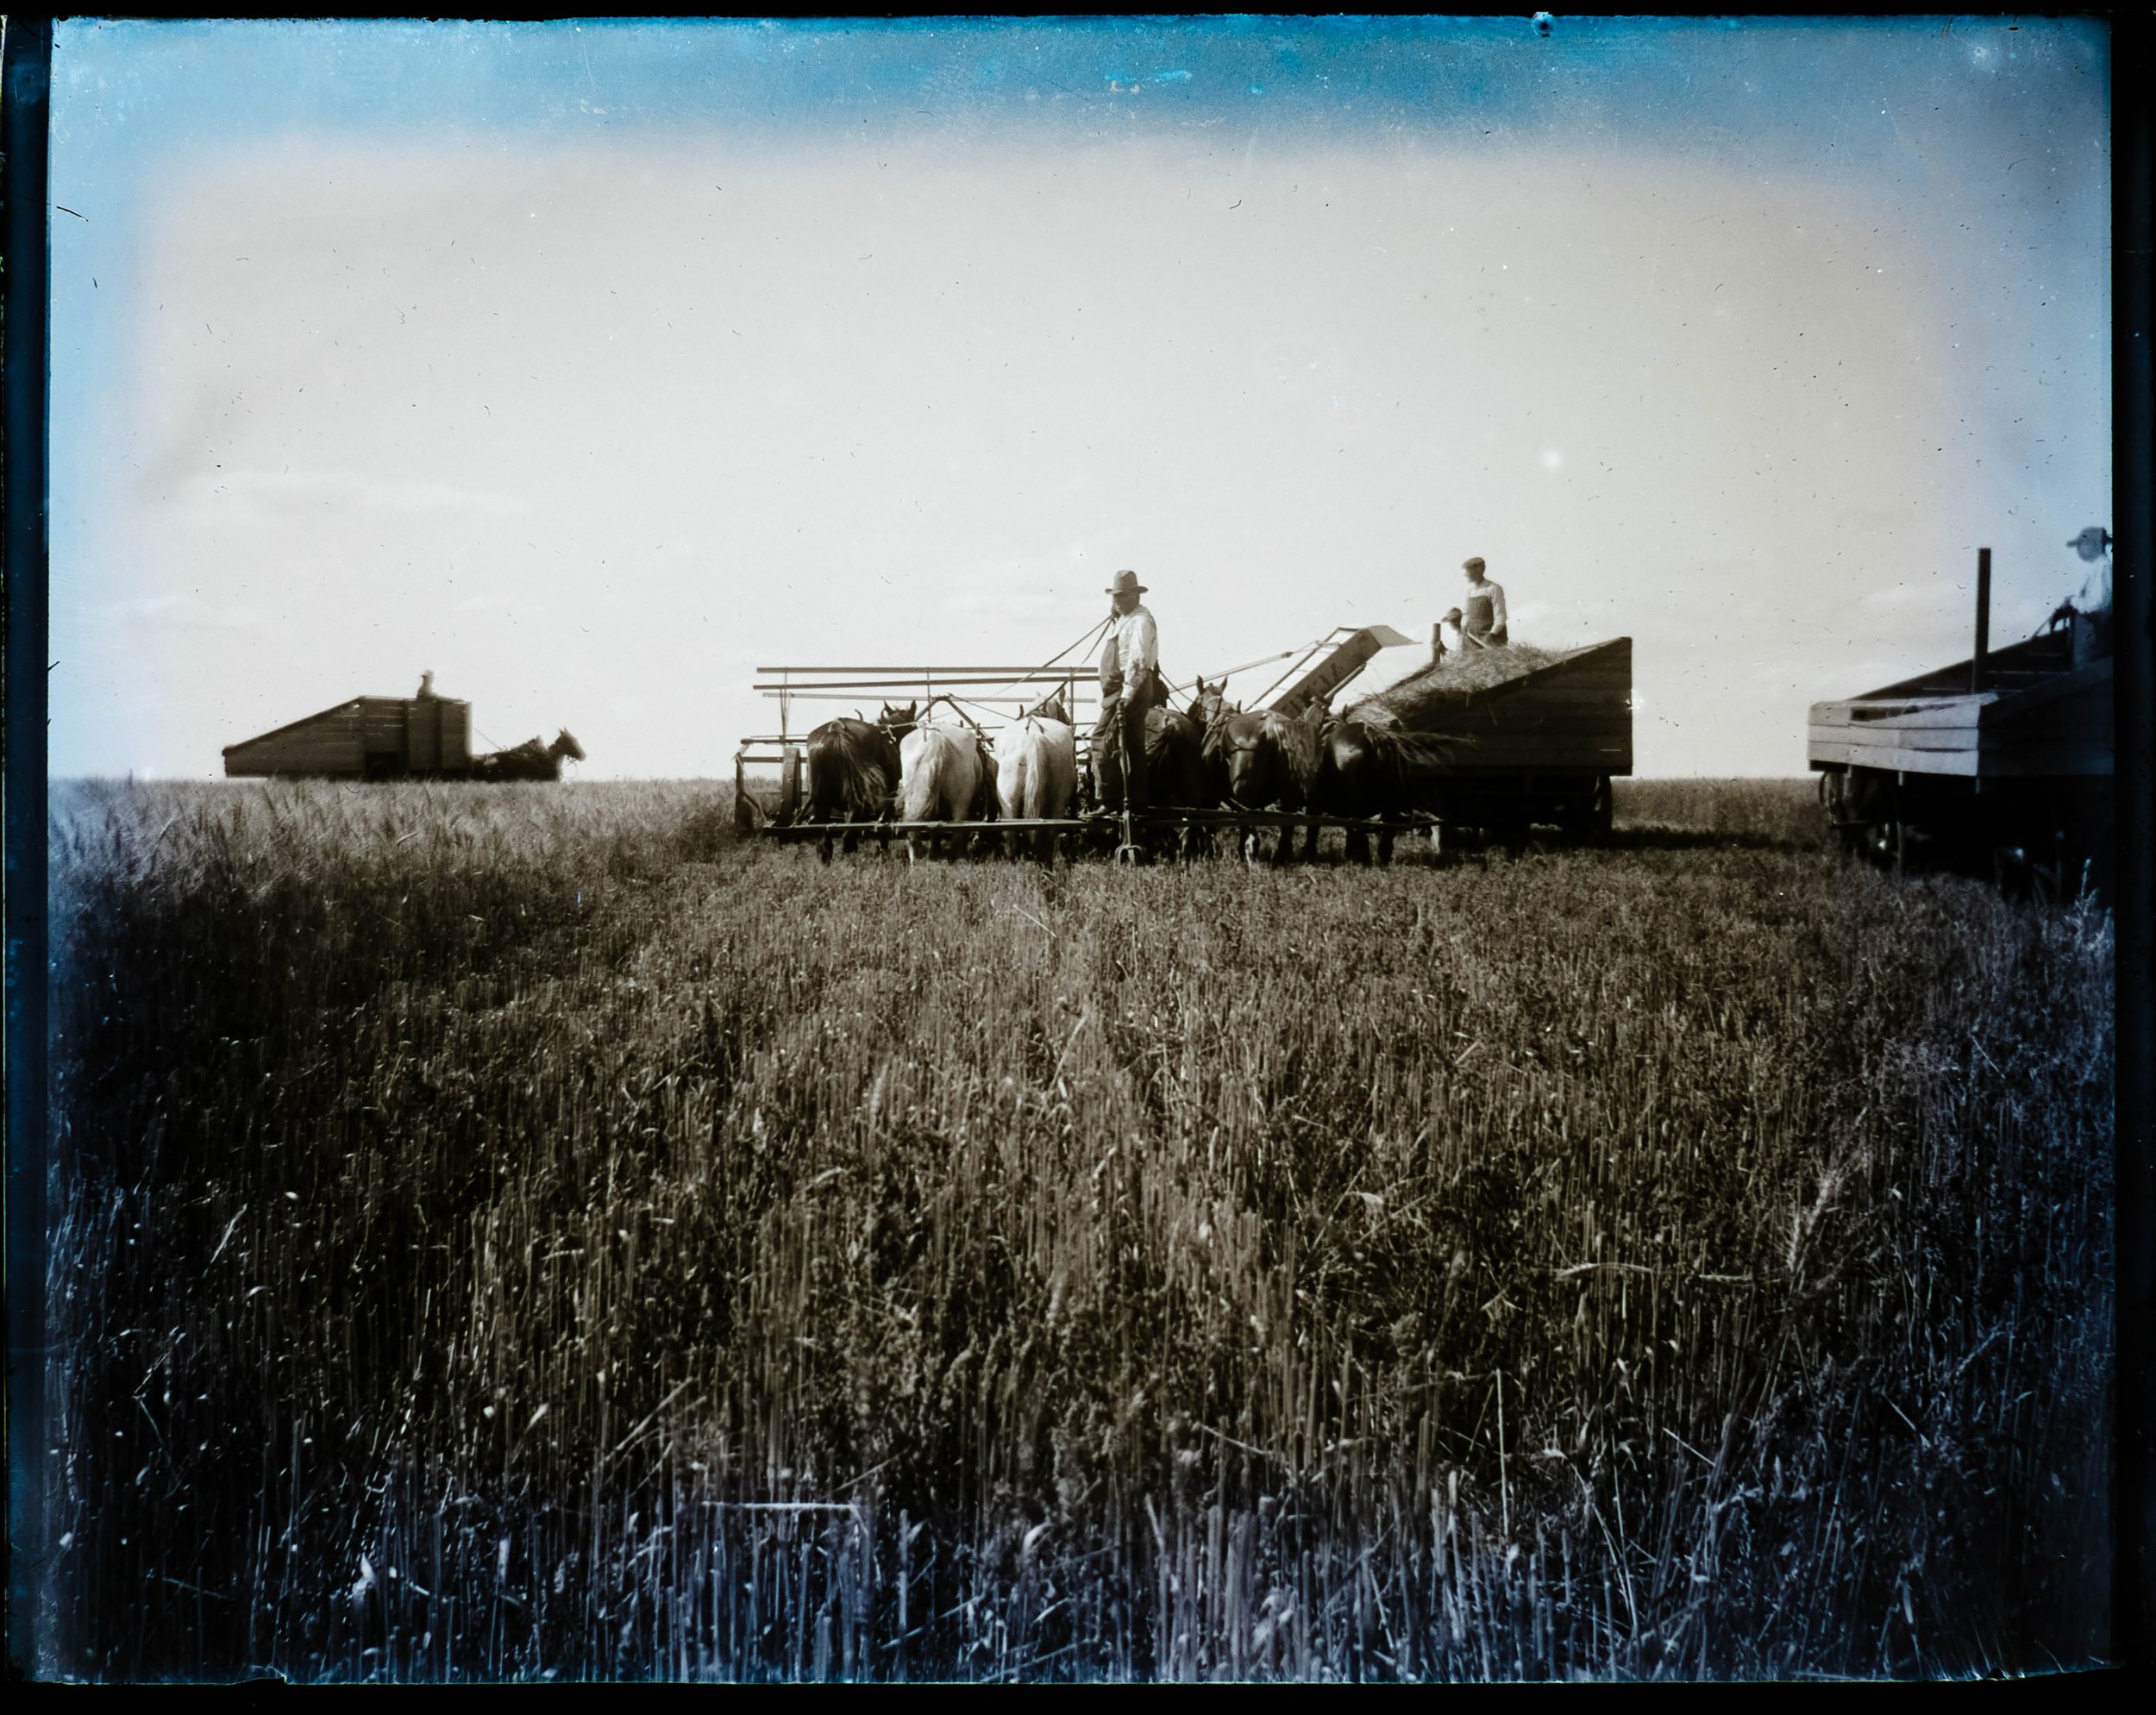
In the meantime, checkout the galleries below for the best of the scans.


I tried to break these down into different modern genres of photography. The above gallery are slice of life images. I wouldn’t call them “street photography” because some are in a field, but I would like to think the photographers were trying to record the world around them.
This gallery is what I would call “travel photography”.


These seem to me to be what I would call snap-shots. There doesn't seem to be a lot of thought put into these other than to capture what is in front of the camera.
I think the photographers in these were trying to make an artistic statement.

Finally, the portraits. I feel like the artist in these was trying to tell a story about the subjects rather that simply record who they were with at a moment in time.

What’s Inside a Camera?
The one where I disassemble a Yashica Lynx 5000
“Can you see anything?”
“Yes, wonderful things.”
That’s a bit of a cheat isn’t it? It has nothing to do with cameras but the exchange between Lord Canarvon and Howard Carter upon the opening of King Tut’s tomb in February 1923 can apply to a camera as well. Wonderful things are can be seen inside the viewfinder.
A more literal person might be infested in the components, the parts, that make a camera. I love 1950s and 60s range finder cameras. I have owned several Yashica G series cameras and currently have at least three of these small range finders on my shelf waiting to have a roll of film run through them.
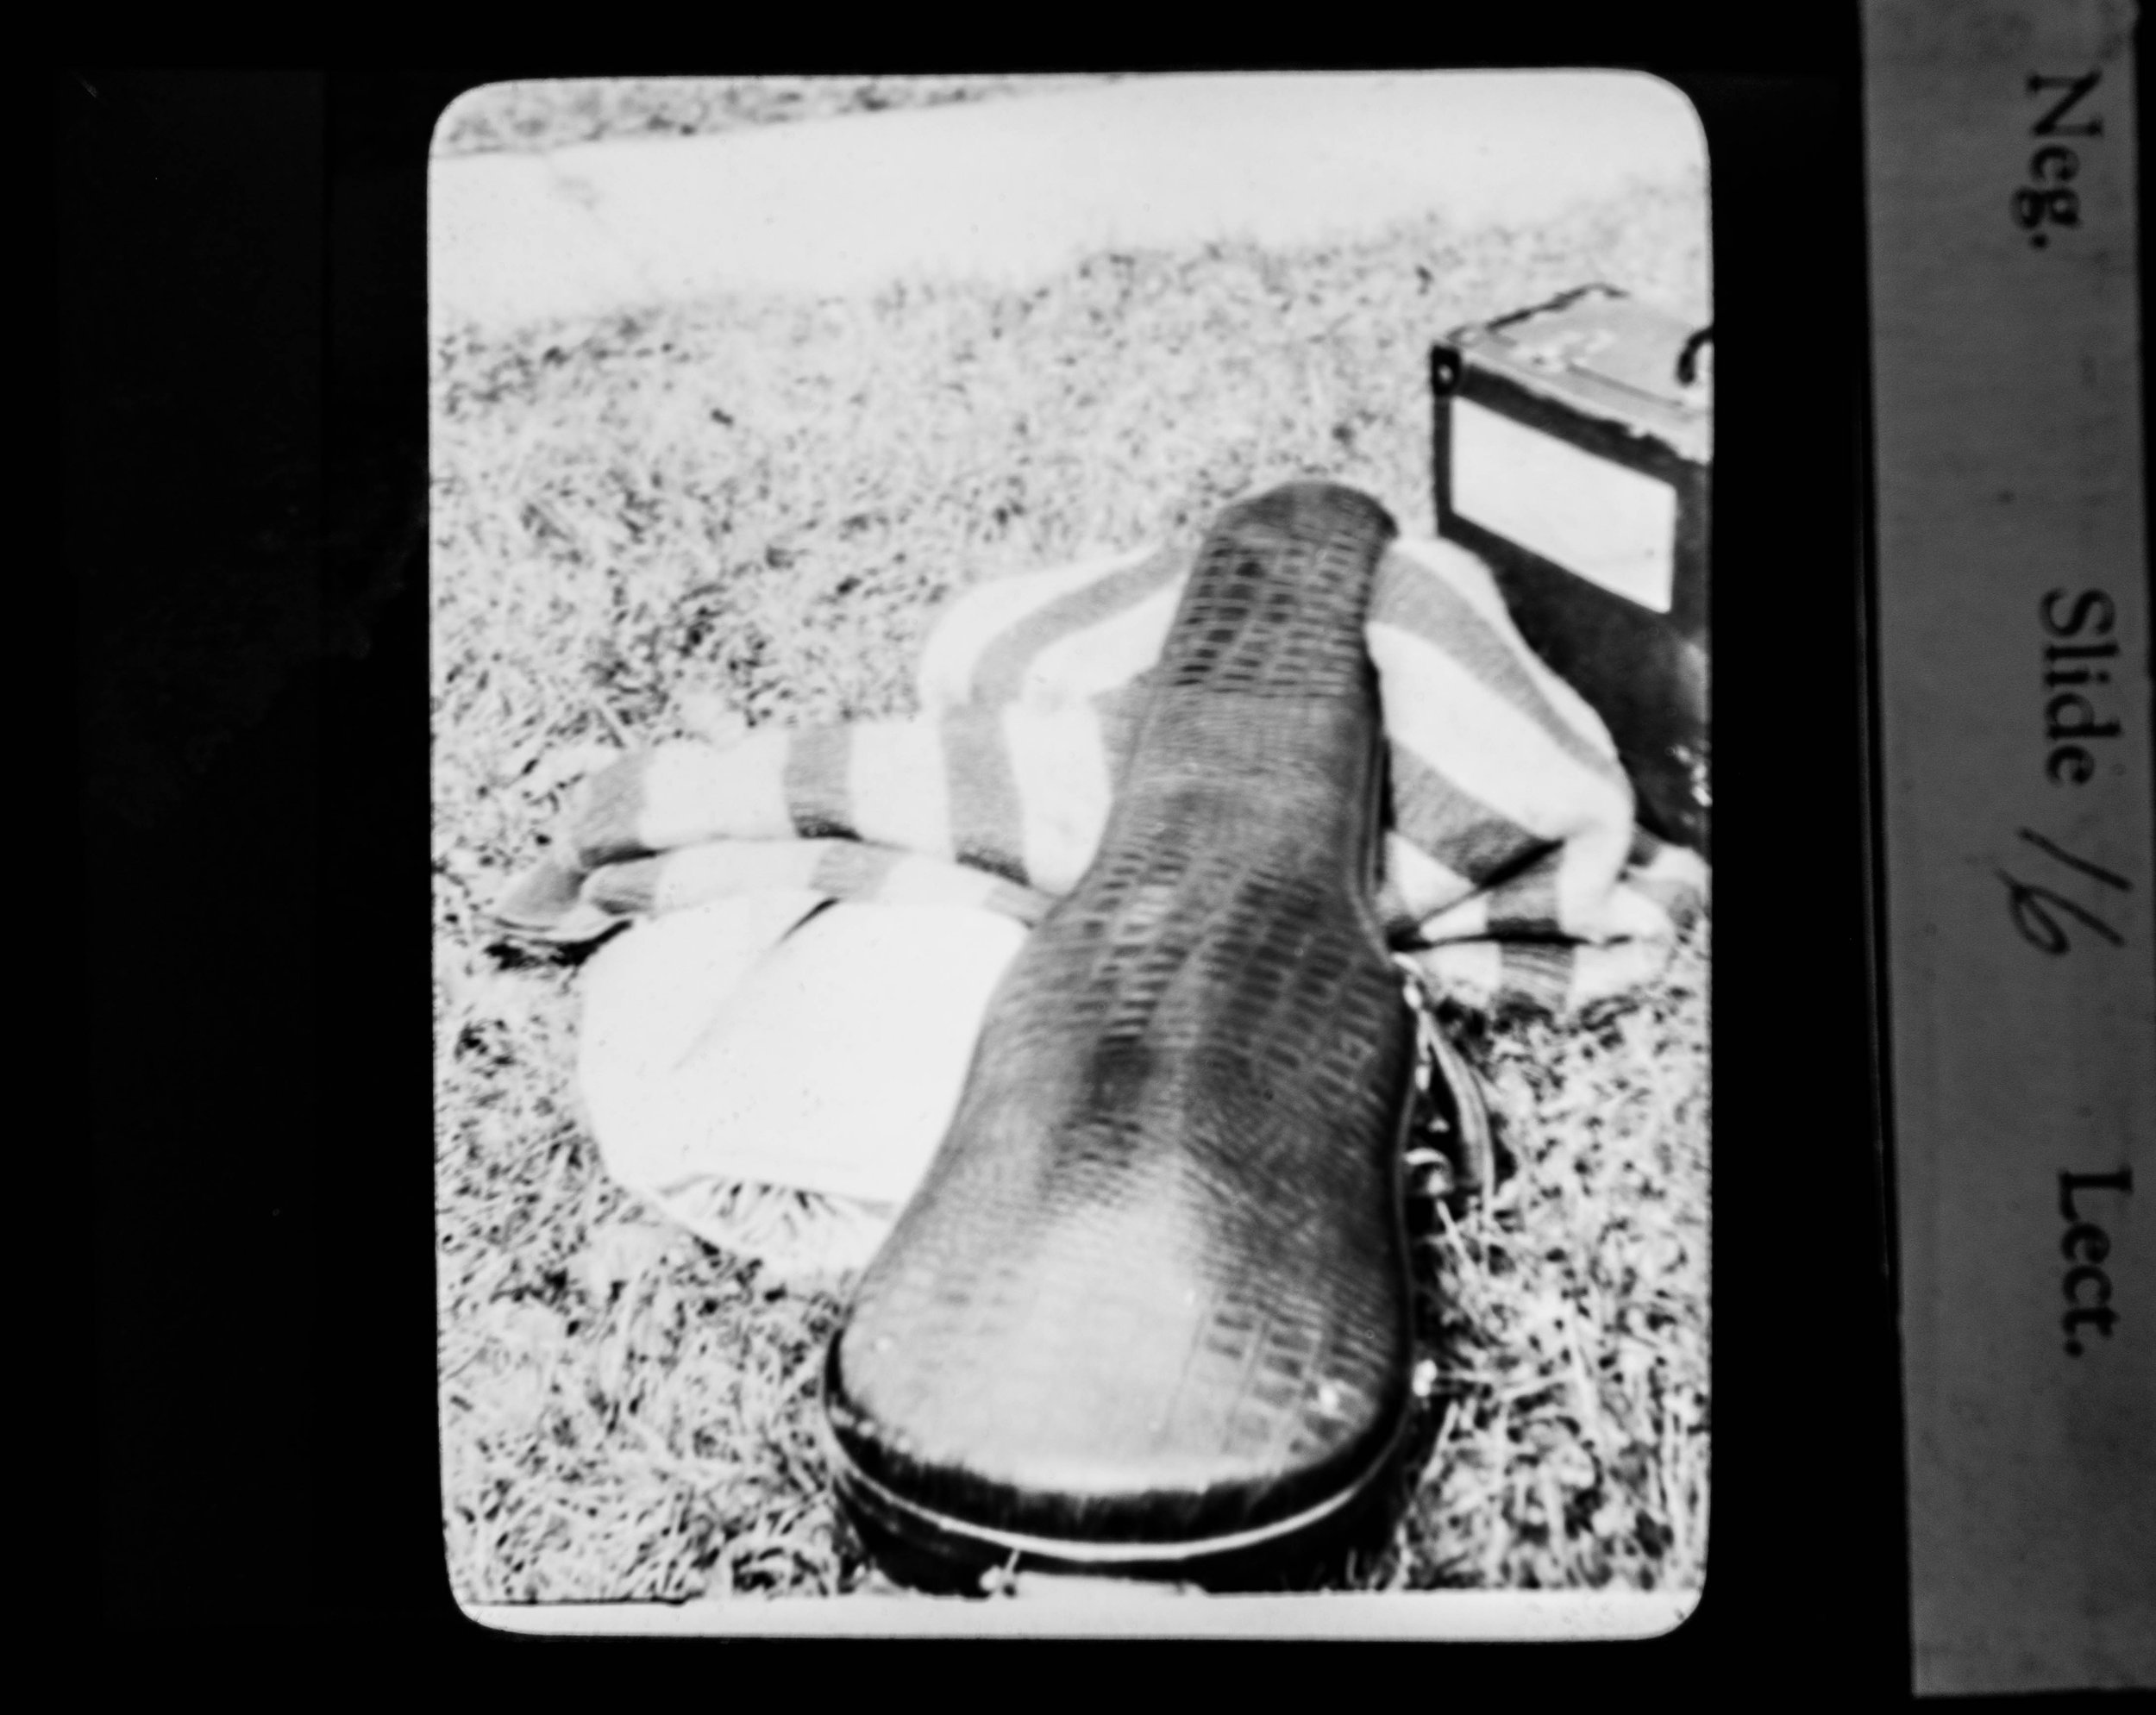
I also like taking things apart. There’s something about seeing the pieces that make of the whole of a thing. I my last posting, I gave a sneak peak of a project where I disassembled a Yashica Lynx5000 camera. I bought it as working and as it turns out it stopped working before I could run a roll of film though it. That’s when my curiosity about the insides of a camera took over.
Over a two week period I completely disassembled this broken camera. It broke down into over 250 component parts. I was struck that I should that this might make a good picture. So I cleared off a workspace and wrapped it in white butcher paper and laid out the parts. That took about a week to get things as “right” as I could get them.
Once I got the parts laid out, I went about setting up the Leica S with my widest lens - a Sigma 45mm f2.8 DG DN. My space is tiny and I just couldn’t get enough separation from the subject with the 45mm lens. At this point I was a little heartbroken - I had put about a month into tearing down the camera and setting up the shot only to realize that I needed a wider lens.
A lesser person would have realized that they could have stitched together a panorama from several shots, but I’m not a lesser person (also, I didn’t think of stitching together an image until it was much too late). I broken into the piggy bank and got my hands on a Sigma 20mm 1.4DG HSM Art lens for the Leica. This lens is a thing to behold. Mostly because it weighs in at over three pounds, which makes the hunk of steel and resolve that is the Leica S seem light as a feather by comparison.
As you can see, the resulting image is pretty good. I few years back I did a workshop making platinum palladium prints and haven’t really made any progress with because I have been lacking inspiration for subjects. Most folks who do that process make prints of epic vistas or beautiful portraits and neither of those subjects are for me. But, things on the other hand are for me and I think this image will make a good print and help me get reinvigorated for printing.


Photos and time
Some photos take a long time to create and others are created in a moment. This is the middle of a work in progress image.
I have been taking photos for a long time.
When I first started as a child plastic Kodak camera that used 126 film cartridges I couldn’t even frame the image correctly. The rangefinder on that camera as misaligned and the misalignment changed between shots. Every picture came out weird and off-center, but I loved every single one of them.
When I was a little old, but still not a teenager, I bought a 35mm point and shot of some long forgotten model that needed duct tape to hold the battery door closed at flea market. I took countless rolls that summer with that camera only for all of them to come out blurry and poorly exposed. My biggest joy was taking pictures of the fireworks on the 4th. It didn’t matter that the fireworks were probably 5 miles away and were just barely visible from the house I still took two rolls of pictures. They were all nearly black with only just the faintest of hints that some light was reaching the film. I didn’t care.
Those camera were lost time, but to this day I still find the same joy every time I pick up a camera. Event if I am just taking a picture of my license plate so I can pay to park.
To capture something more than faint streaks of light you need to add thought to the joy. Which adds time to the process of creating the picture. Sure I still take a lot of snapshots that have little more thought than “I like this, how can I frame it so others will see what I like?”, but they still have thought.
Recently, I have been experimenting with still life photography. If you subscribe to my Instagram feed (and why wouldn’t you, link in the header of this post) you will see some of these experiments. I’m enamored with the trichrome process, where I take three back and white photos with different filters and combine them in Photoshop to create a color image. The images come out looking like a 1960s dream. I have also been trying my hand a macro photography and it’s still early days yet, but its fun.
Another way I am putting thought into the photos is via deconstruction. The idea is to disassemble a thing and try to a single photo of all the parts. My first attempt is still a work in progress and all I can show in this post is a preview. I am in process of disassembling a Yeshiva Lynx-5000 range finder camera. It doesn’t work - something broke in the shutter mechanism - so I am not destroying a working camera. I had hoped to have the picture before now, but it is taking me far longer to disassemble the camera than I ever thought it would. I will add a preview of the process and if you have any thoughts let know.